Surveys and Polls (Organisation)
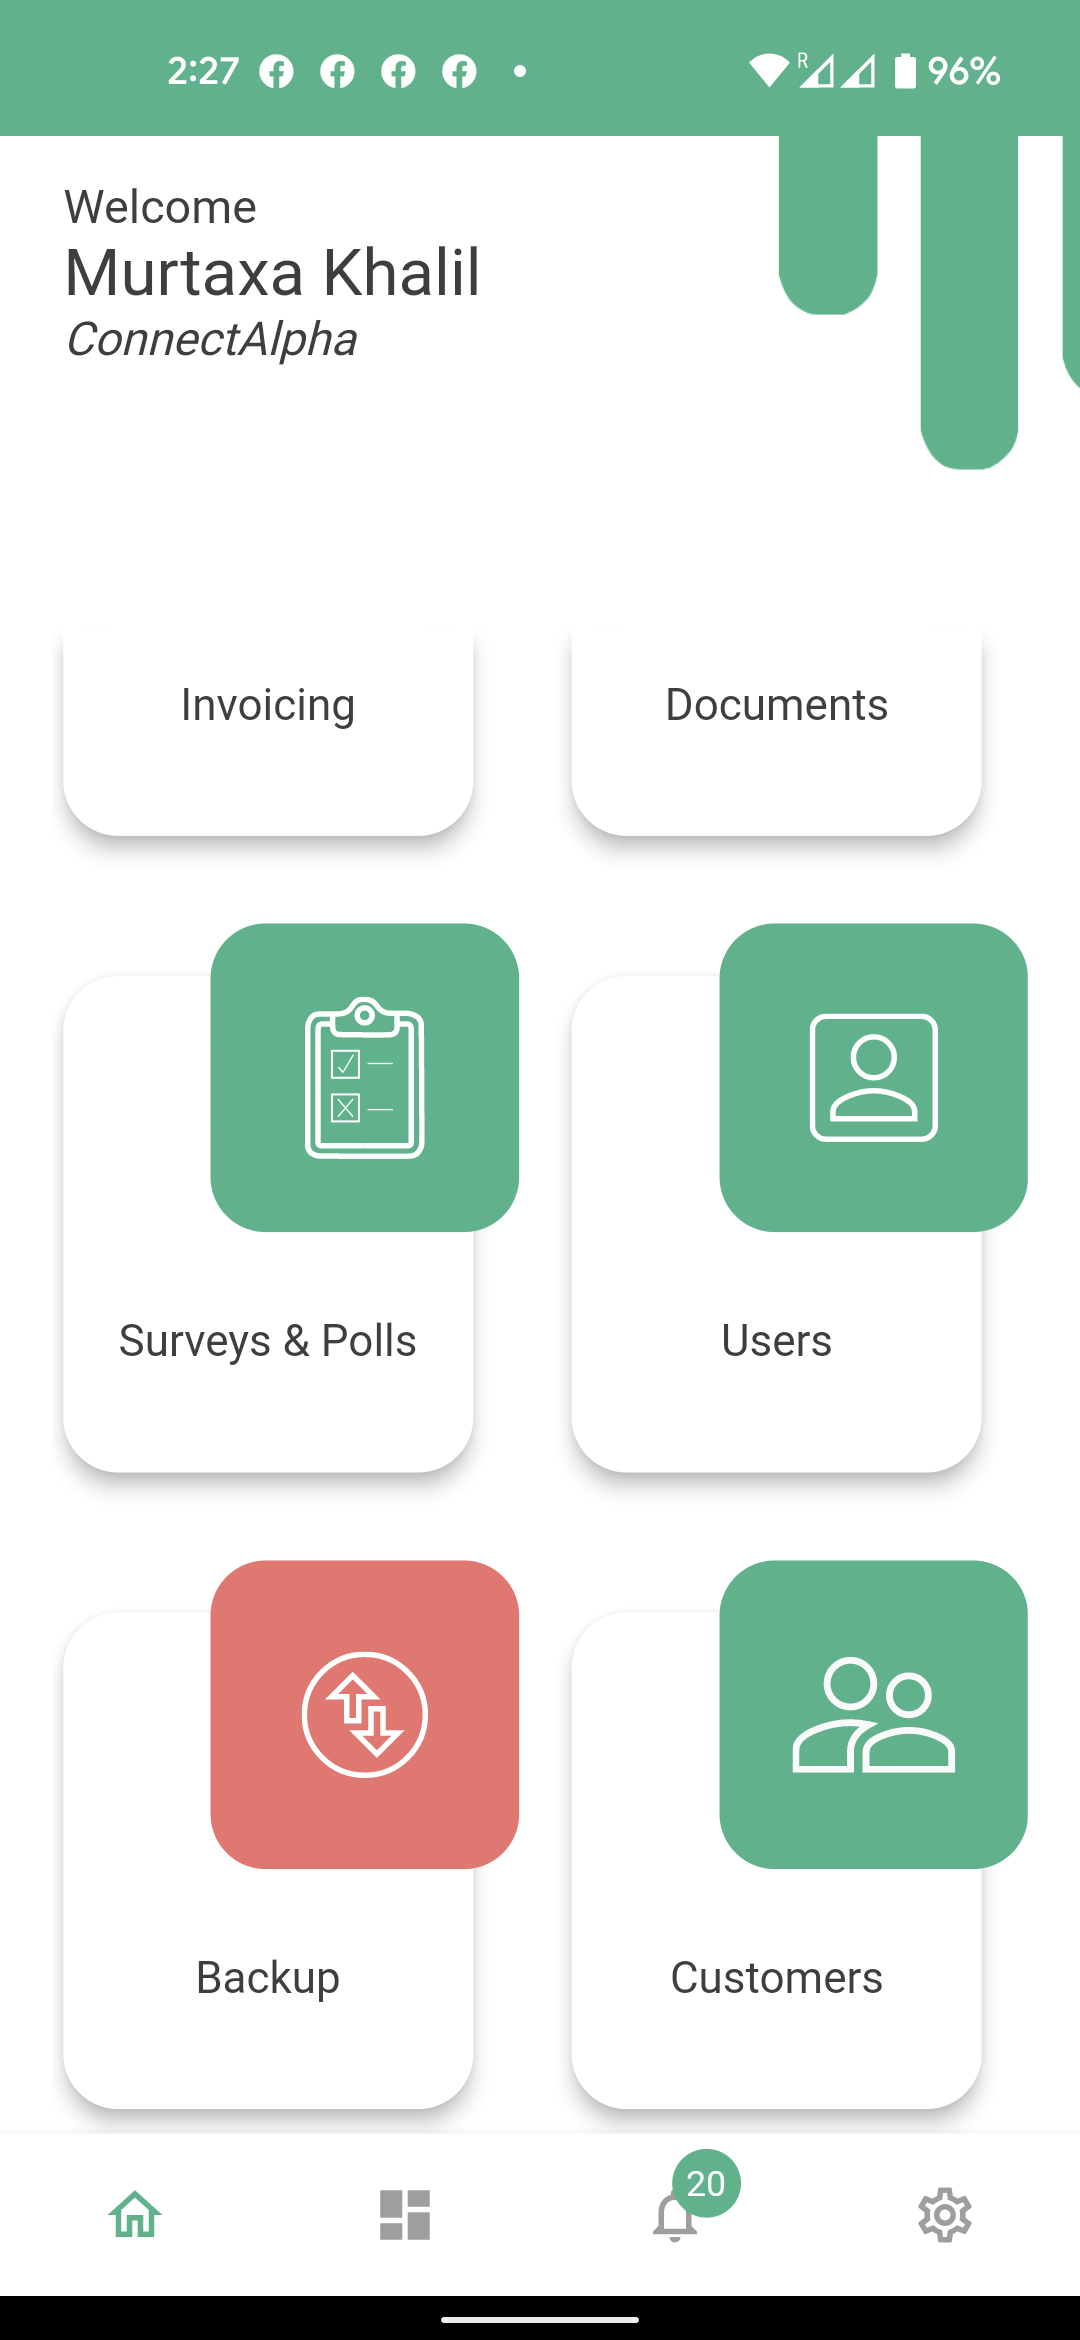
“Connect app” gives an option to the organisations and businesses to conduct surveys and polls. If you intend to send a survey or poll to a group of users registered with your organisation or business, please create a group first under the customers tab from your connect home screen where a tutorial exists for this. Whilst if you intend to send a survey or a poll to all of your users or one individual only, you can proceed to the next steps here.
To create ‘surveys and polls’, click ‘surveys and polls’ module. It will open up the ‘surveys and polls’ module home screen.
Surveys
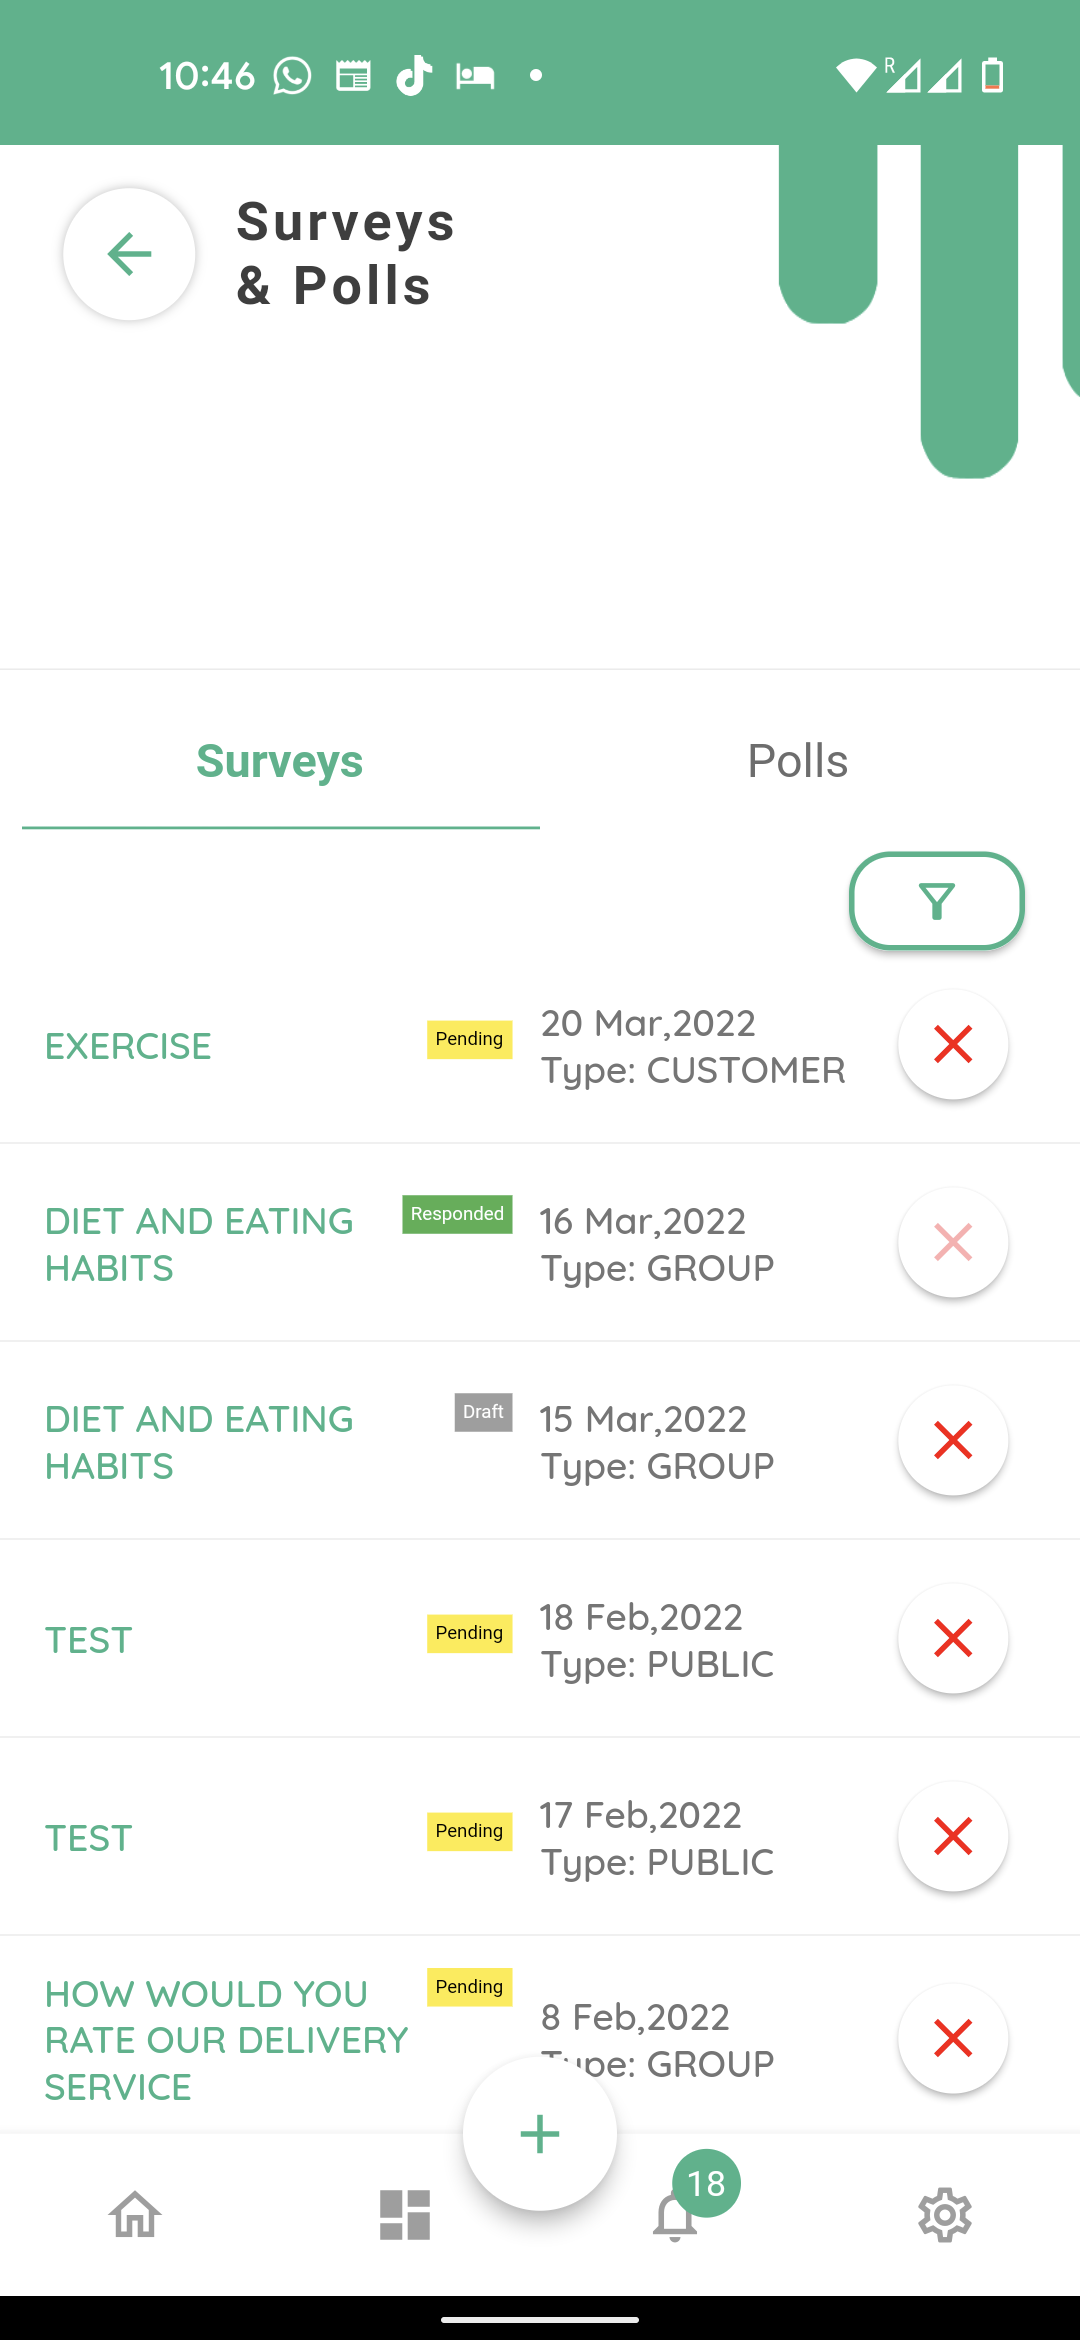
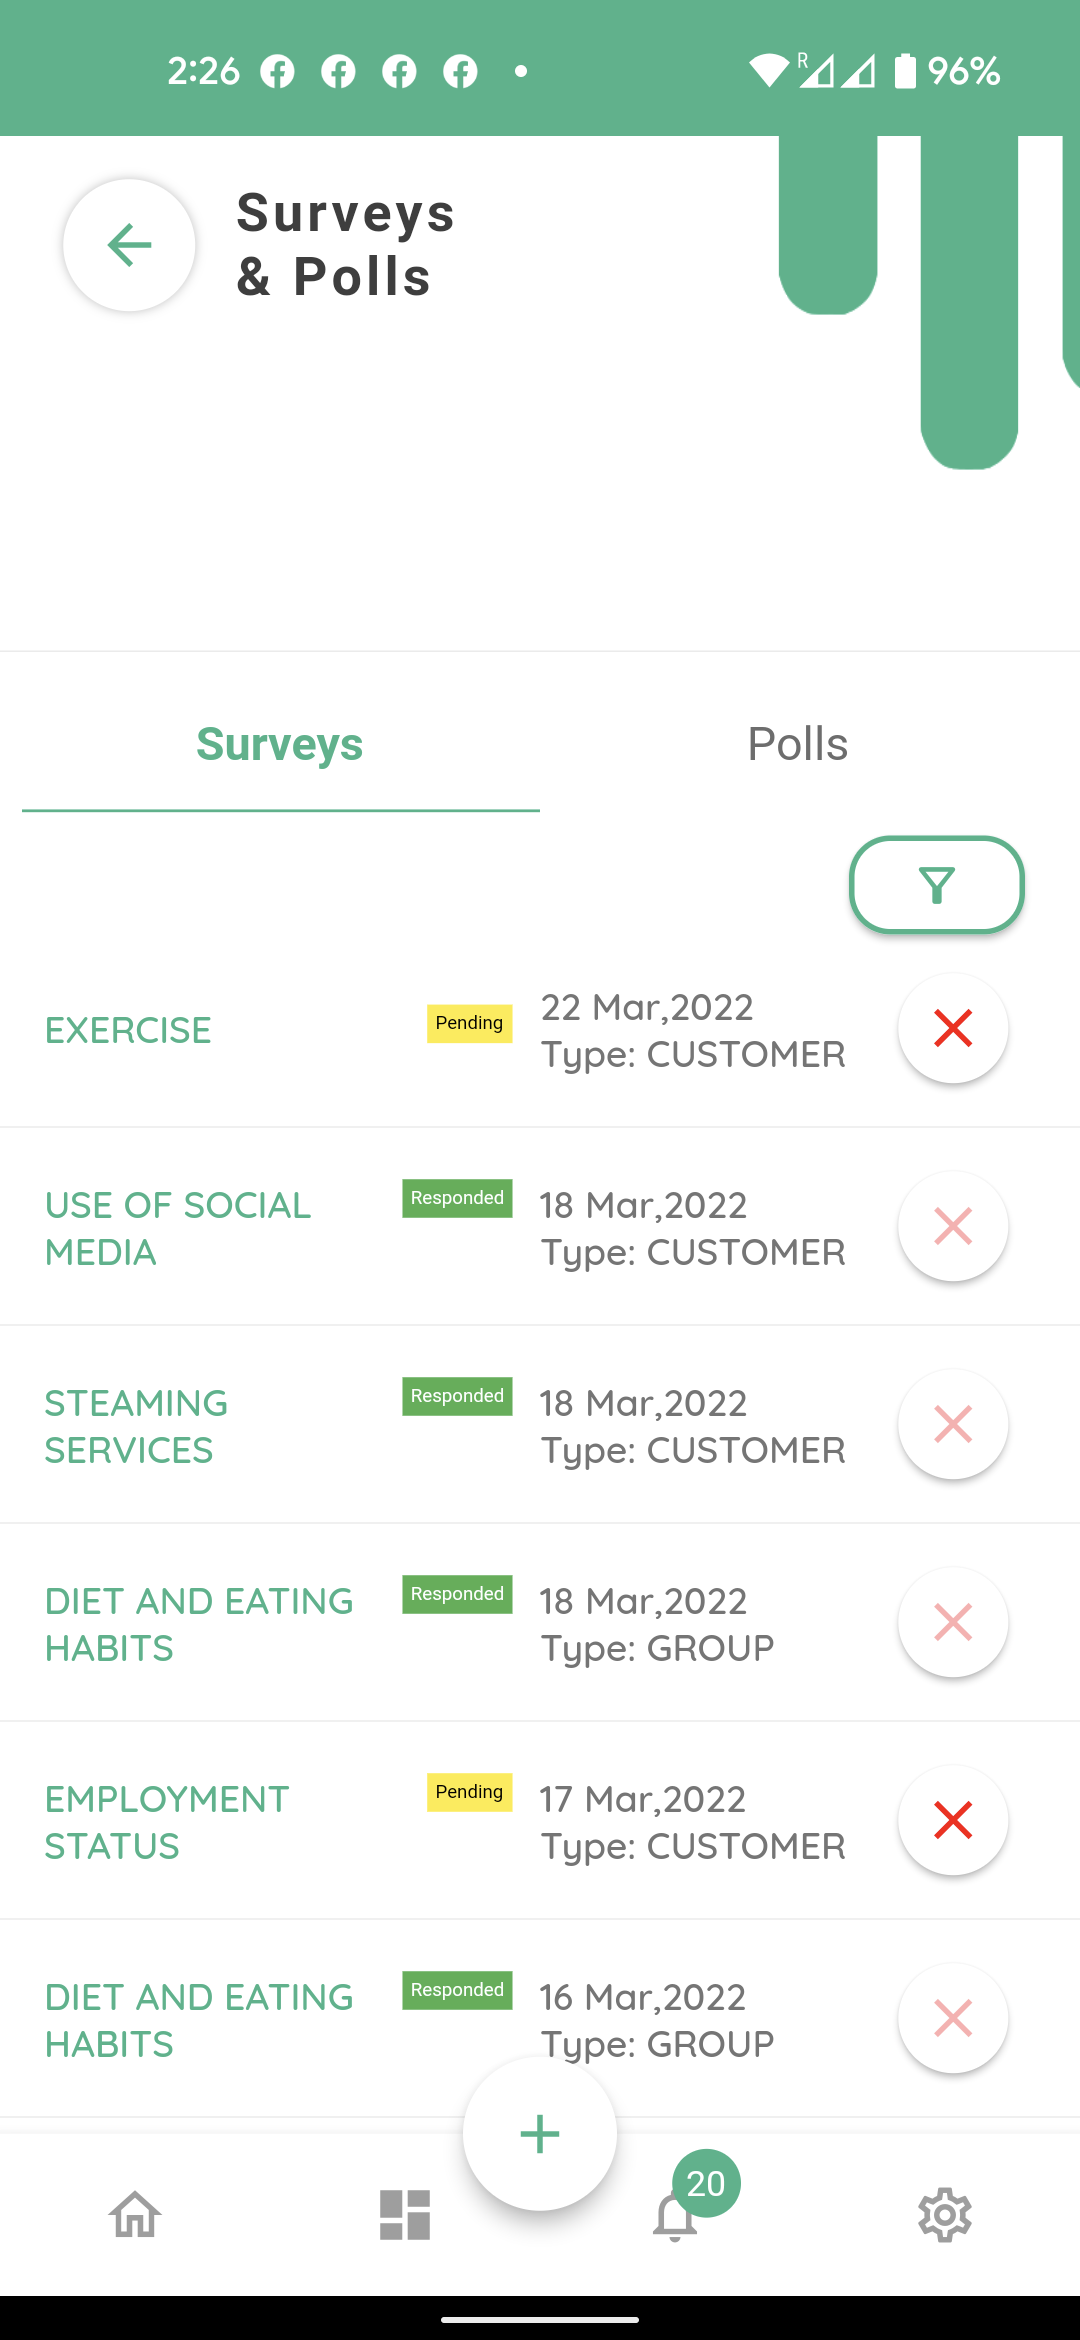
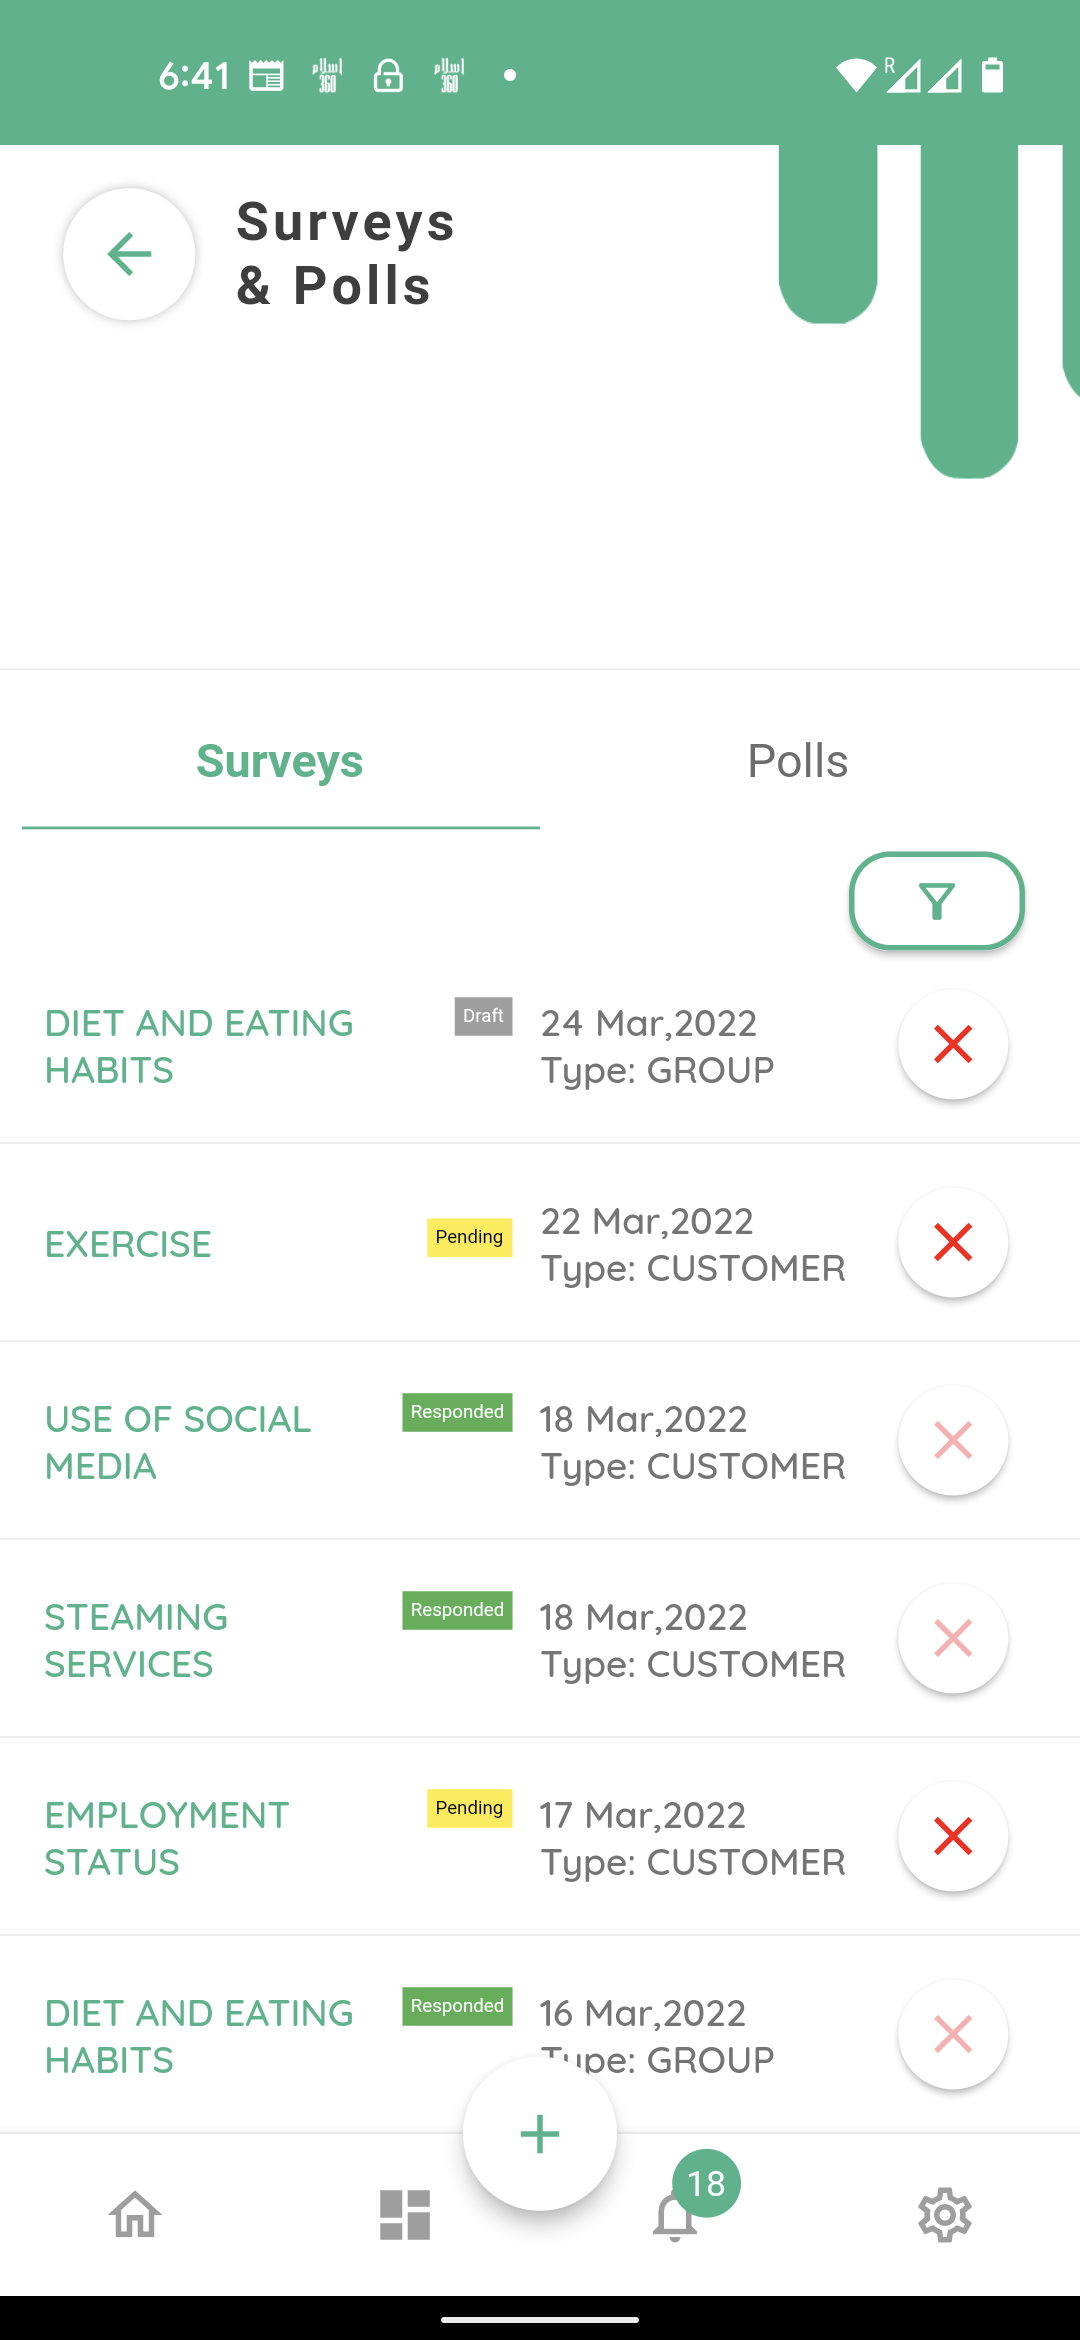
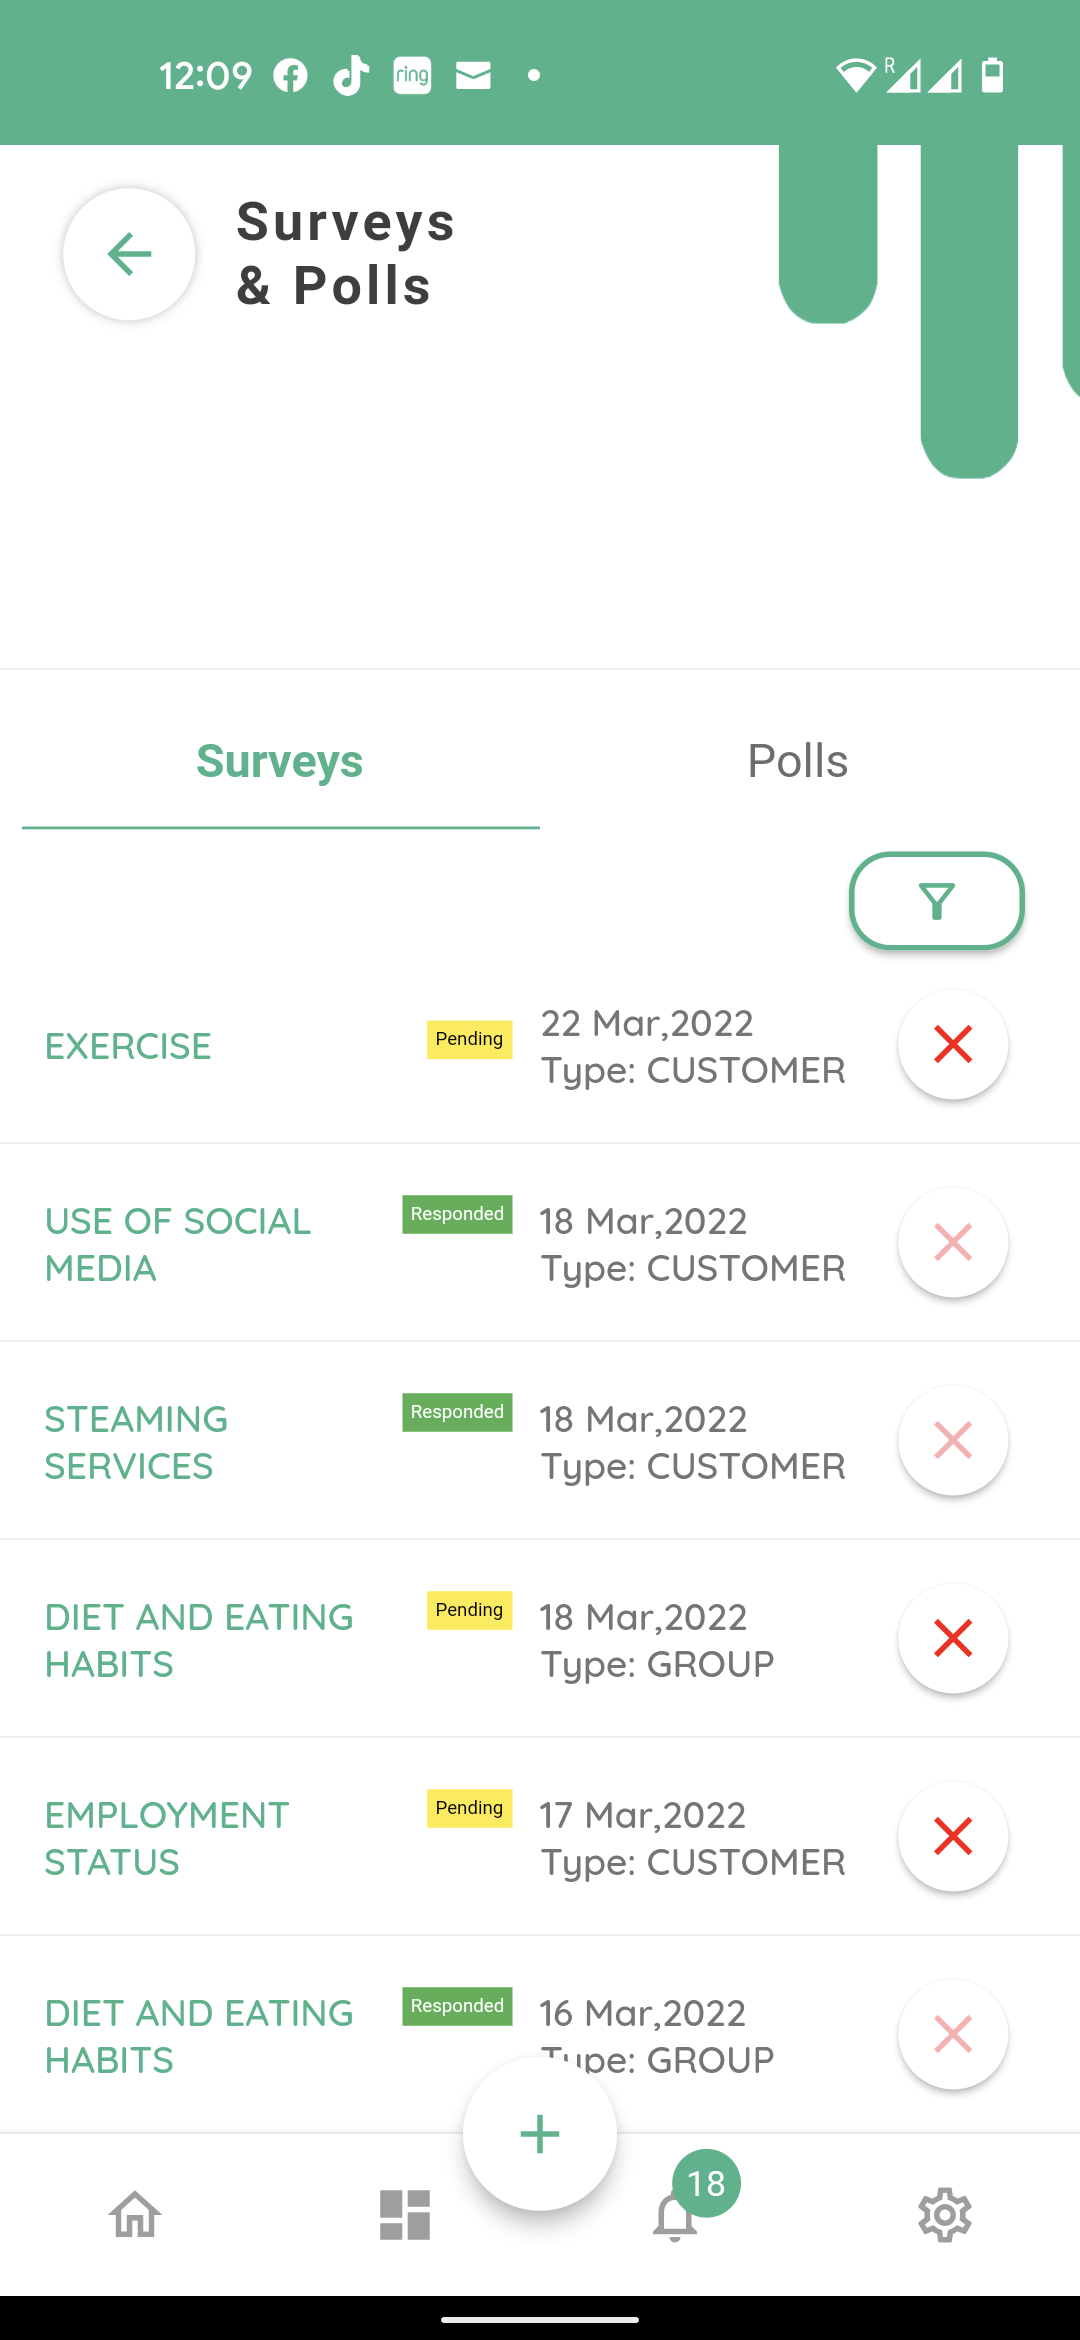
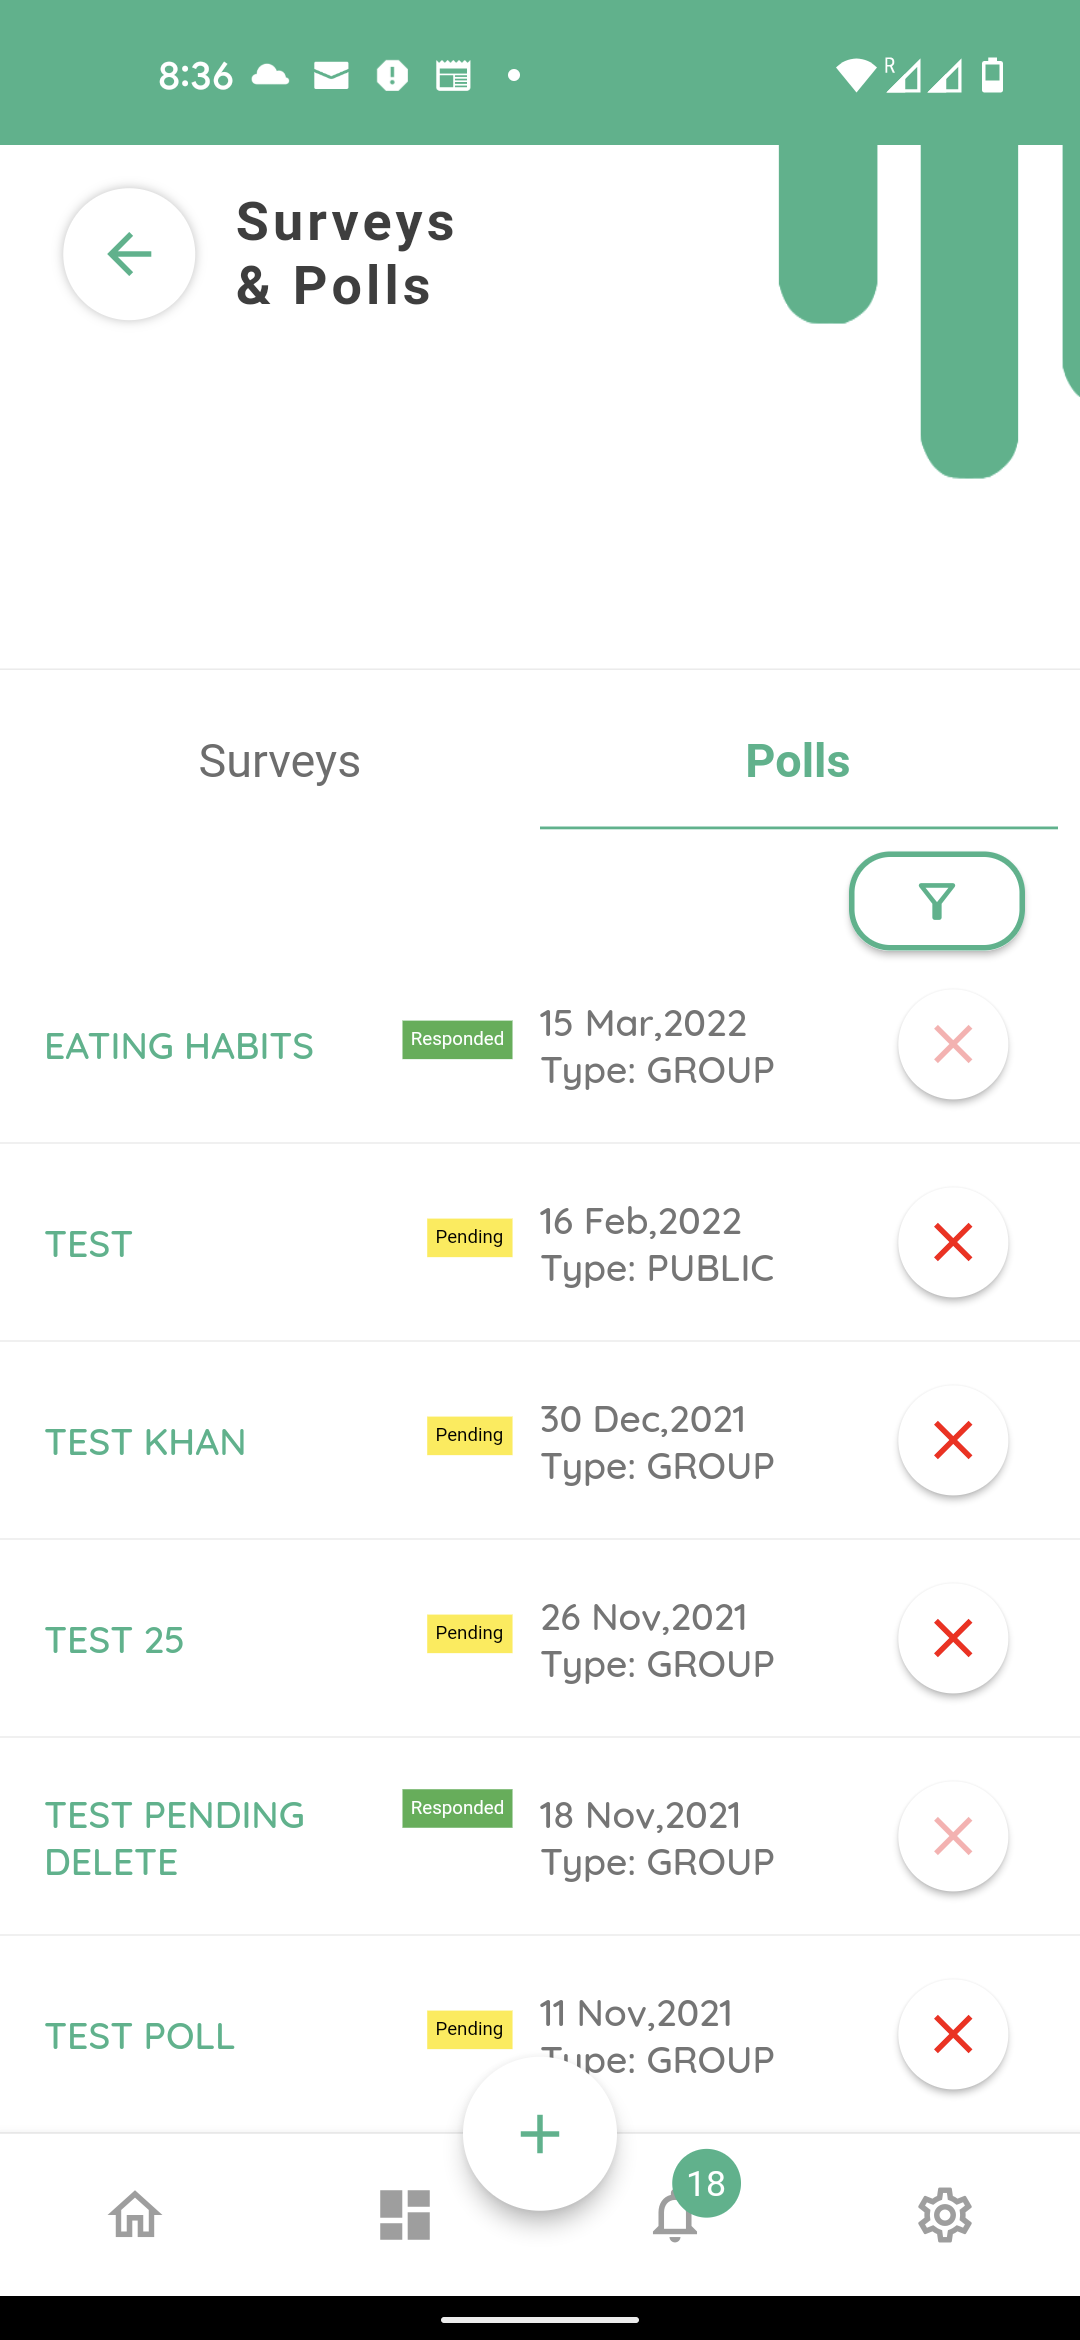
The surveys and polls homescreen shows all the previous surveys and polls under the respective tabs in a reverse chronological order. Please select surveys at the top left of the screen. Each survey is tagged with their respective status as draft, pending or responded.
Pressing the filter icon brings up the search menu.

This search feature is consistent across all modules of your connect app. You can perform a search here by name or dates
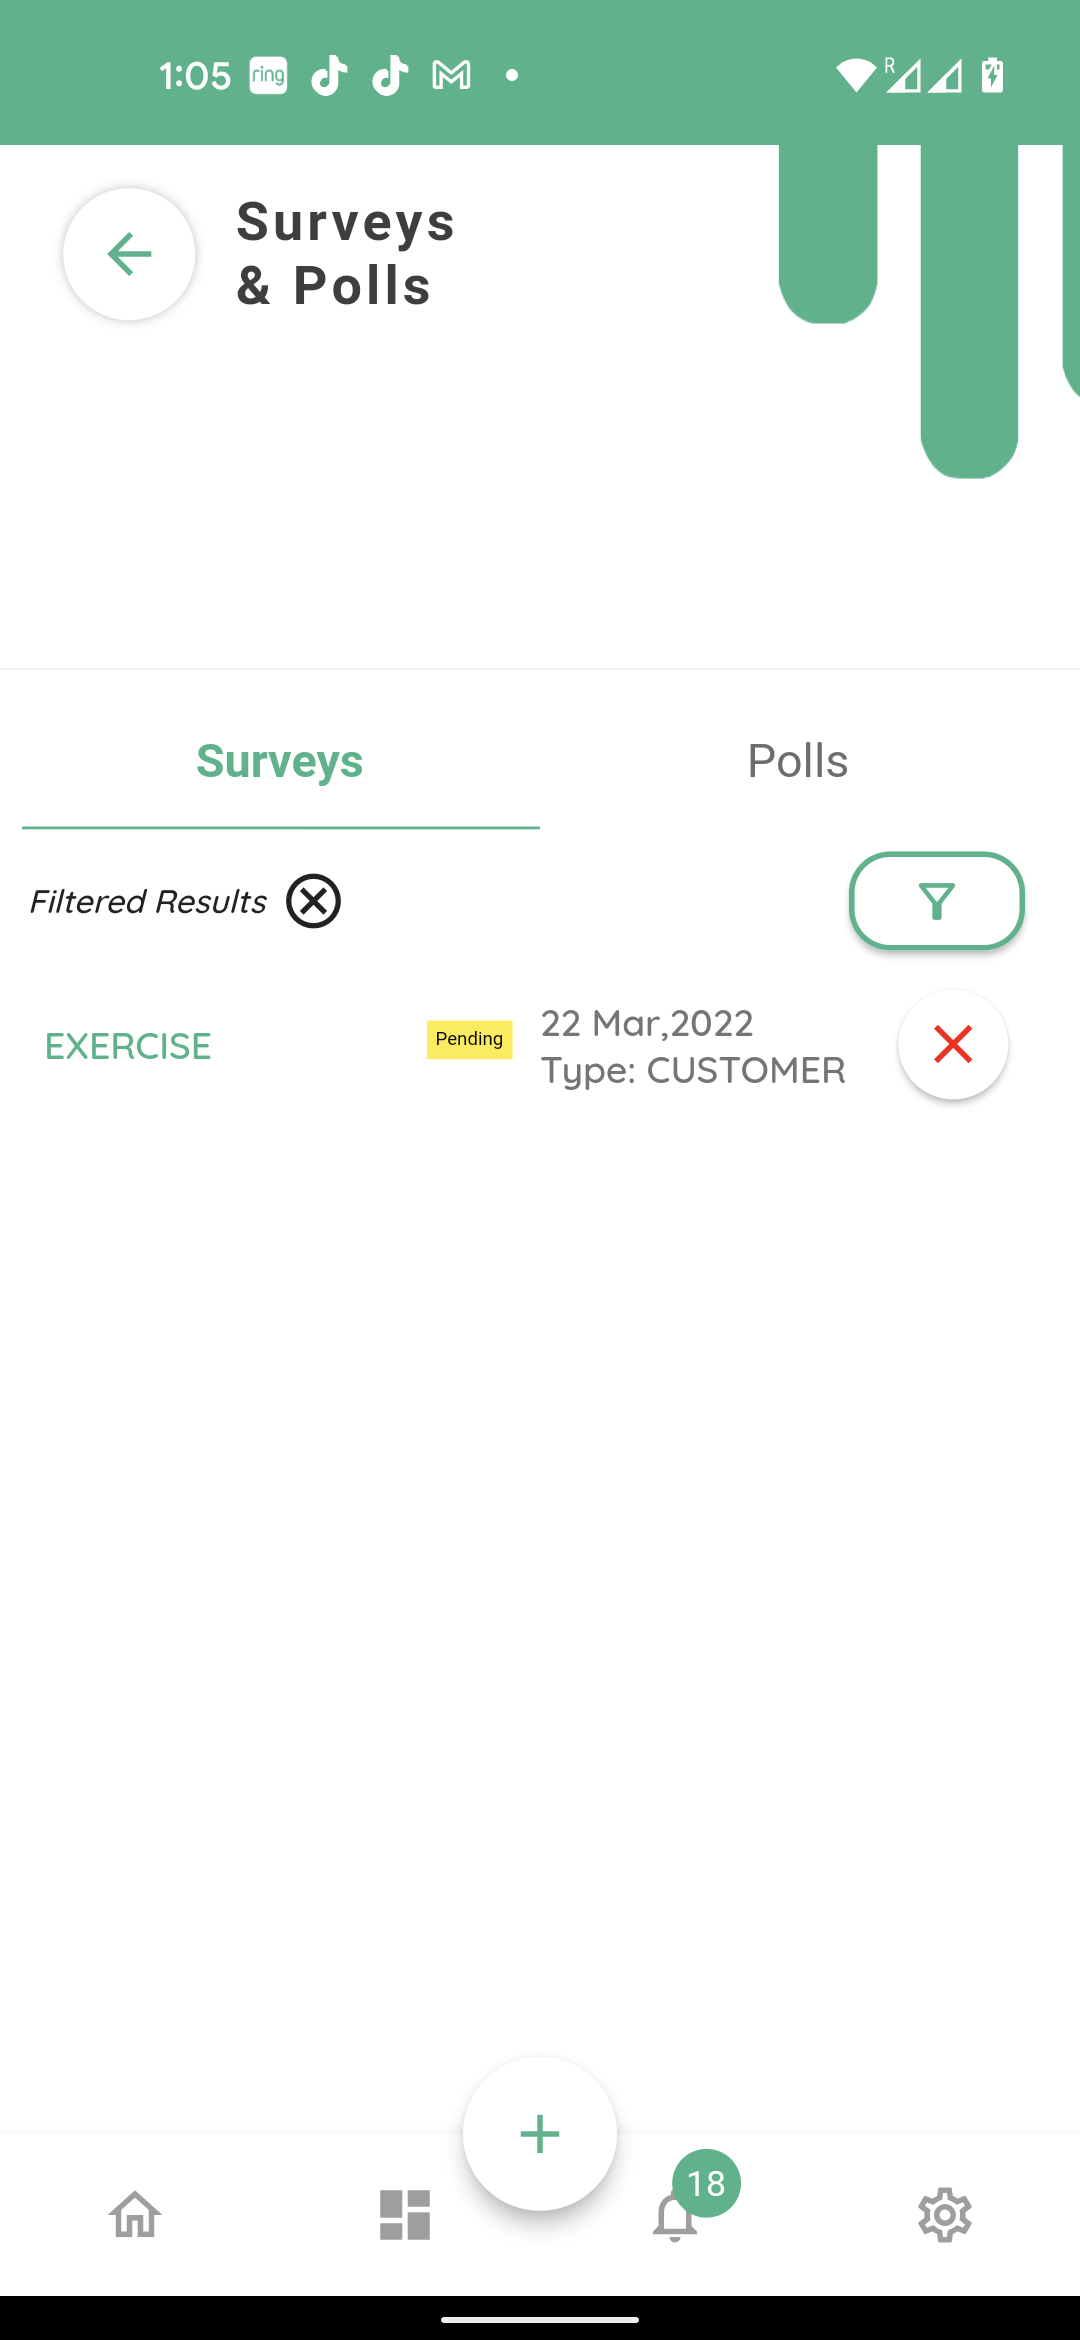
Any searches performed are cleared by clicking on the cross next to the filtered results.

To create a new survey, click “add” at the bottom of the screen.
It will open up a blank form to create a survey.

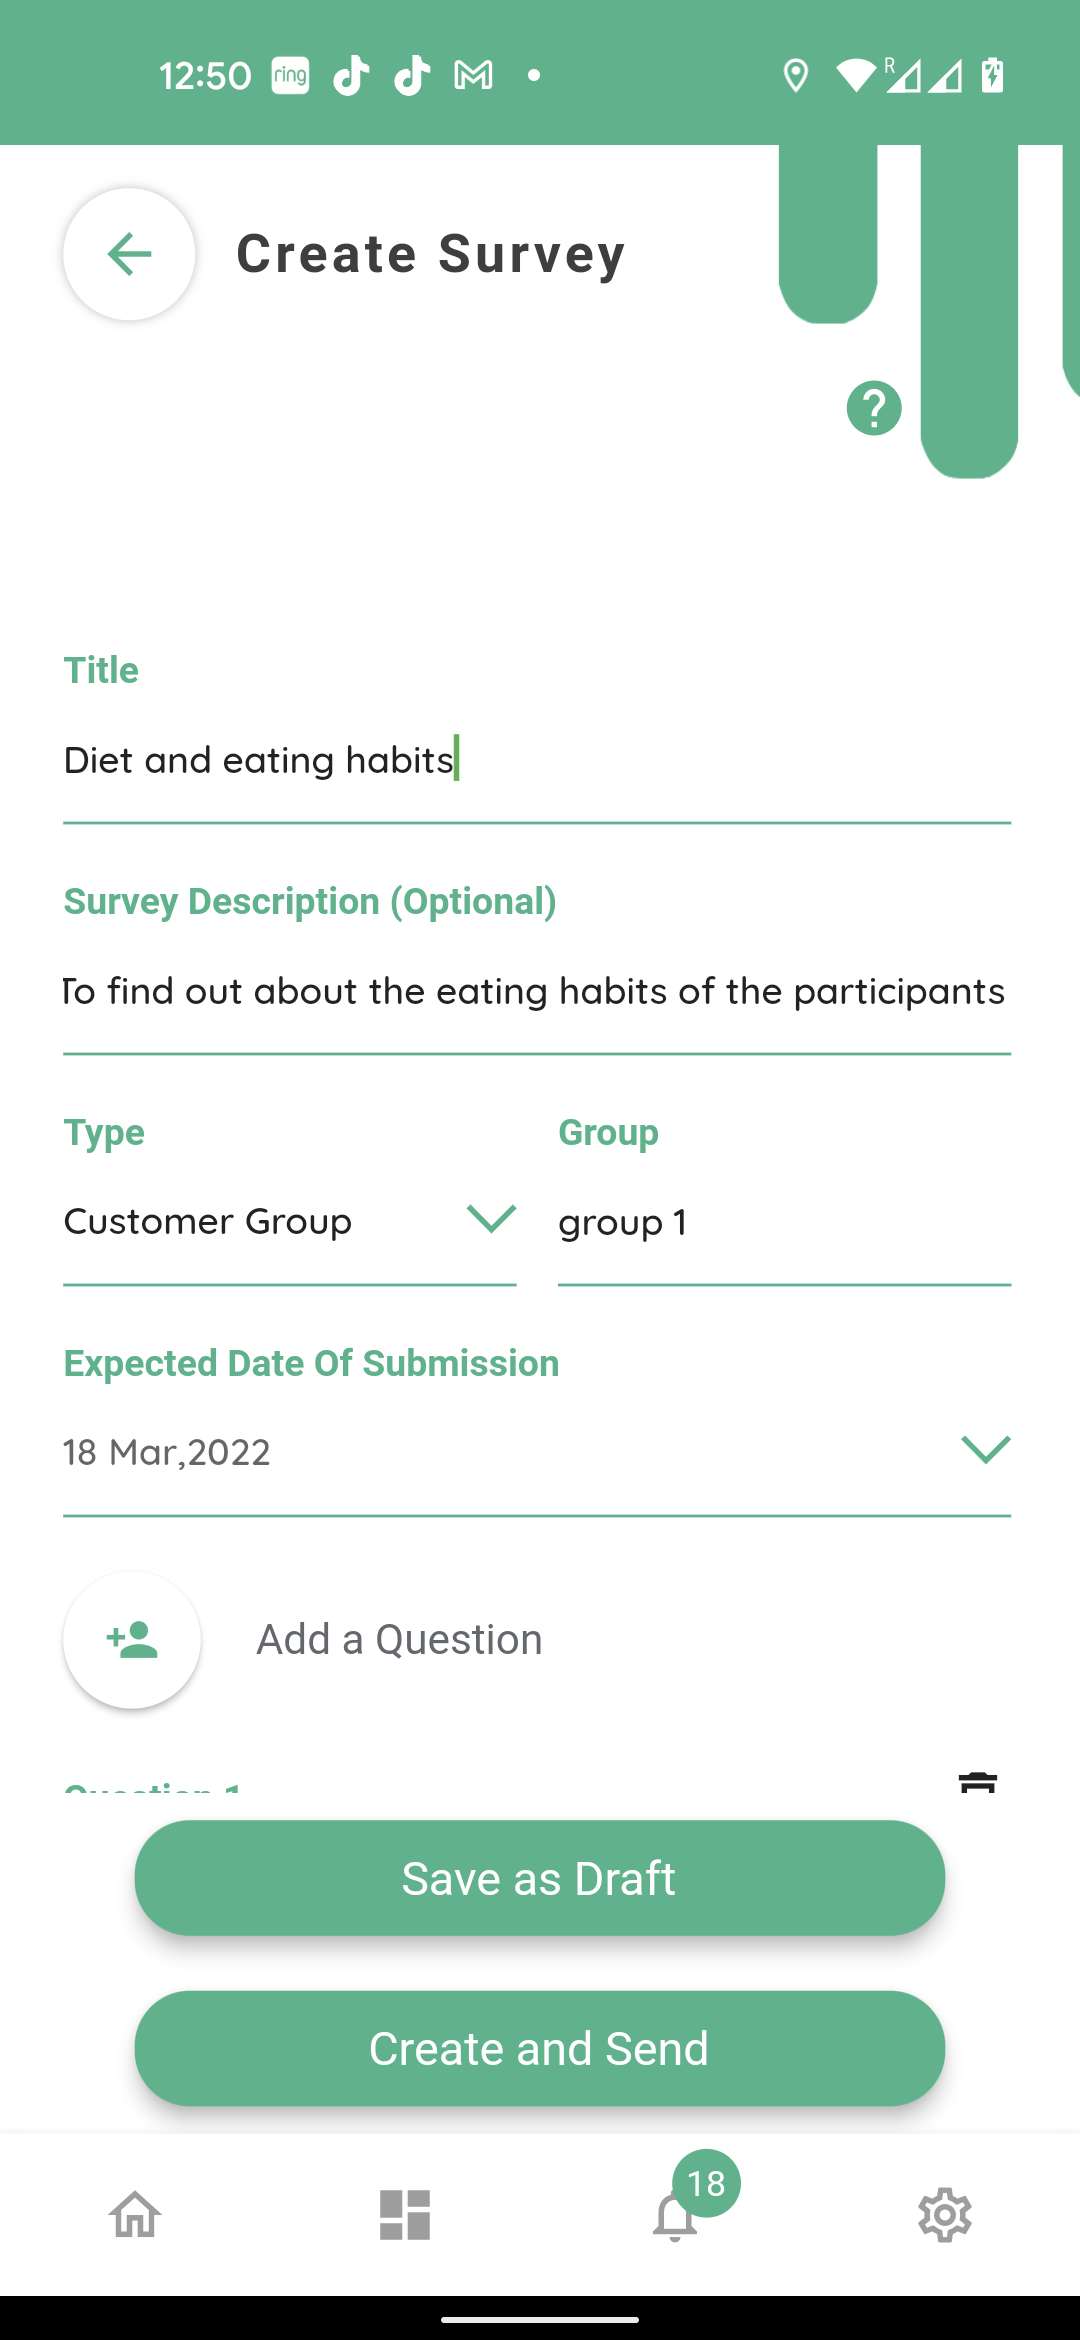
Fill the ‘title’ and ‘survey description’.
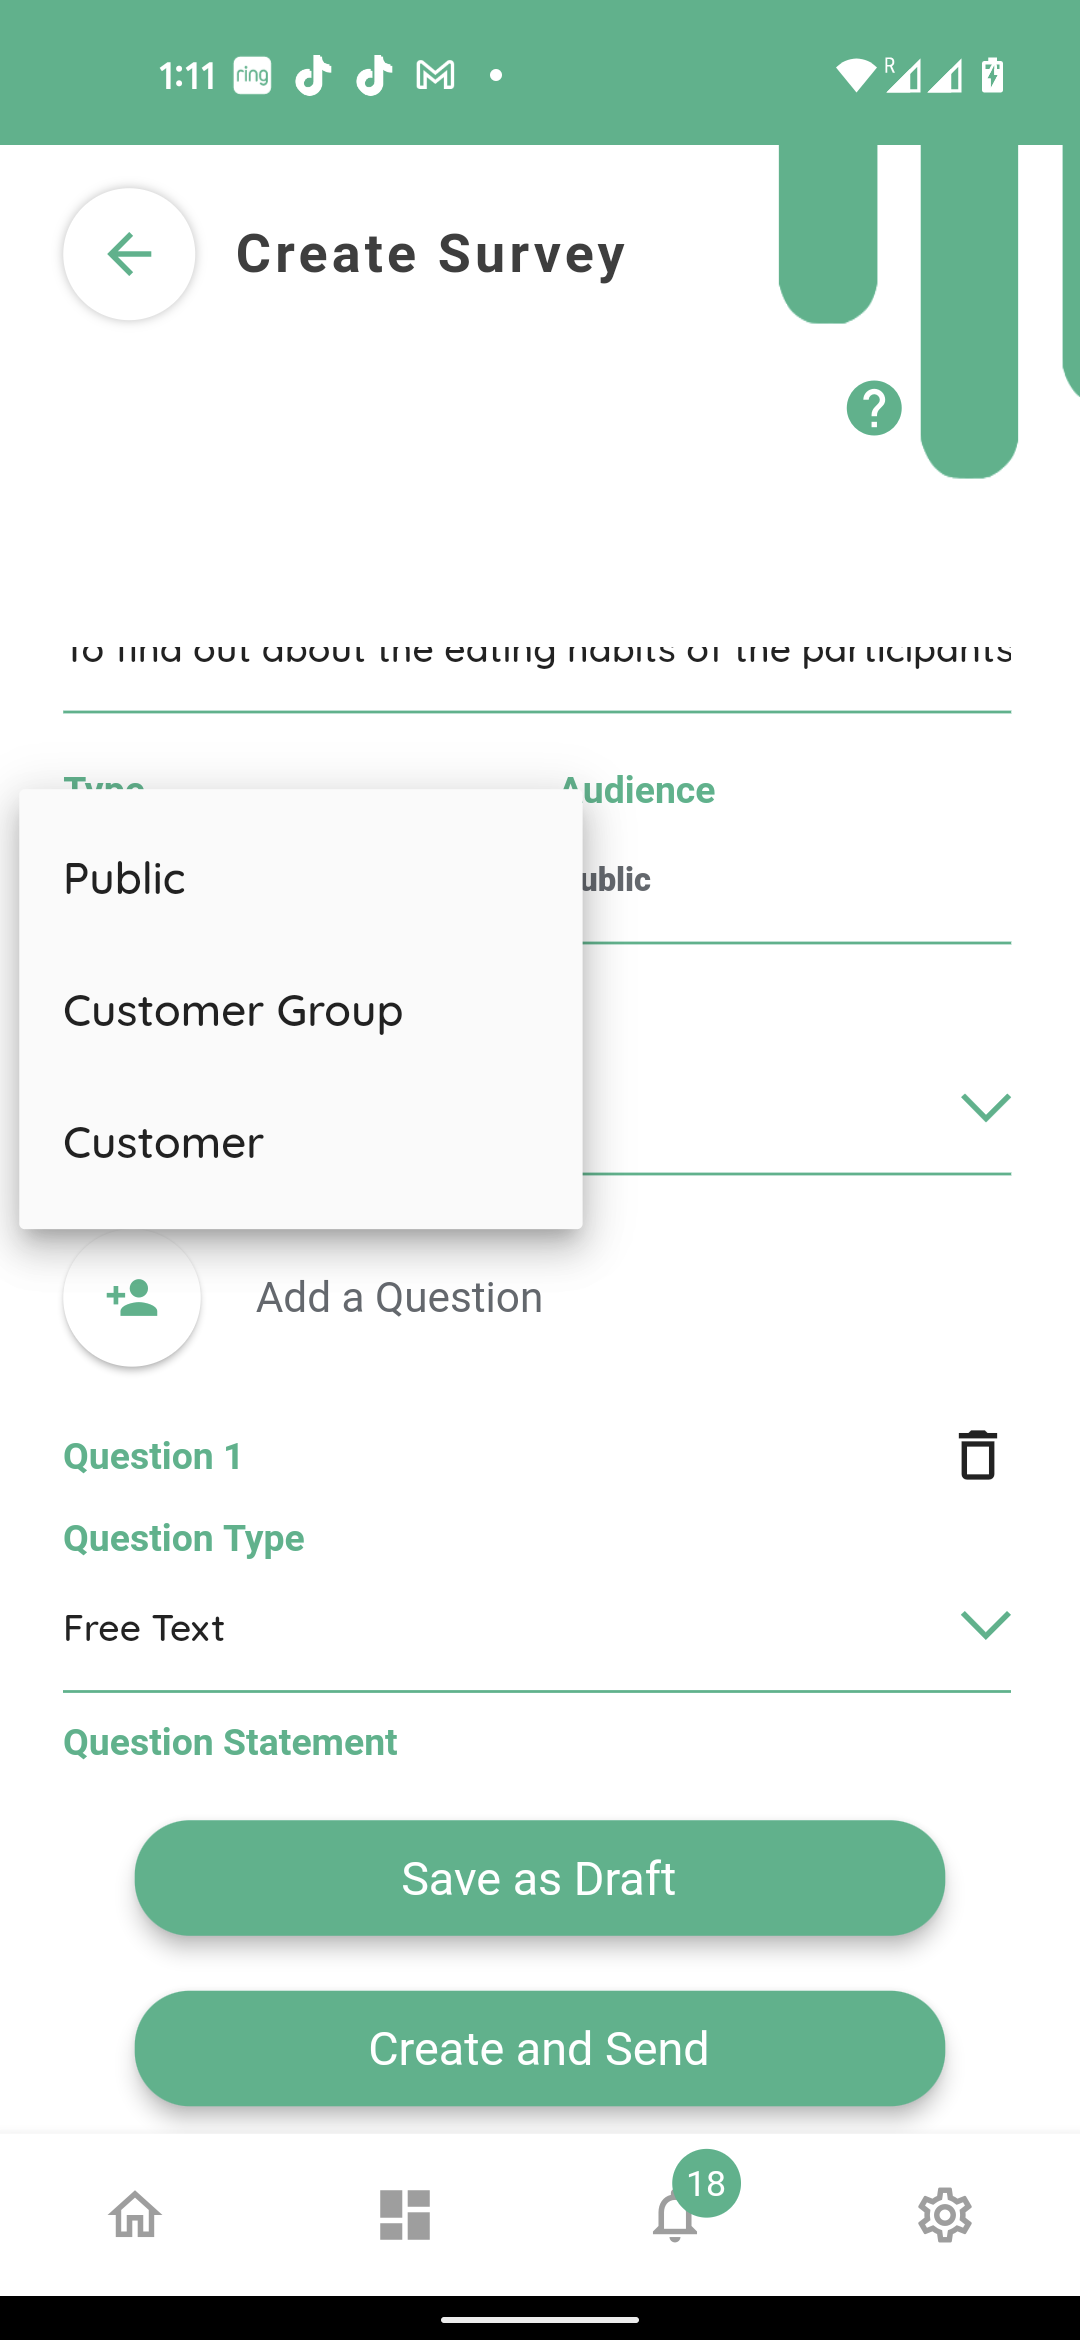
Clicking the ‘type’ tab will open the pop up menu with three options; Public, Customer Group and Customer.
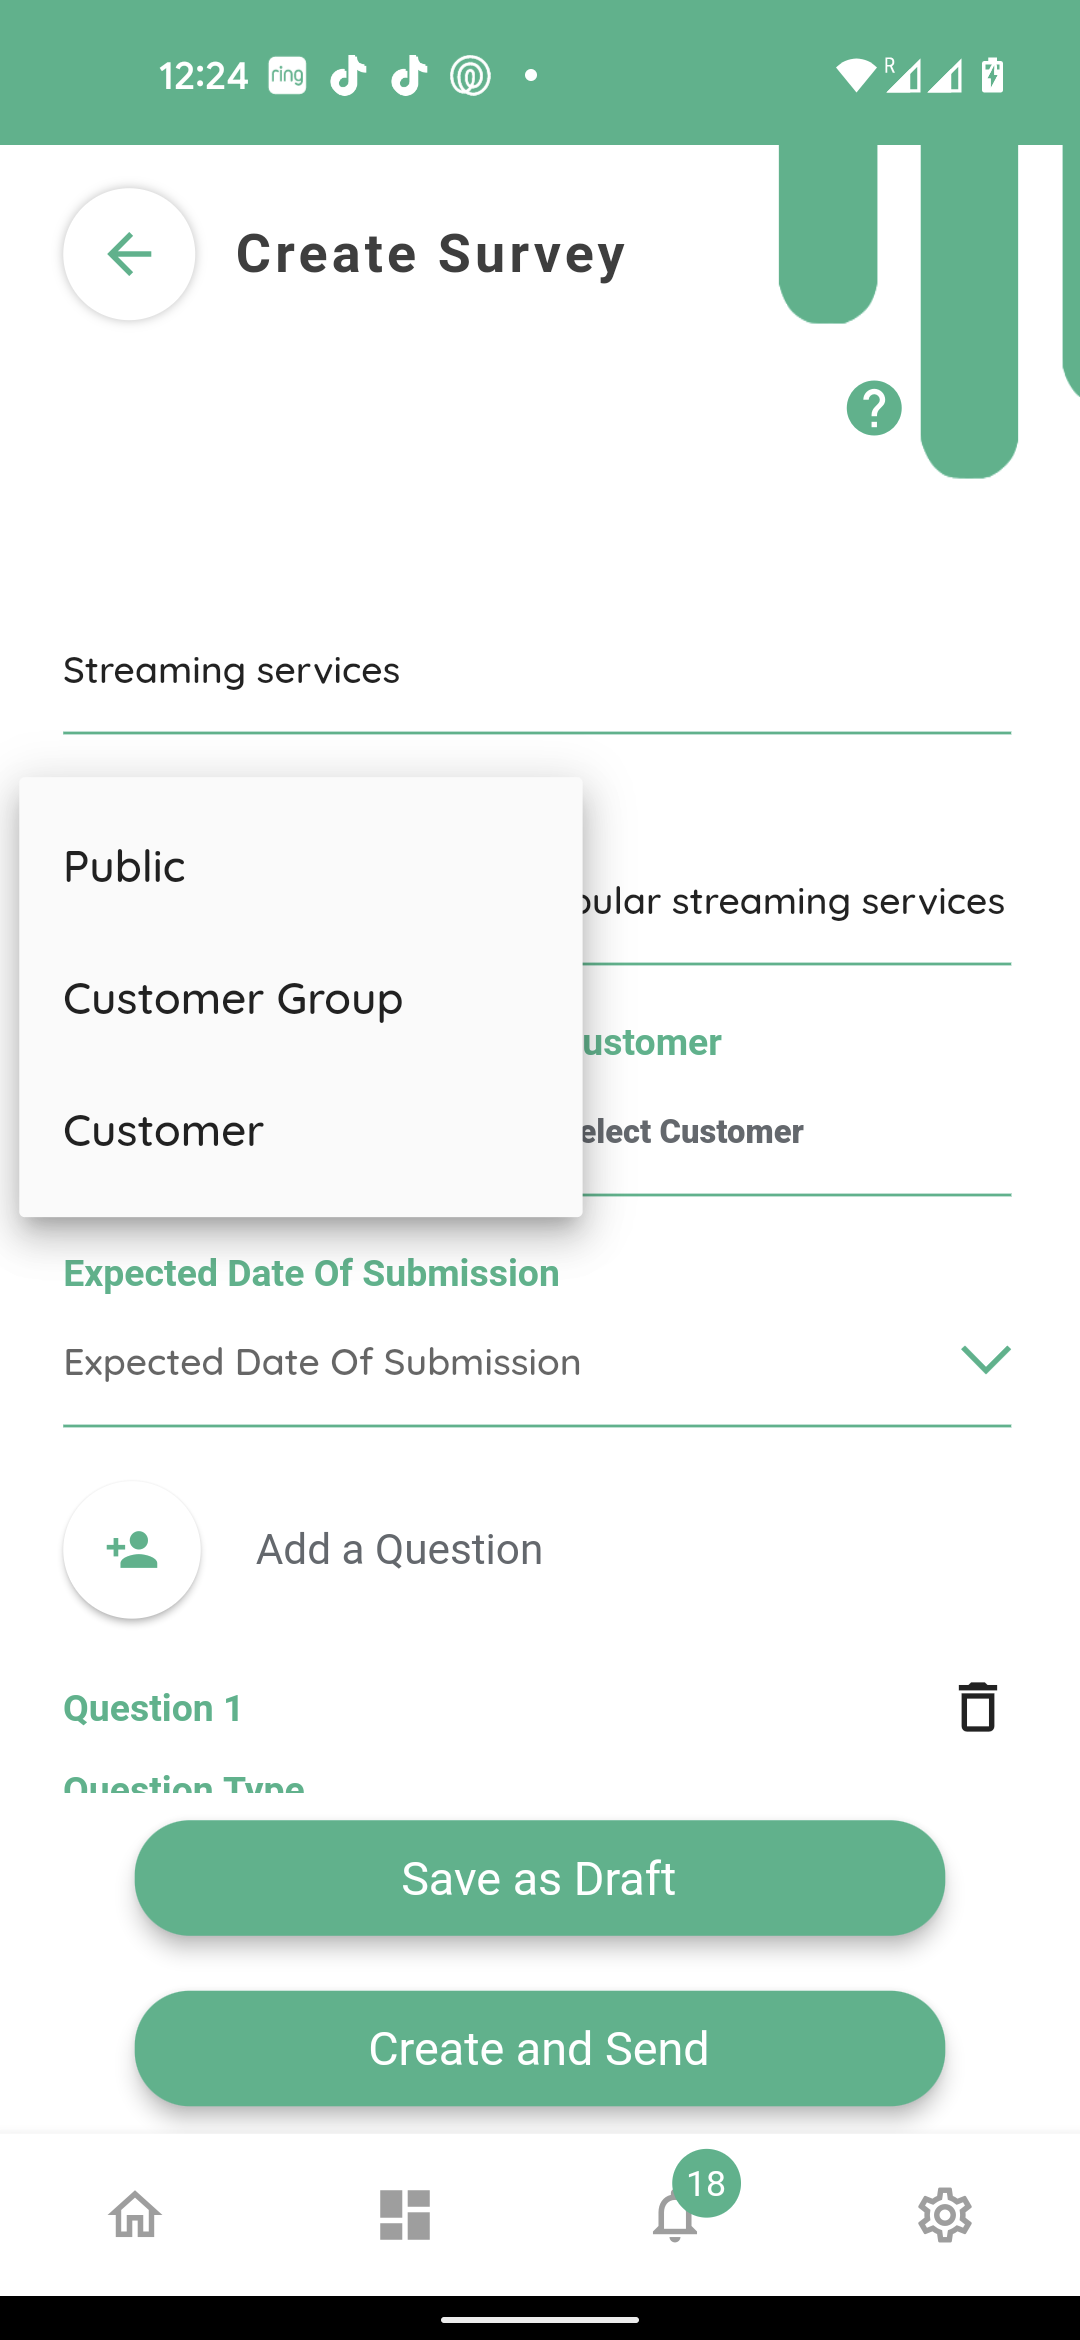
Select your participants.
Selecting ‘public’ will send the survey request to all customers registered with the organisation.
Selecting ‘customer group’ will allow you to choose a customer group which has already been created under the users tab.
Selecting ‘customer’ will send the survey to one particular customer.
In this example we are conducting a survey with one customer.

Select the customer from the list.
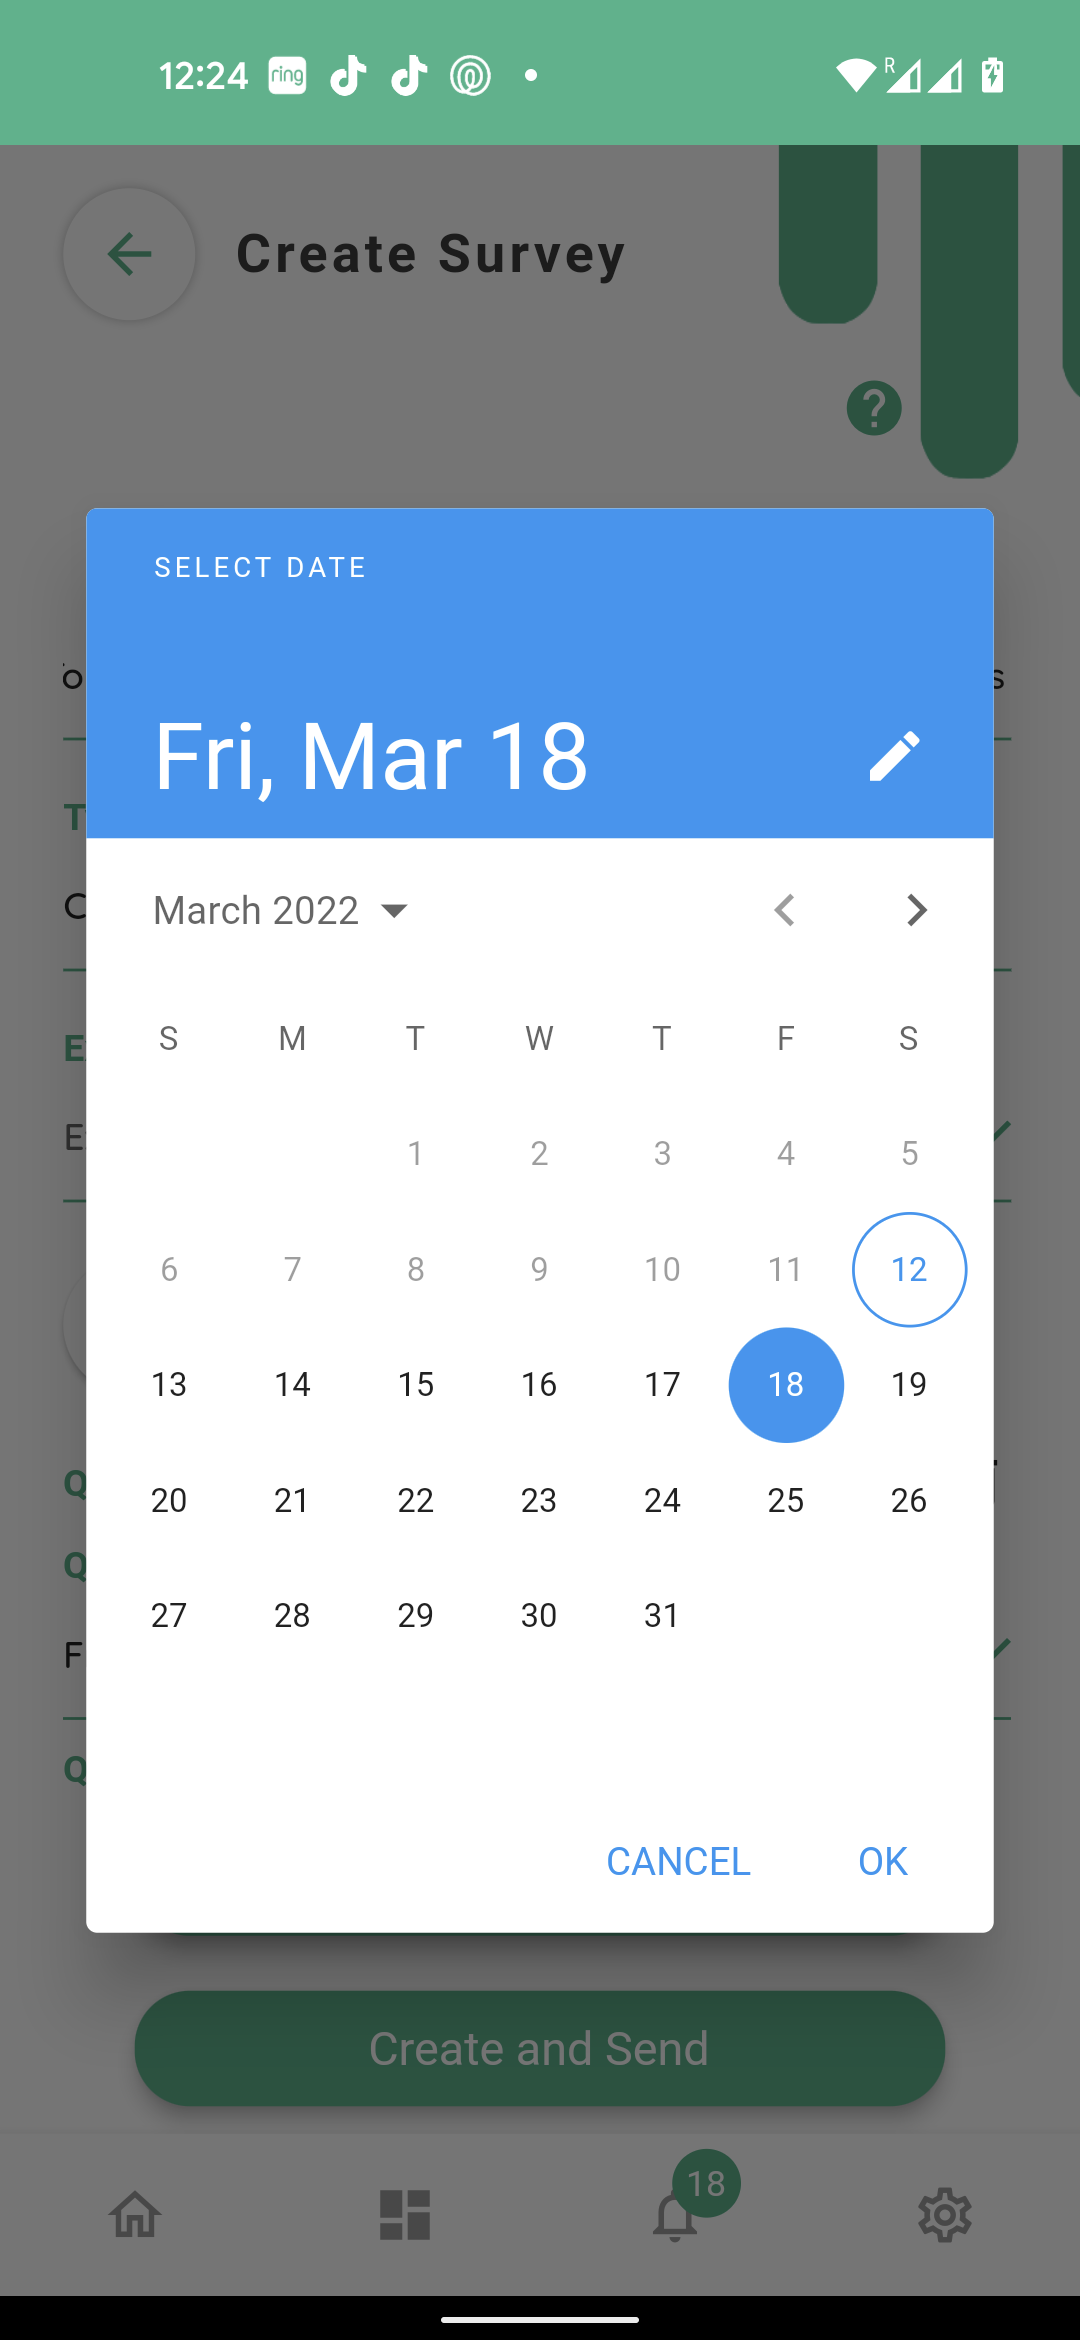
Select the expected date of submission.
Clicking the ‘question type’ gives you two options;

‘Free text’ or ‘MCQ’
‘Free text’ allows the participants to explain the answer or express their opinions in their own words.
‘MCQ’ or multiple choice question allows the participants to select the answer from the choices offered.
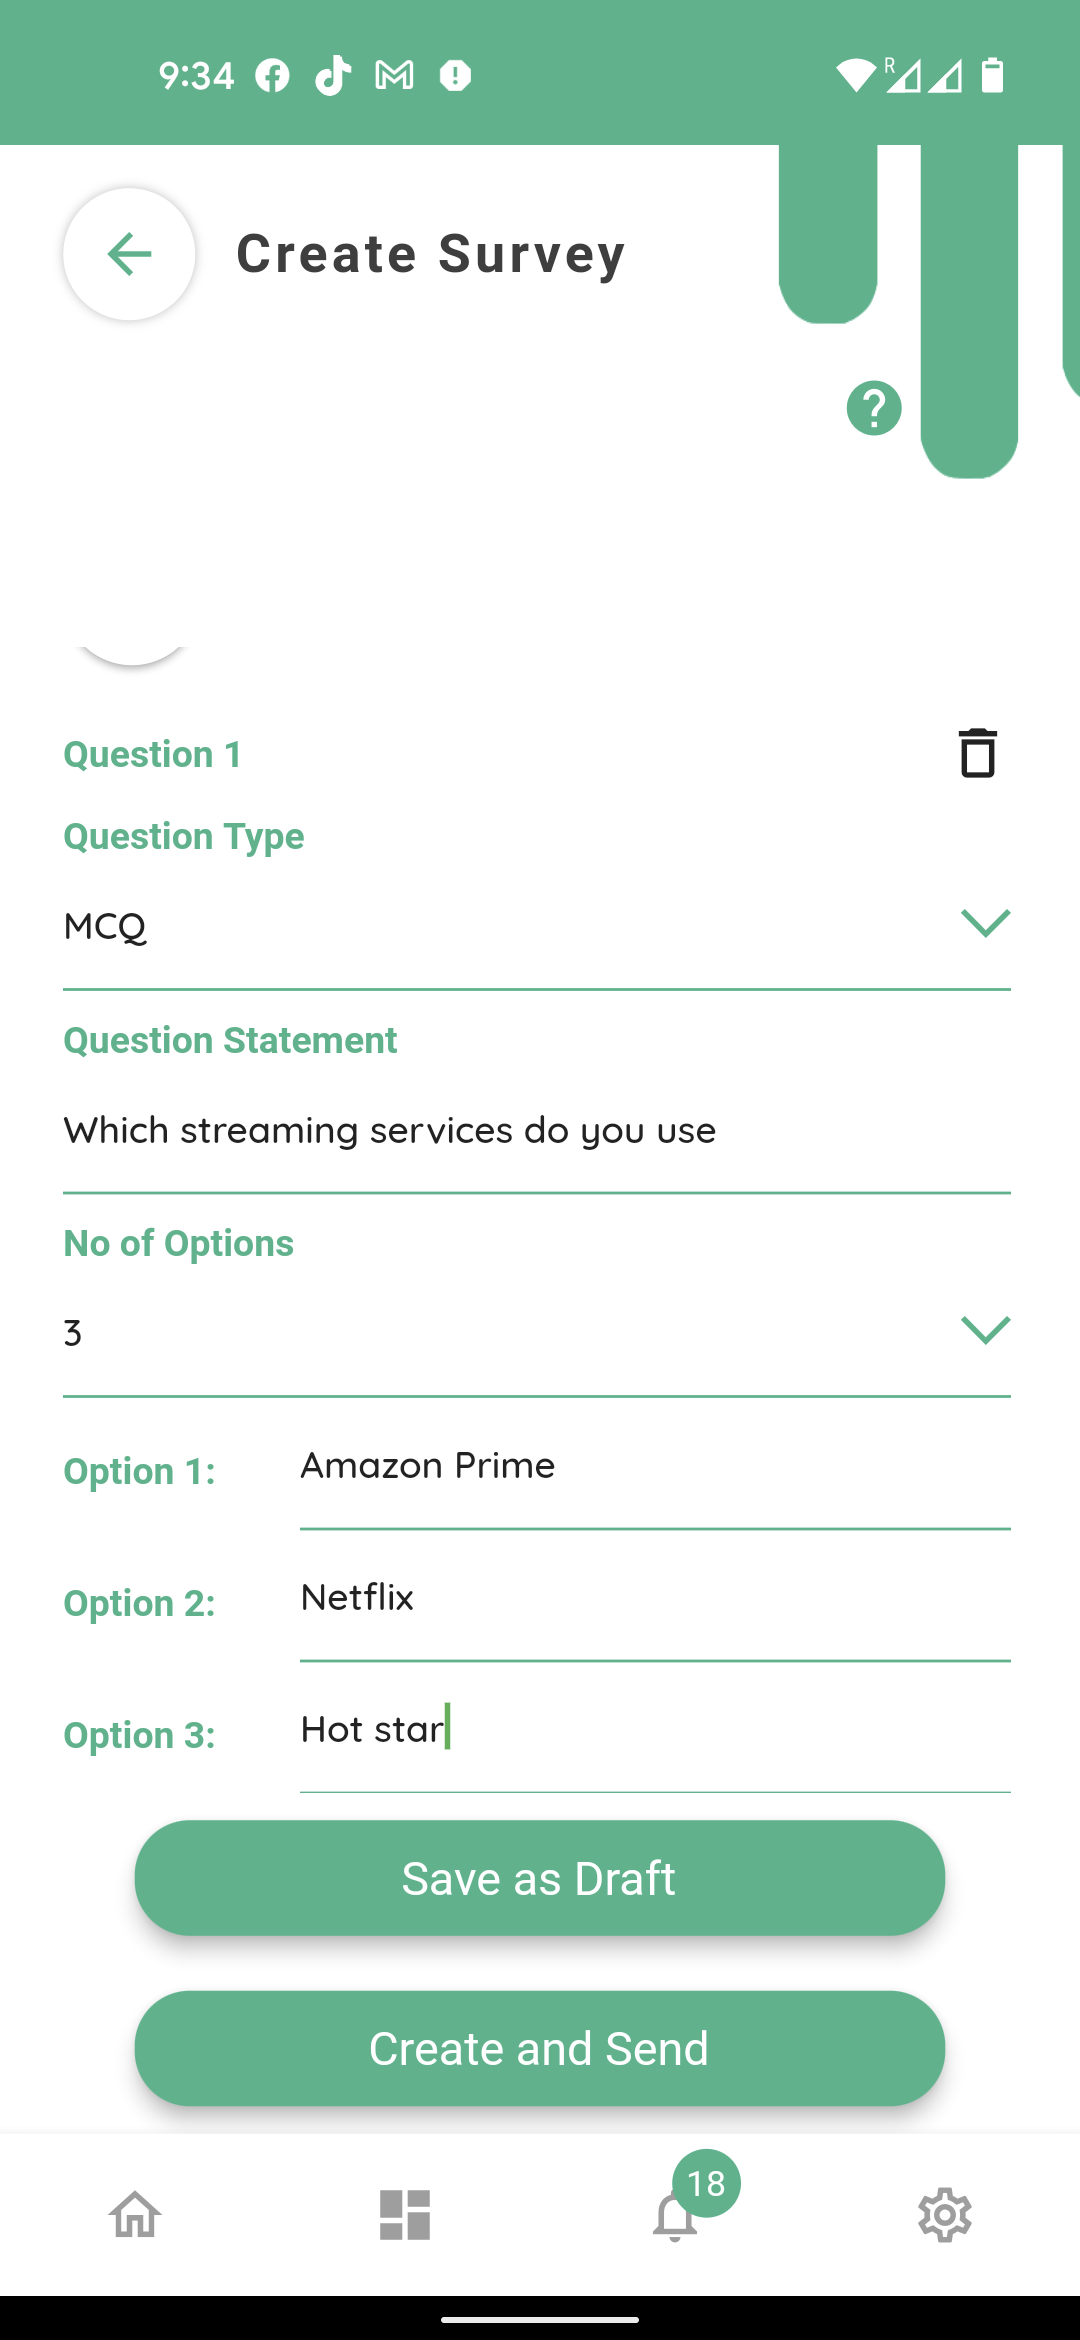
Click ‘Question type’ and select ‘MCQ’

then type the question statement and select and fill the ‘Number of options’
You may add as many questions as you wish by clicking the add question button

You can create a survey with a combination of MCQs and Free text questions if you wish. You can also delete any question by selecting the bin icon.
Once the survey form has been created, you have two options; ‘Save as Draft’ or ‘Create and Send’. Selecting ‘Save as Draft’ will let you save, edit or send the survey later on.
If it’s ready to be sent, click ‘Create and Send’
If you choose save as draft

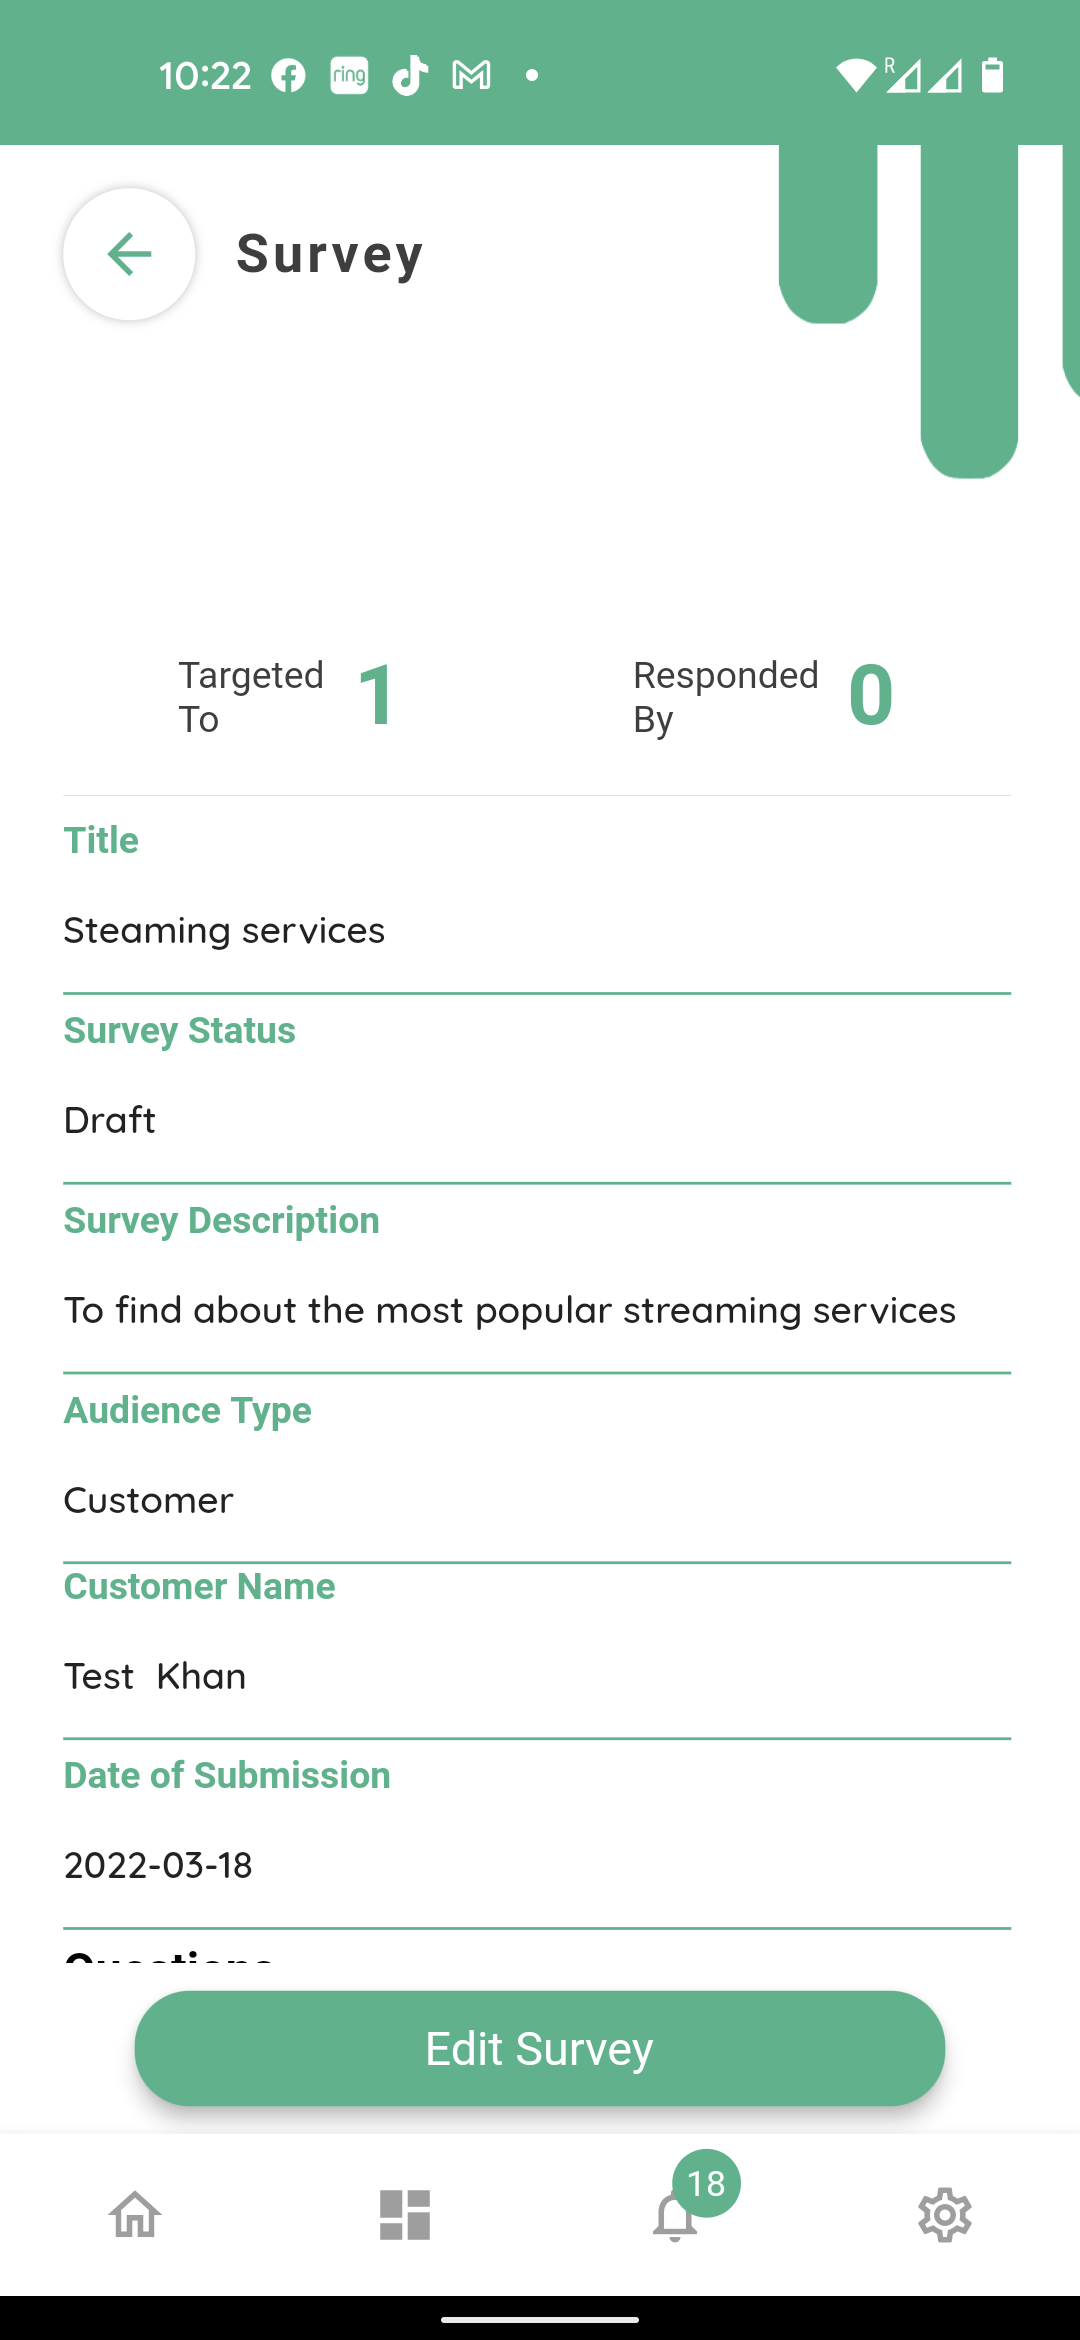
The status of this survey will appear as ‘Draft’ with a grey tag, on the ‘Surveys and Polls’ home screen.
If it is no longer needed, you can delete it by clicking the ‘cross’ button.
If any survey is in pending or draft status it can be edited by clicking on it.
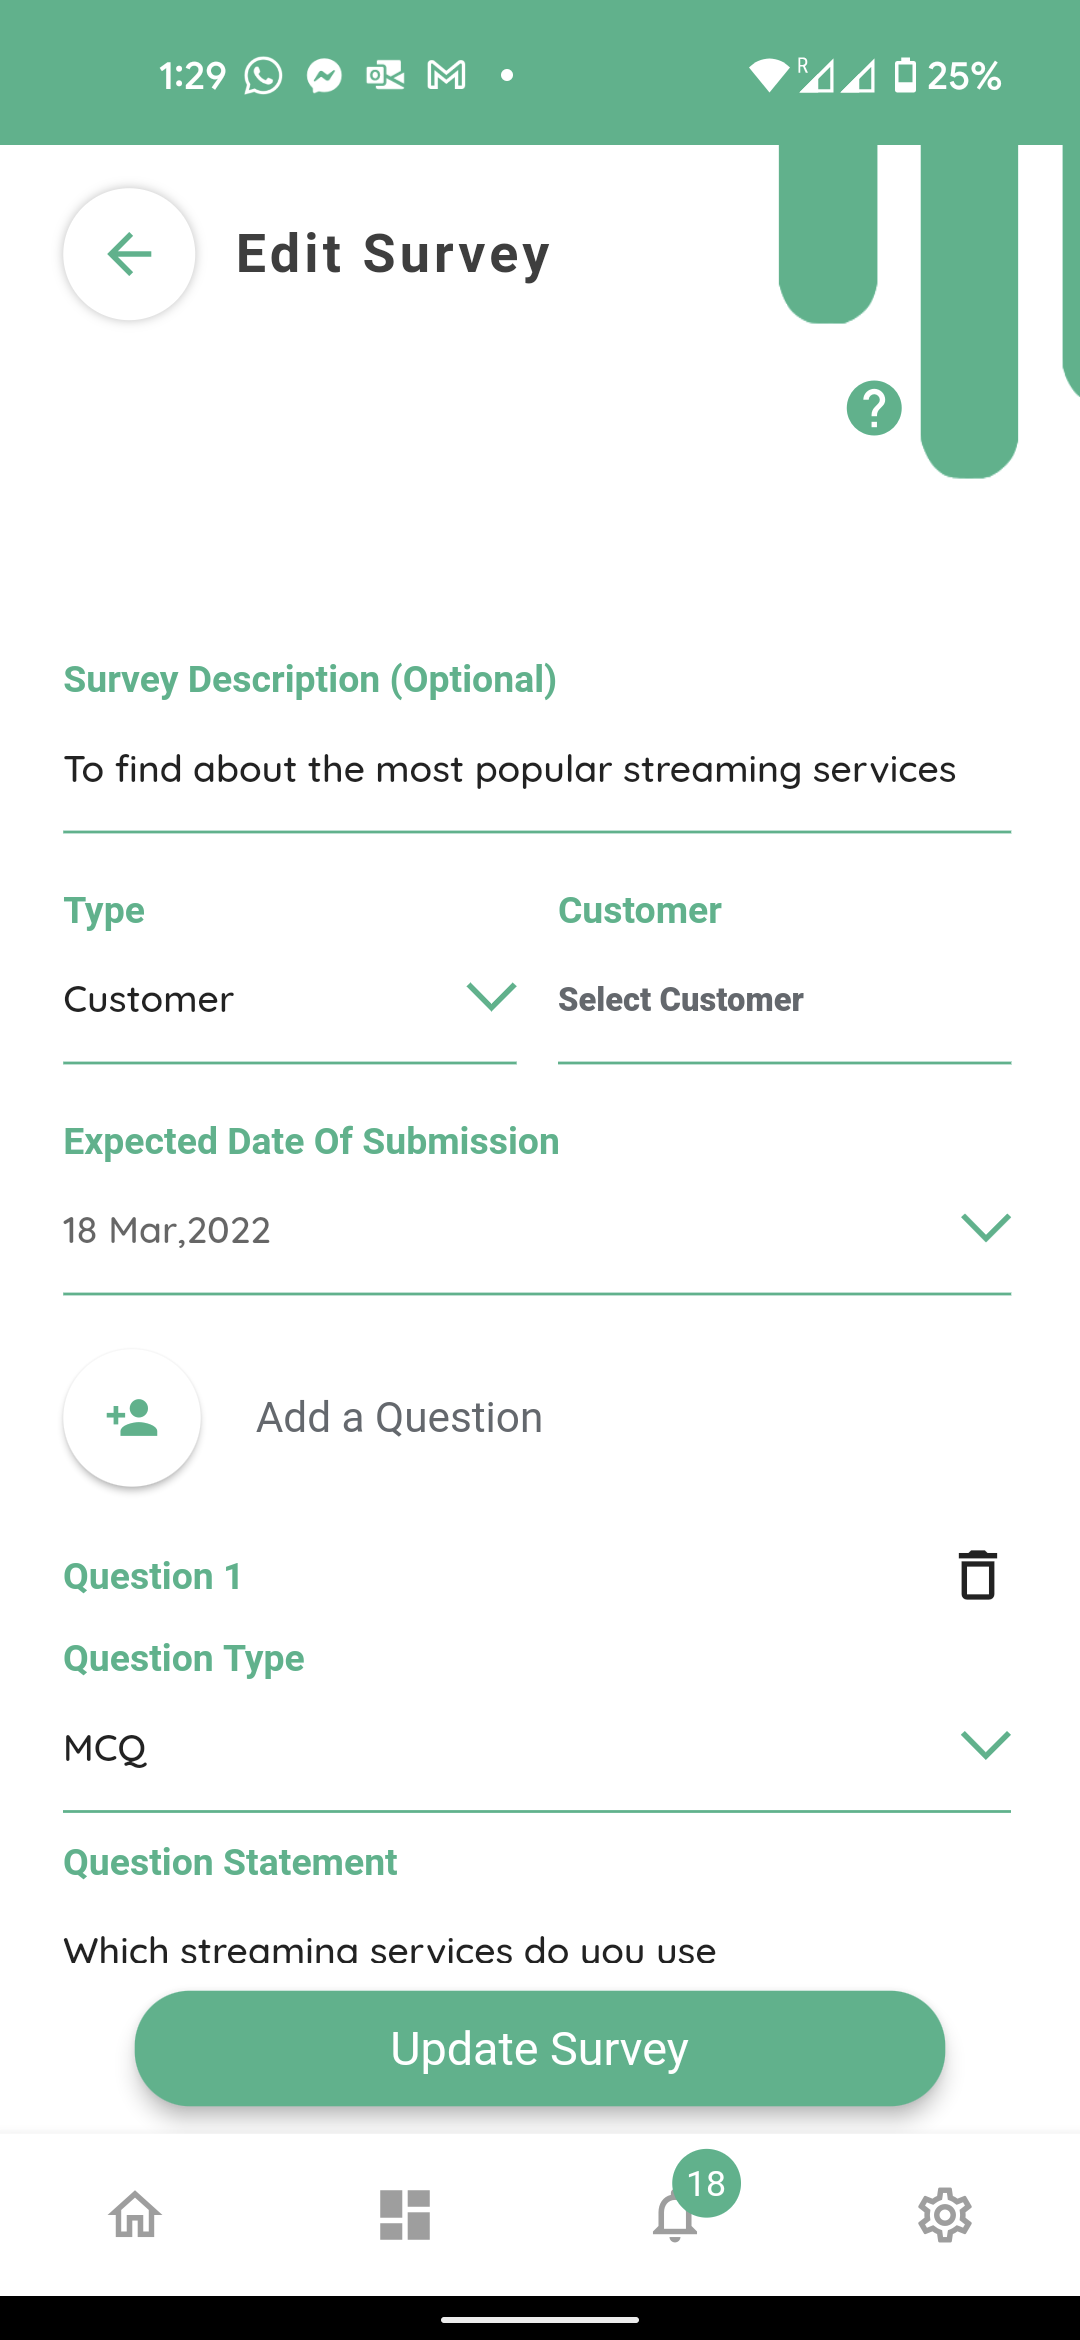
To edit any draft survey, select it from this screen.
and click ‘edit survey’ to make the desired changes.
In this scenario, first let’s add another option, option 4, to the question 1

by selecting and changing the number of options field
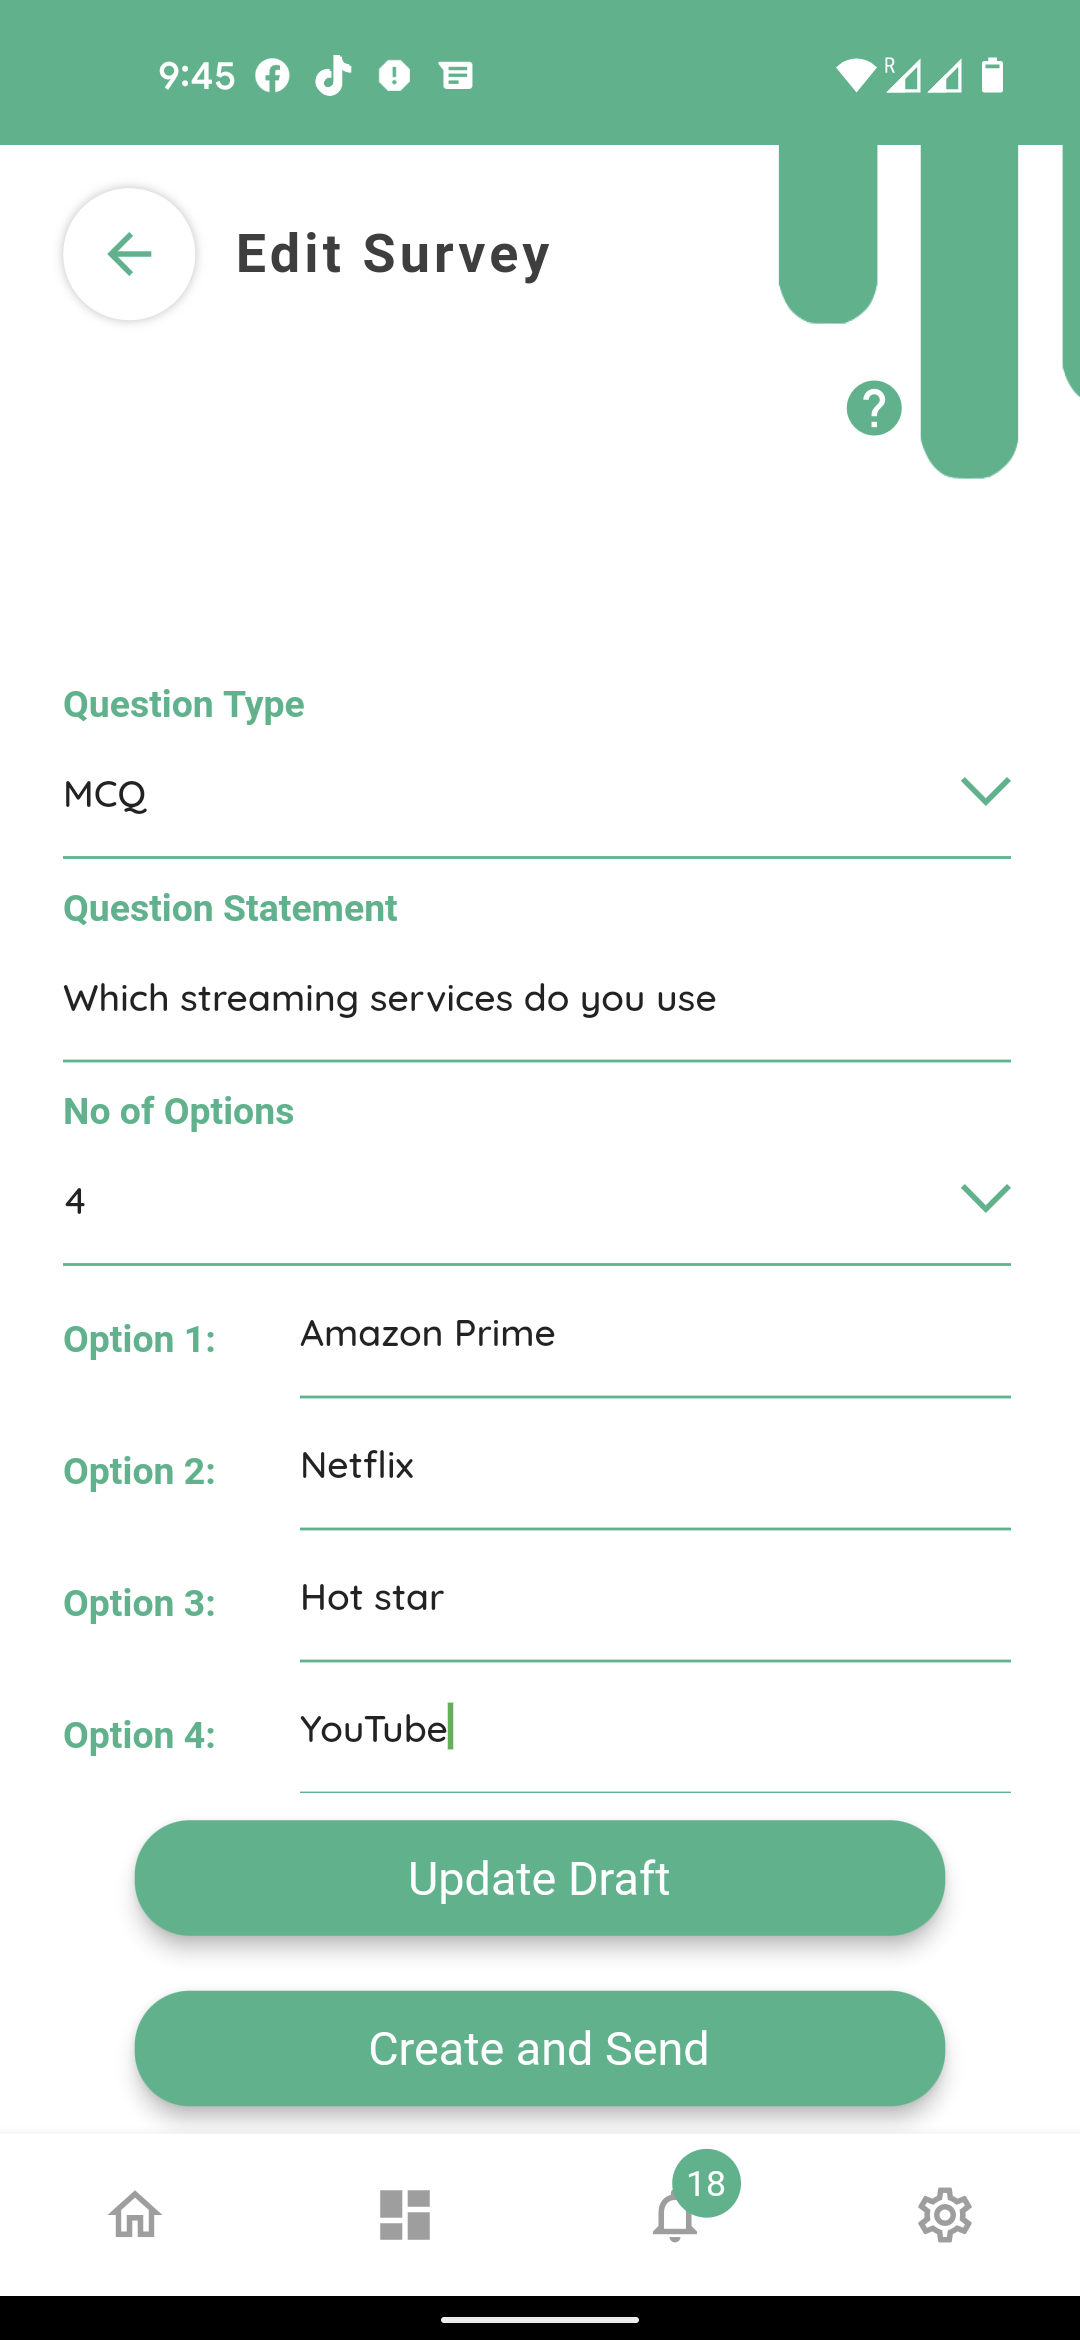
And filling in the newly created field.
Lets, then add another question.

By selecting the add question
Lets, select ‘Free text’ this time and then type your question.

Click ‘Update draft’ if you want to modify or edit it later on. It will be saved under ‘Survey’ tab with status showing as ‘Draft’ just like before. Or if the survey is ready to be sent. Press ‘Create and Send instead.
Your Survey will be sent to the selected customer. Once it has been created and sent, the status will turn to ‘pending’ with a yellow tag on the surveys and polls home screen.

Notification will appear at the bottom of the screen confirming survey requested successfully. As long as the status is pending, it can still be edited or deleted. PLEASE NOTE THAT EVERYTIME YOU EDIT A PENDING SURVEY AND SAVE IT A FRESH NOTIFICATION WILL BE SENT OUT TO THE PARTICIPANTS, HENCE IT WILL BE A GOOD IDEA TO KEEP THE EDITS OF PENDING SURVEY TO THE MINIMUM. Editing a draft survey does not result in any notifications till create and send is selected.
Status will change from ‘Pending’ to ‘Responded’ with a green tag, when a participant responds to it. A survey cannot be deleted or edited once responded.
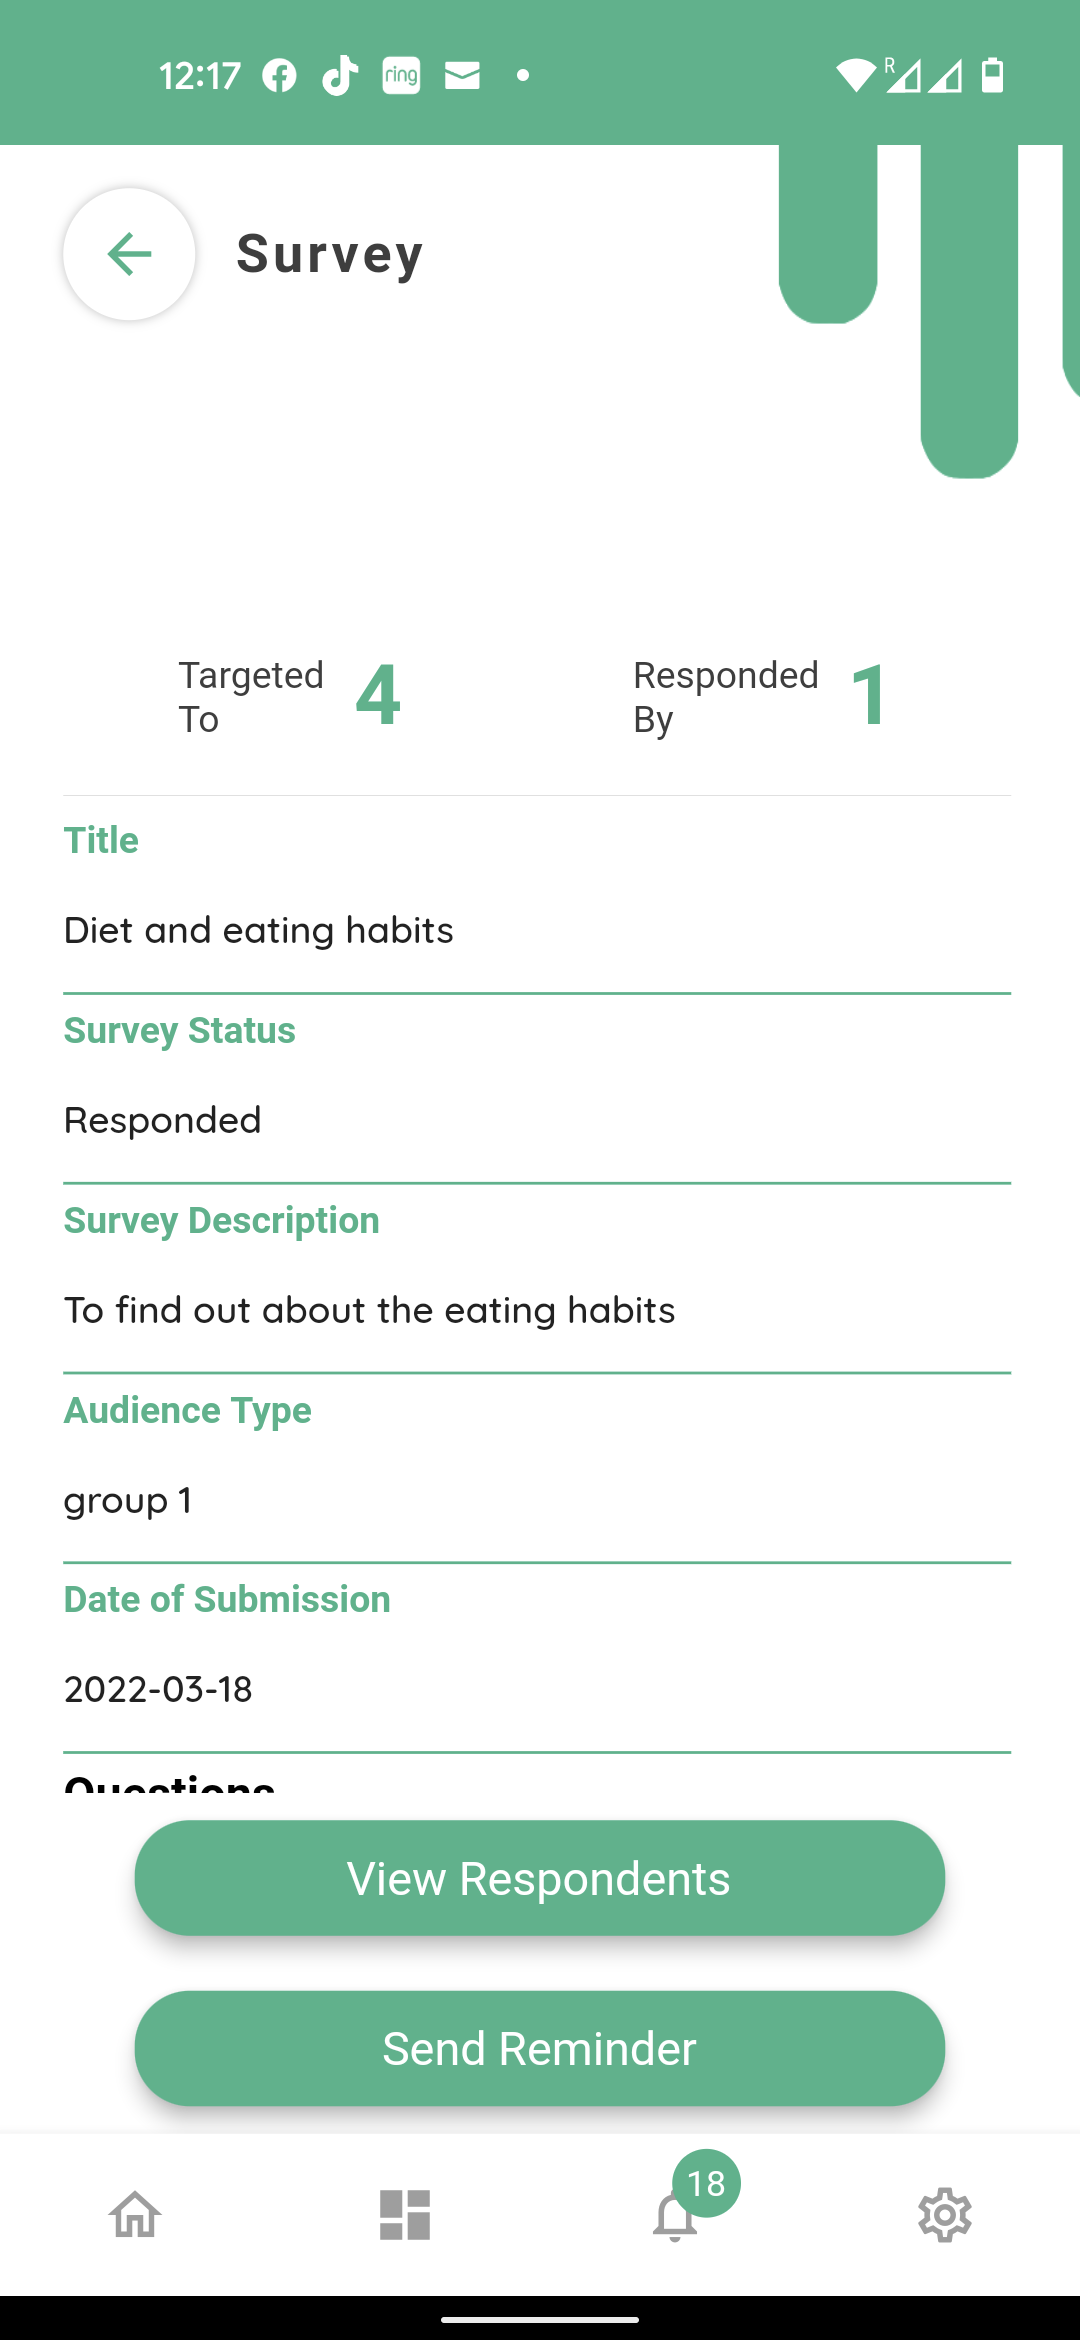
When the participant responds, the status will change to ‘responded’. To see the response, open the survey by clicking on it.
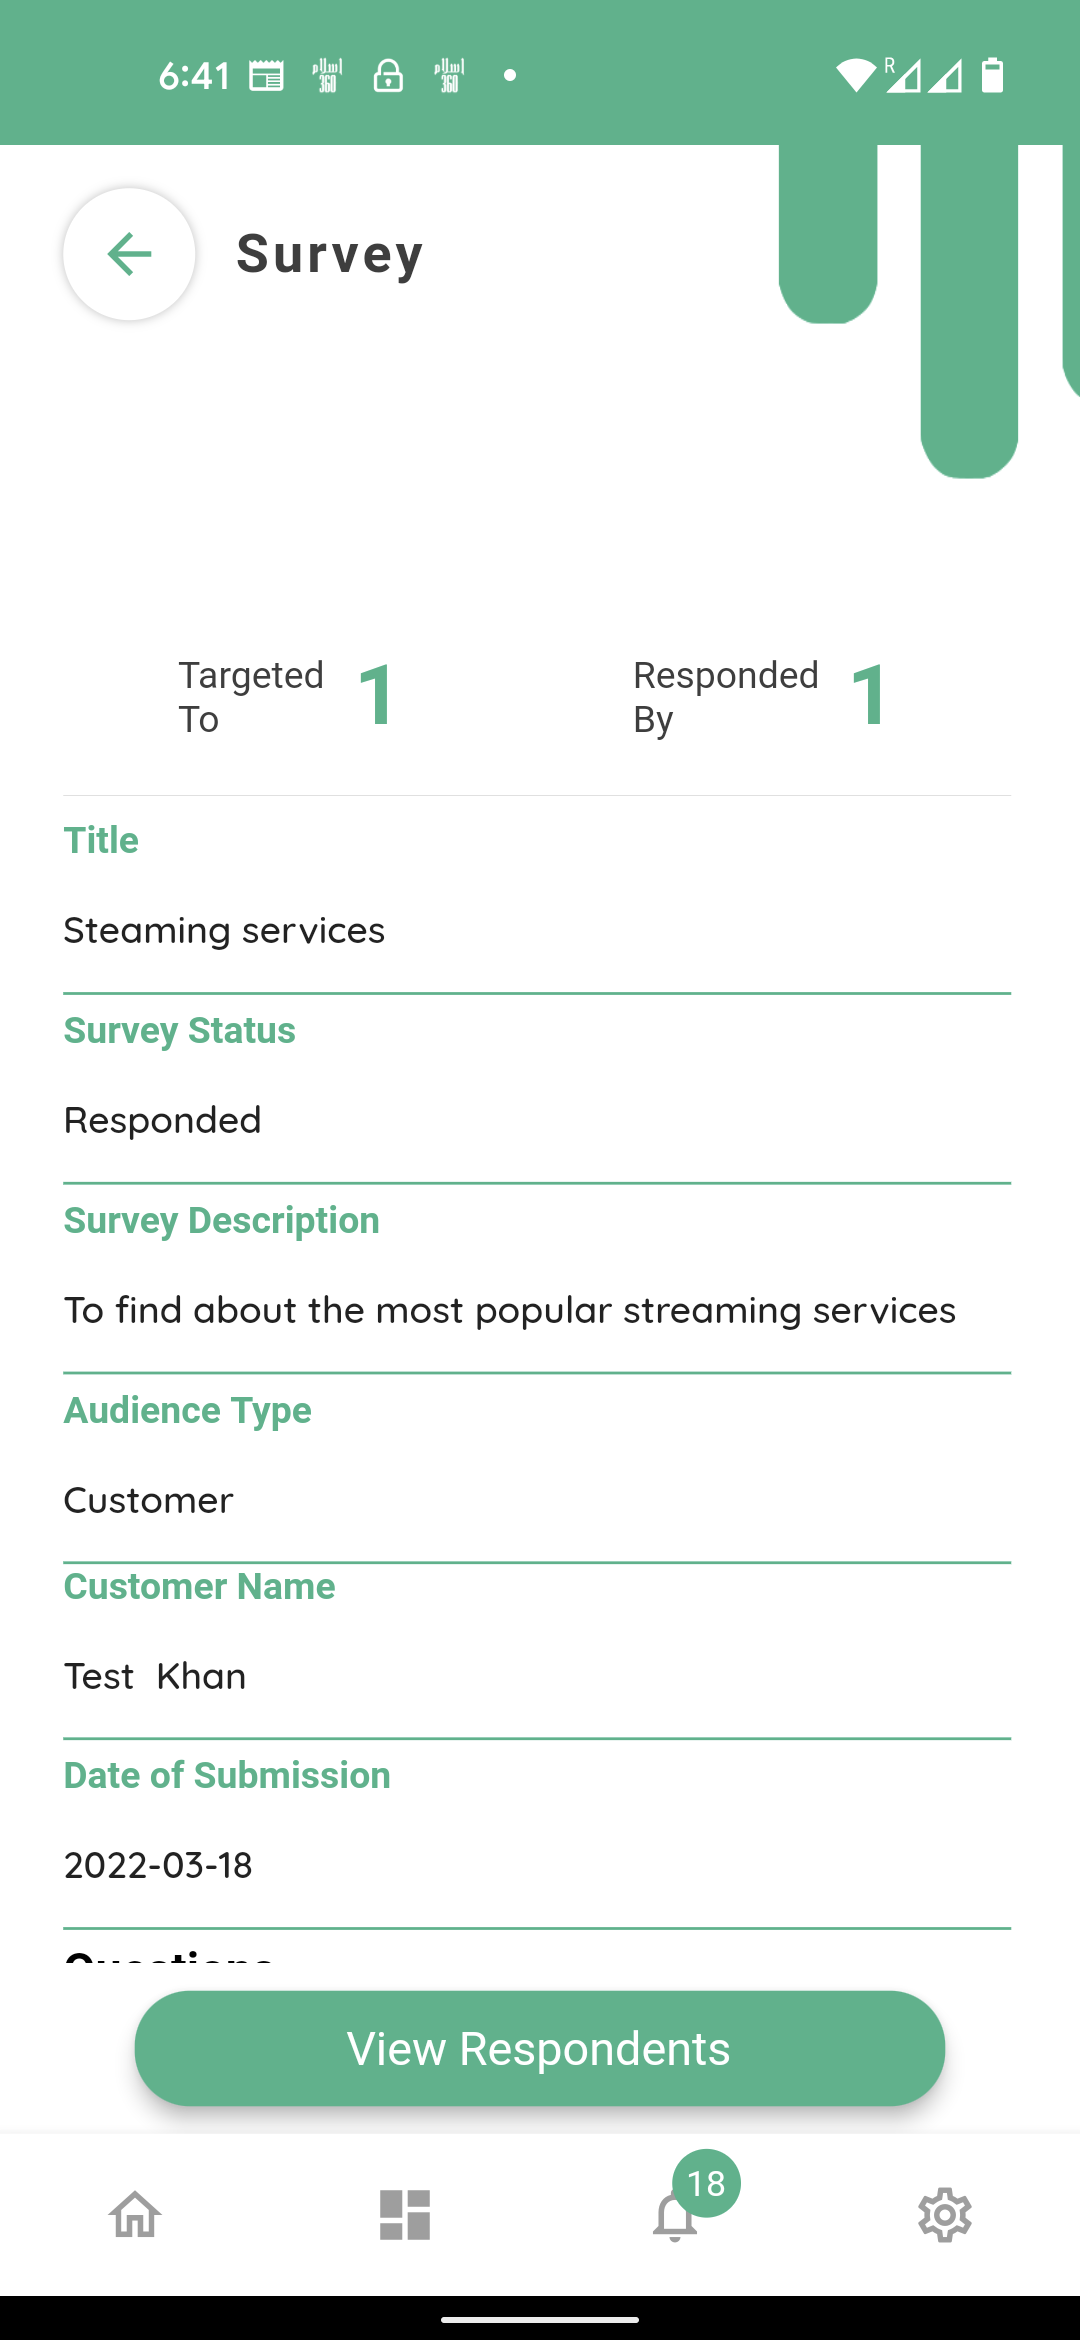
The top of the screen will show the number of participants the survey was sent to on the left side and the number of responses received on the right.
Then click on ‘View respondents’ at the bottom of the screen.
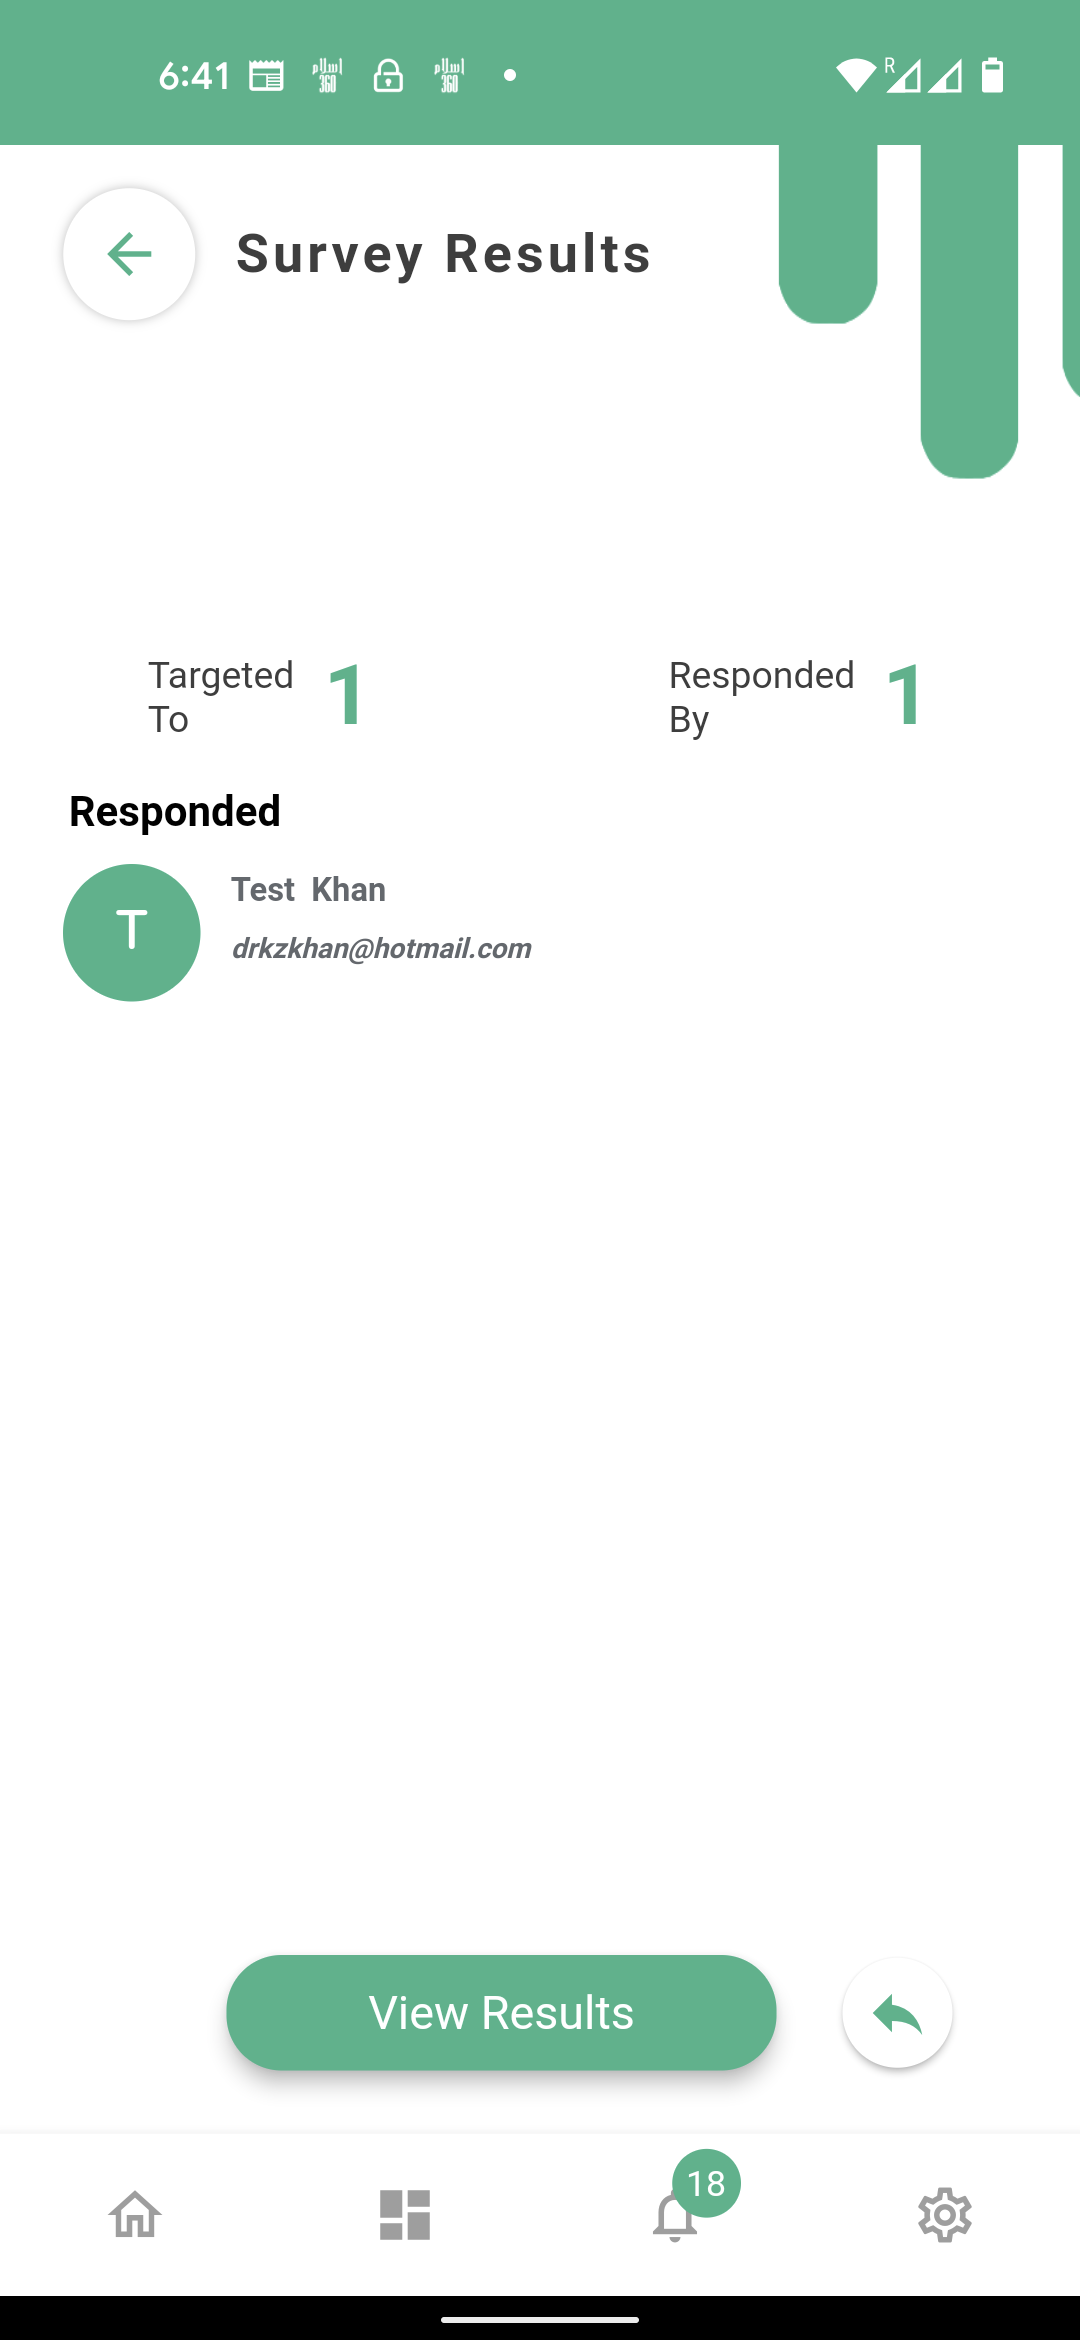
Clicking ‘View Respondents’ will show the name of the respondent who had submitted the response.
The result of the survey can be retrieved by clicking ‘View Results’ at the bottom of the screen.
The result will open in Excel format.
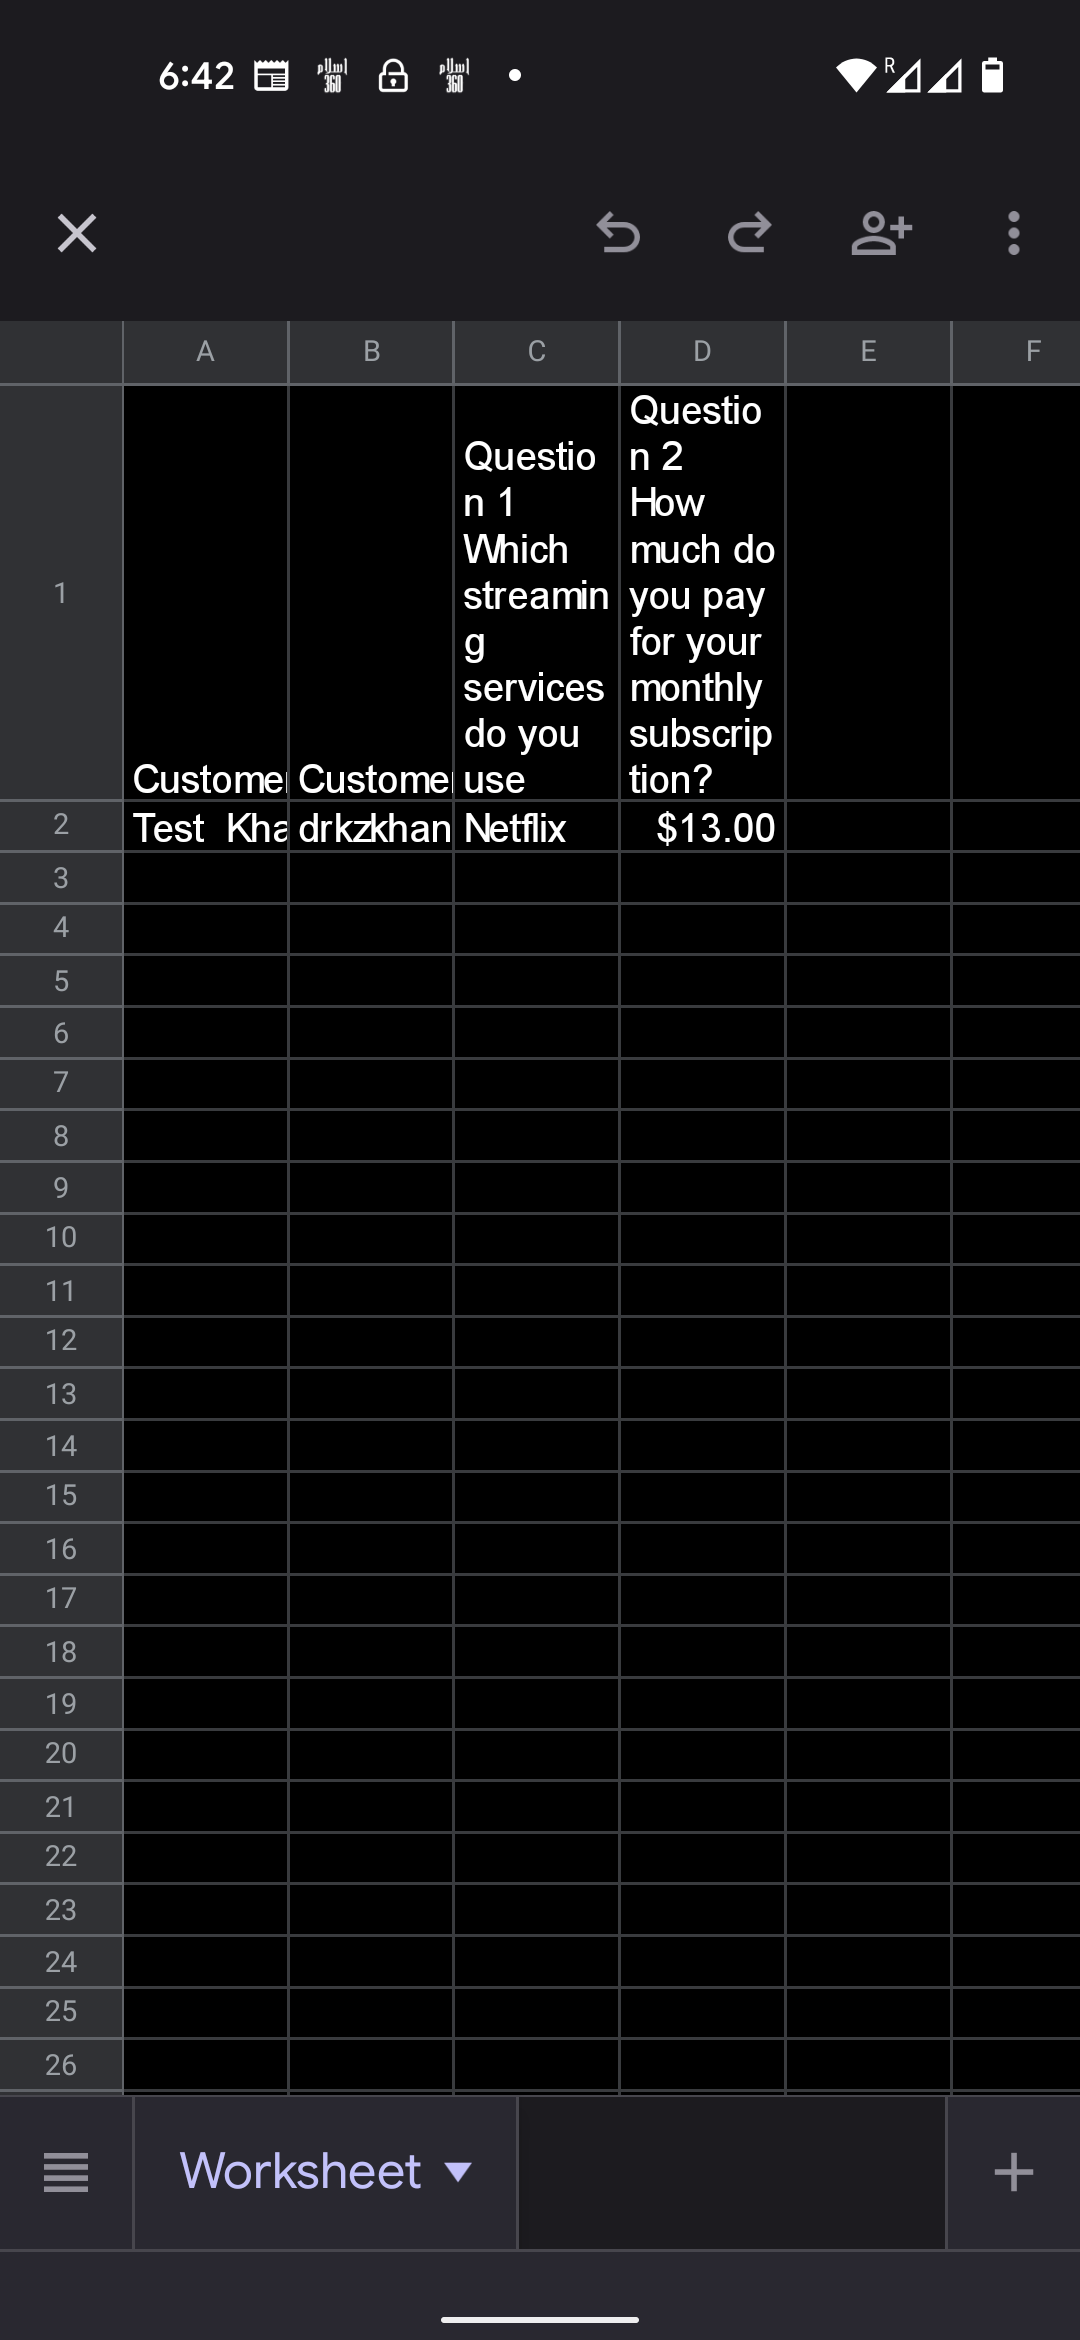
From here results can be printed, shared or saved by using your device’s default application to open spreadsheets.
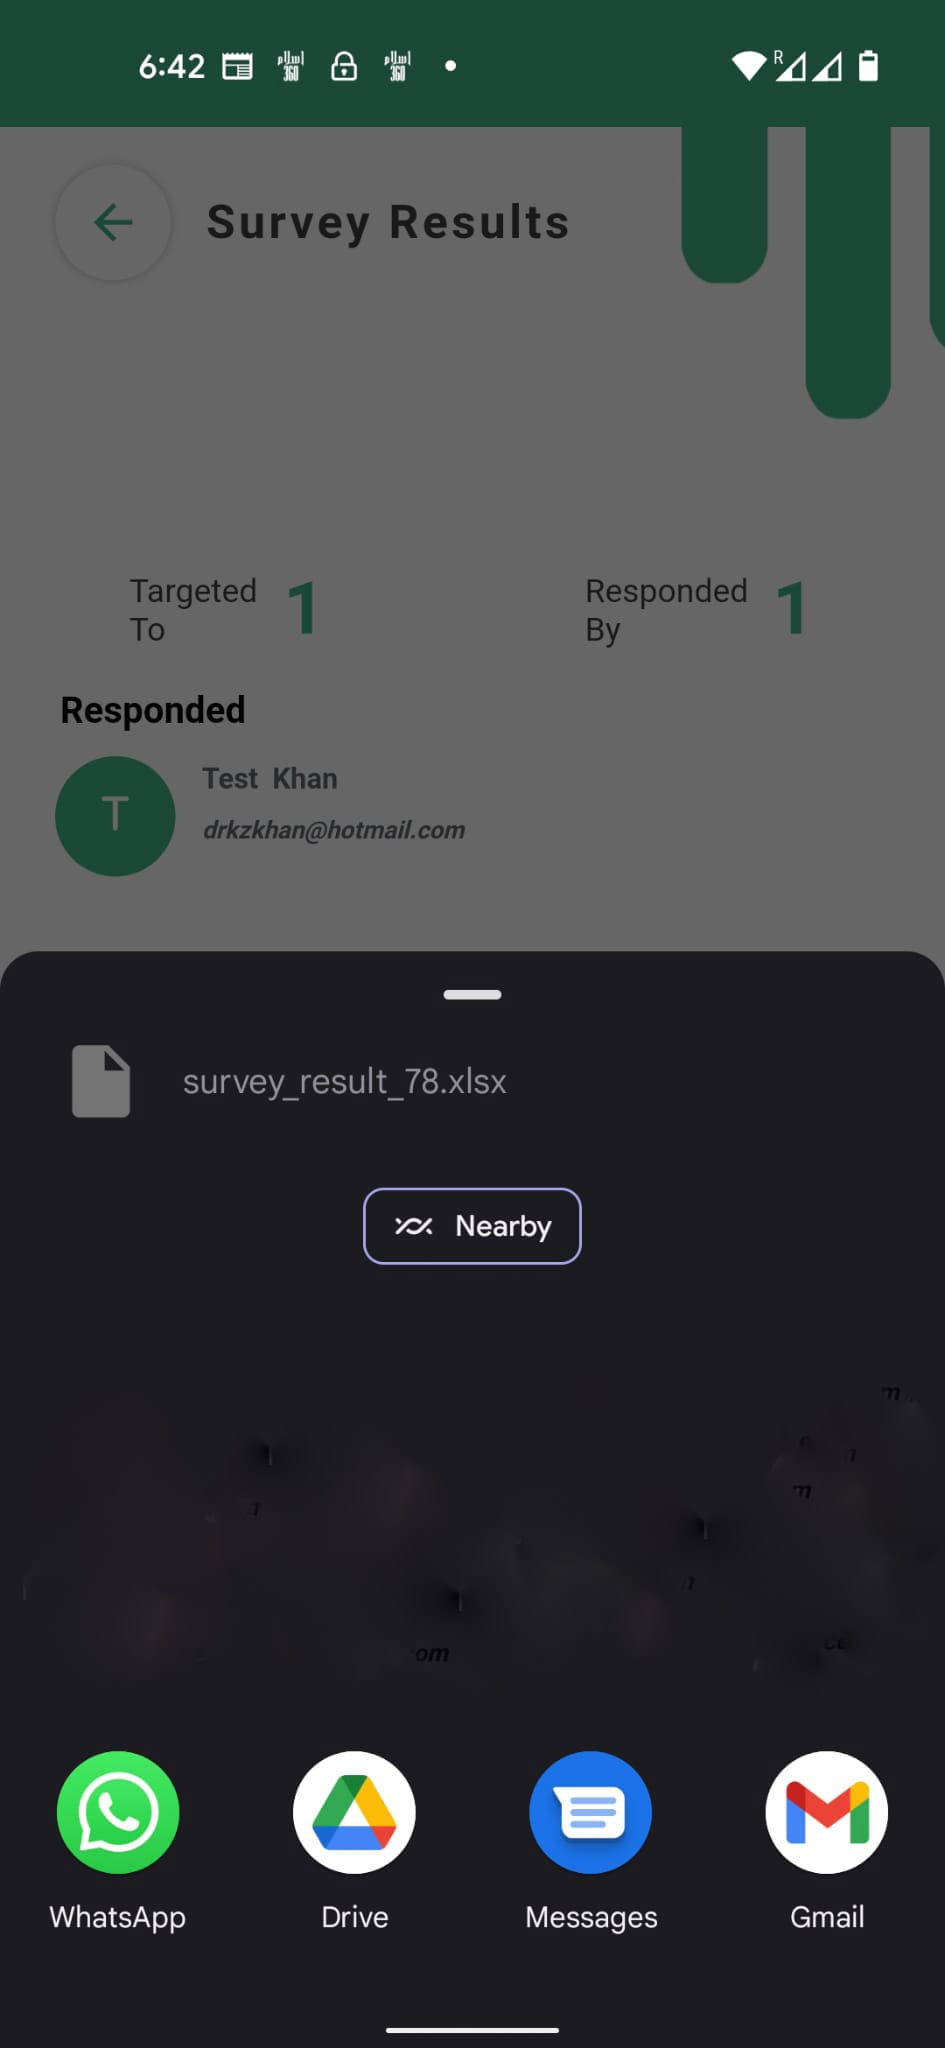
Swiping back to you’re connect app will show the same screen from where you selected to view the results.

From here the results can also be shared with other staff or organisations through email or text messaging services by clicking ‘green arrow’.
The process of making a survey for a customer group or public is more or less the same as for one customer in the example above.
Please select the public or customer group at this step instead of a customer. In this example we select the customer group. Please note the process for the public is identical to the customer group.
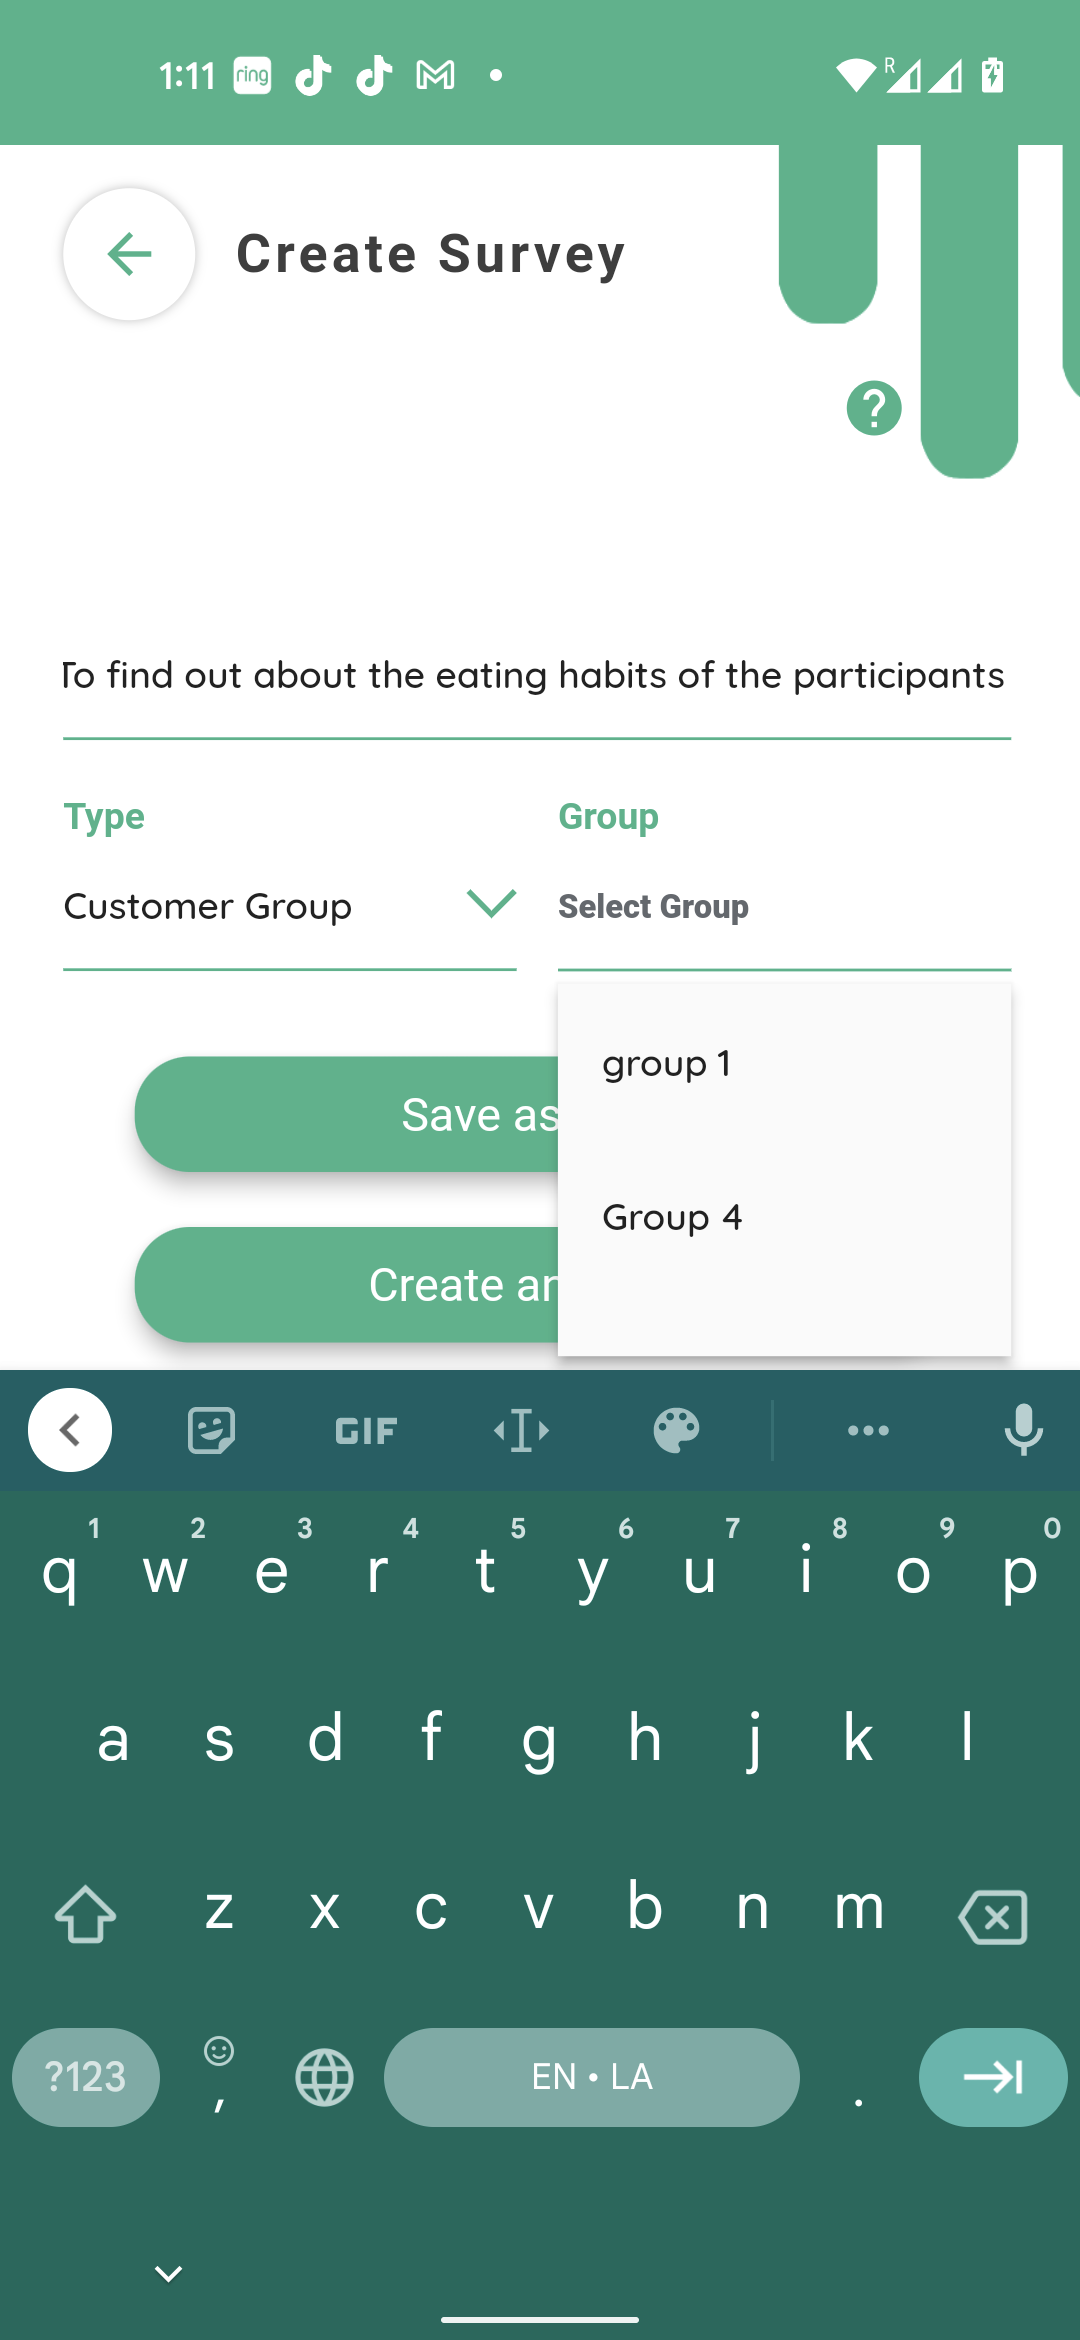
Then select the group you want to send the survey to. Please note all groups are formed under the users tab from your home screen. You are not able to form or modify a group here.
Please continue to create your survey as explained earlier in the video and once your survey is ready create and send the survey.
The survey will show as pending with a yellow tag on the surveys and polls home screen.
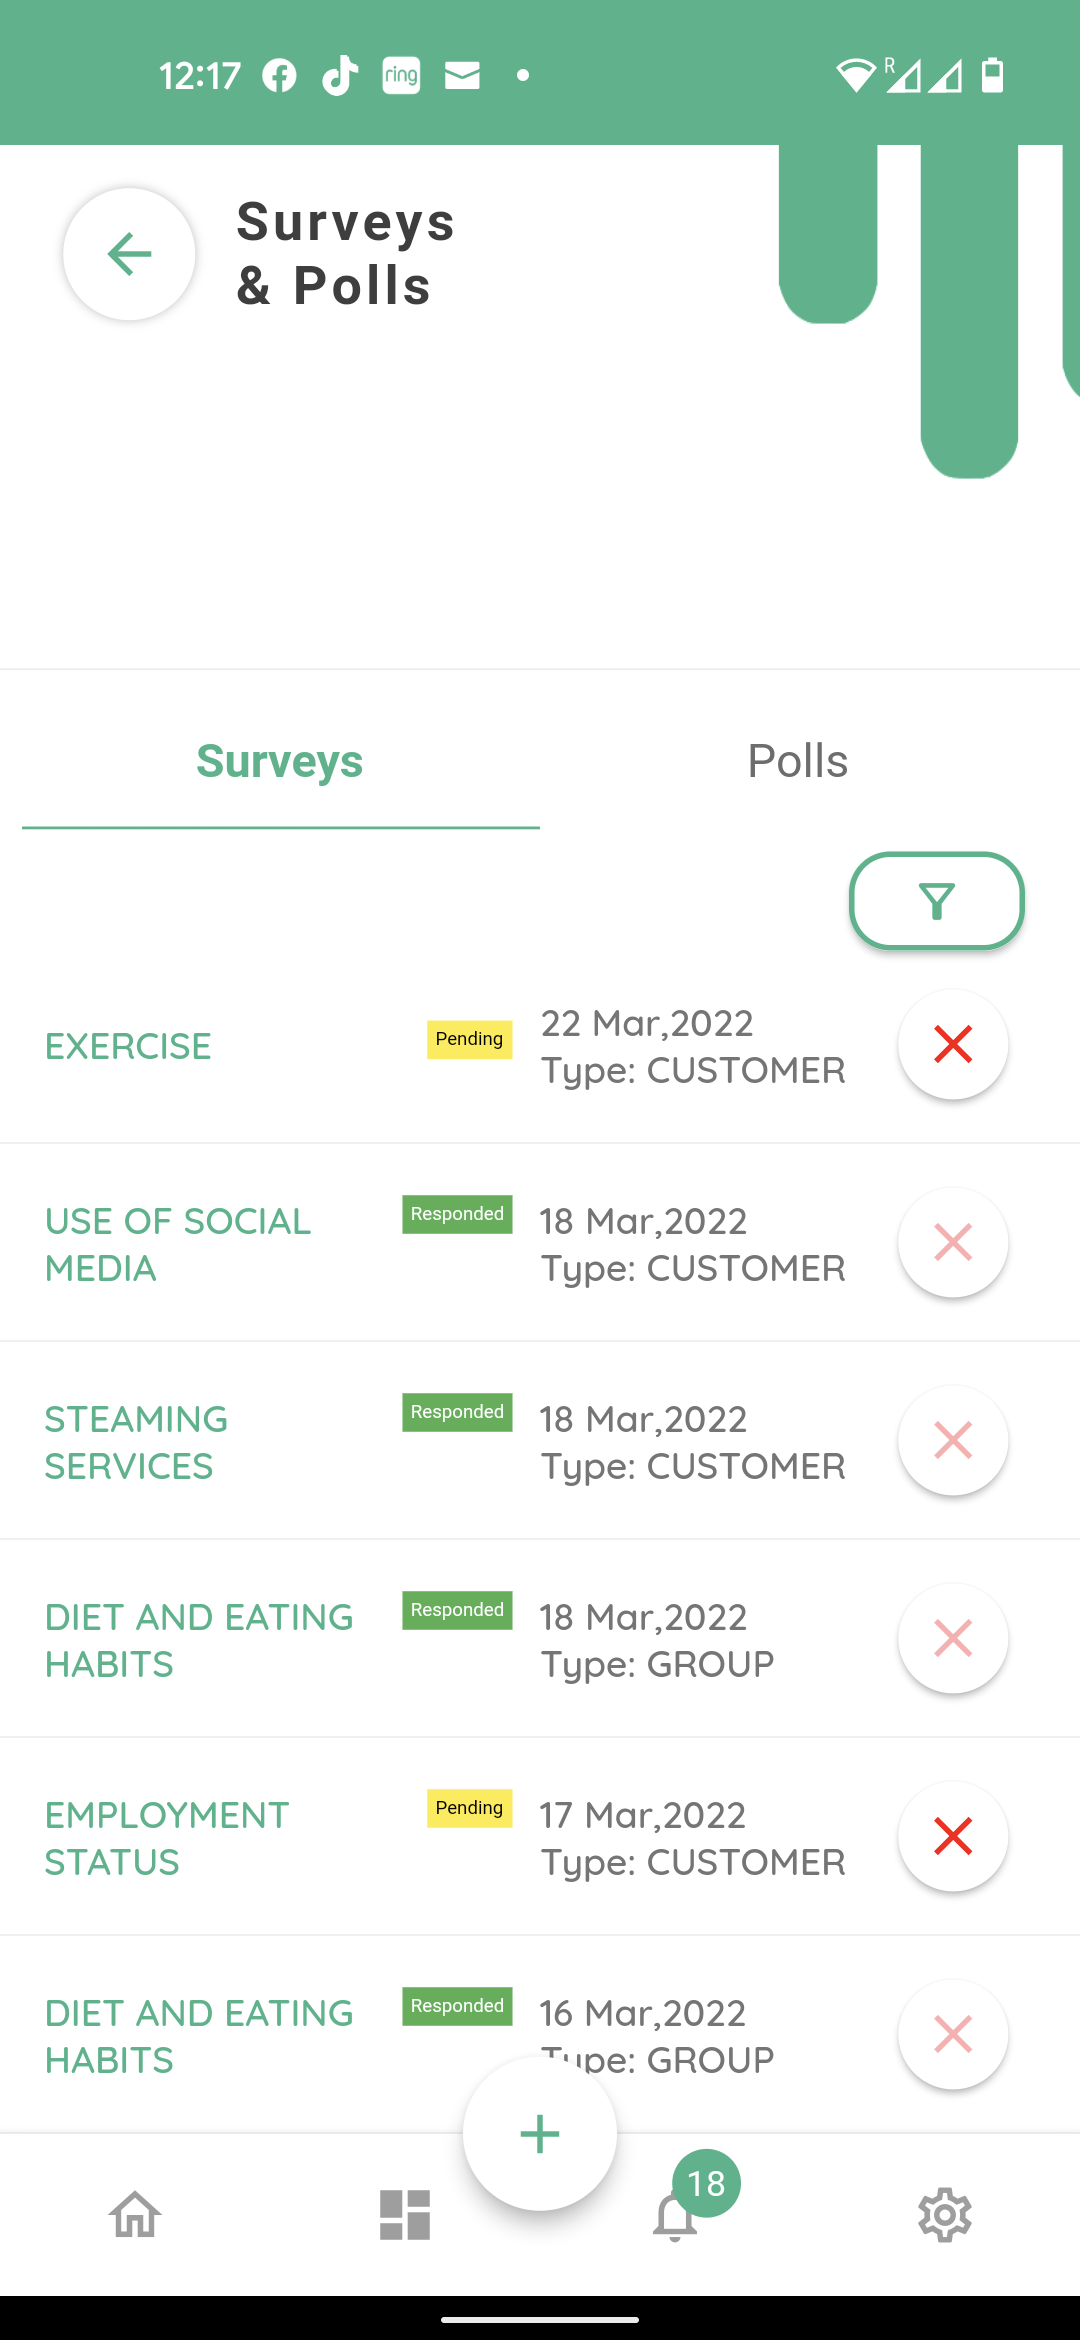
As soon as any one of the targeted participants responds to the survey the status will change to responded with a green tag.
Please note that you will not be able to edit or delete any surveys which have been responded to.
Clicking on the selected survey will show
The number of target participants at the top left hand side and the responders on the right hand.
From this page you are able to select send reminders and this will create fresh reminders to the non responders.
Clicking view respondents

Will list the respondents names on the screen.
The results can be viewed as explained earlier on in this video by clicking on view results.
Polls

The Surveys and polls homescreen shows all the previous surveys and polls under the respective tabs in a reverse chronological order. Please select polls at the top right. Each poll is tagged with their respective status as draft, pending or responded.
Pressing the filter icon brings up the search menu.
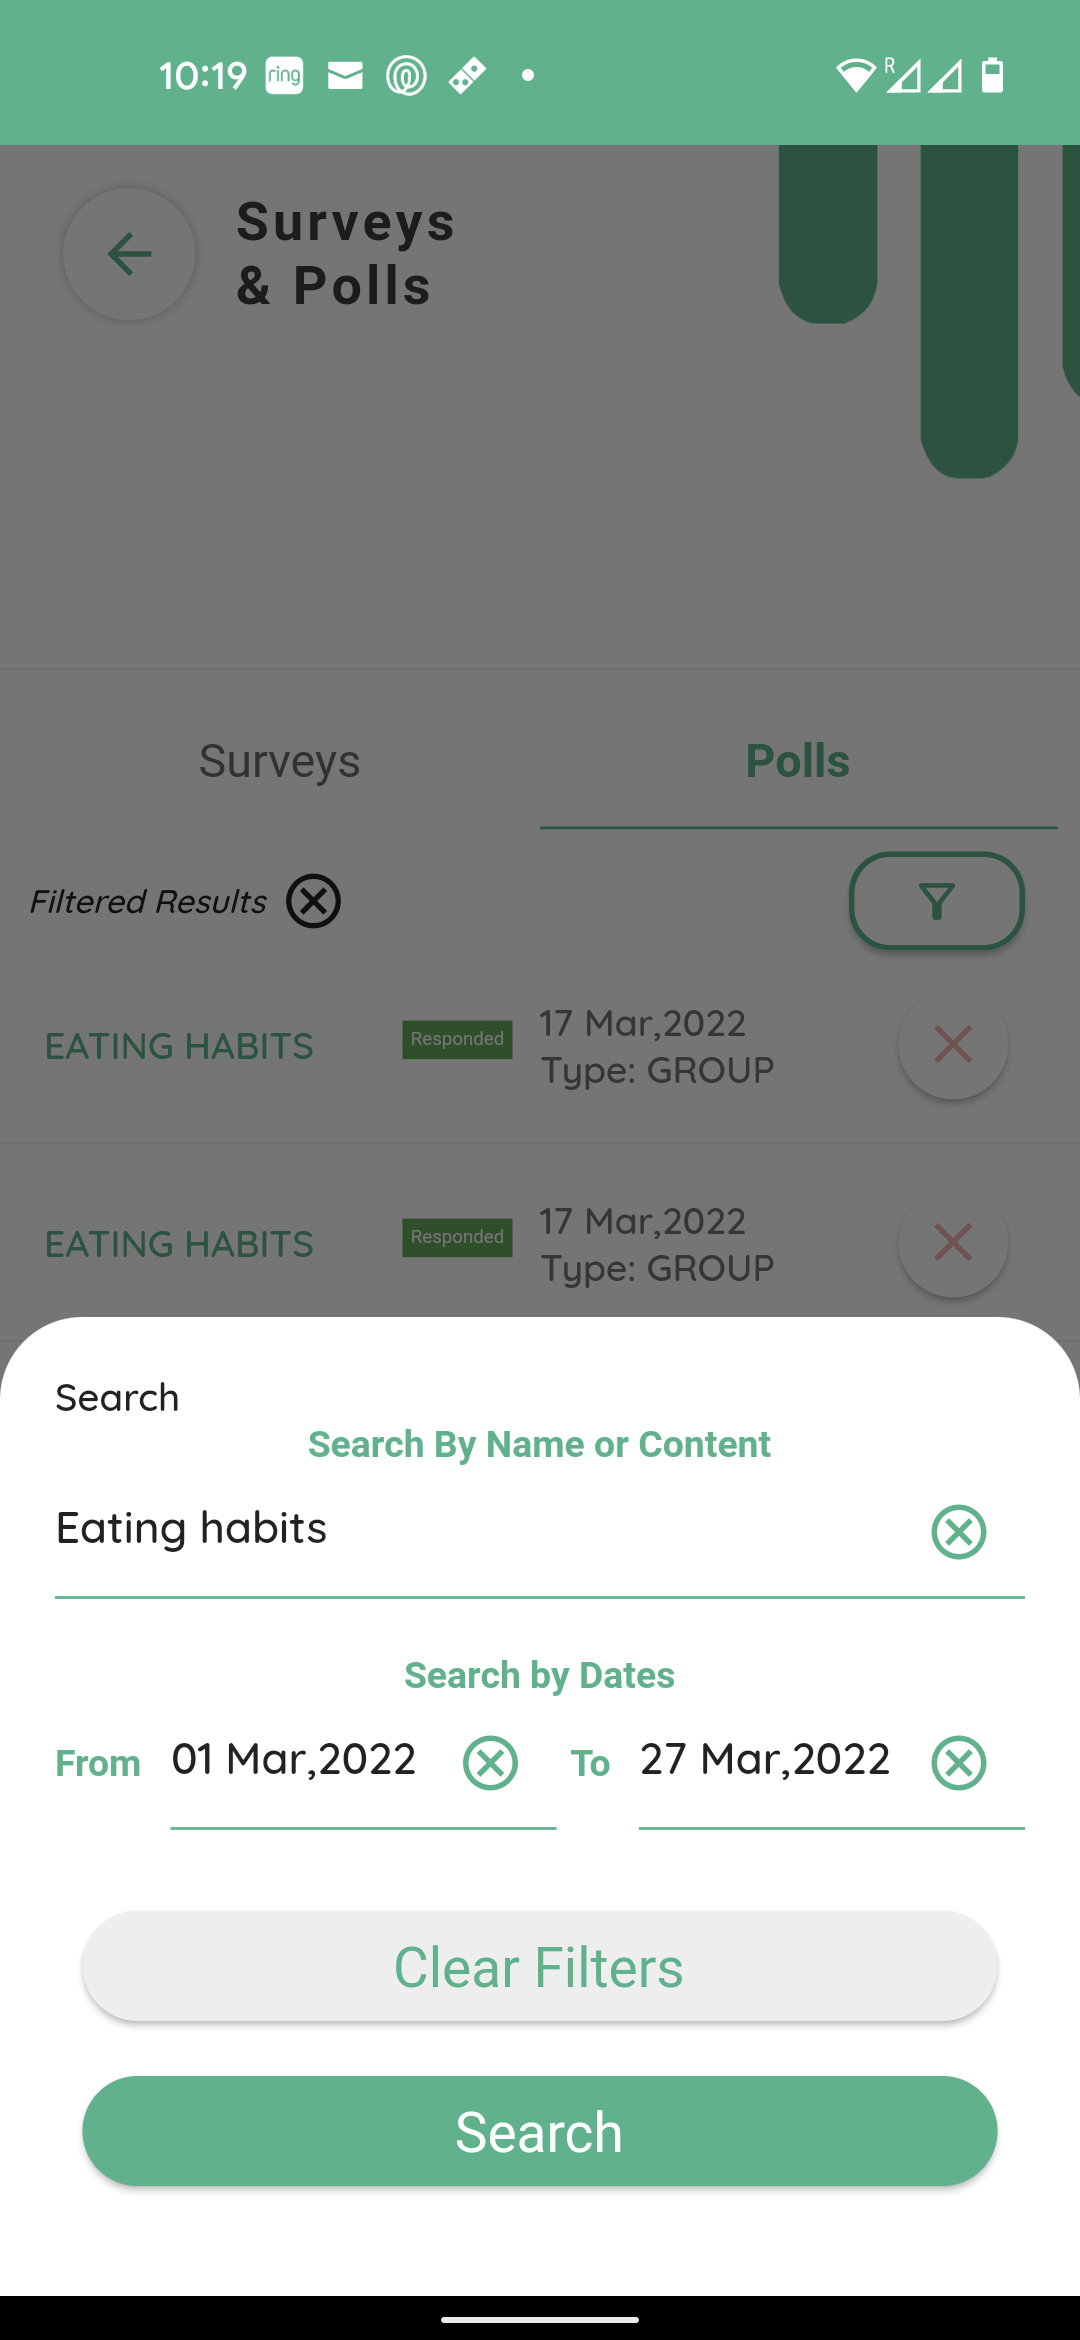
This search feature is consistent across all modules of your connect app. You can perform a search here by name or dates
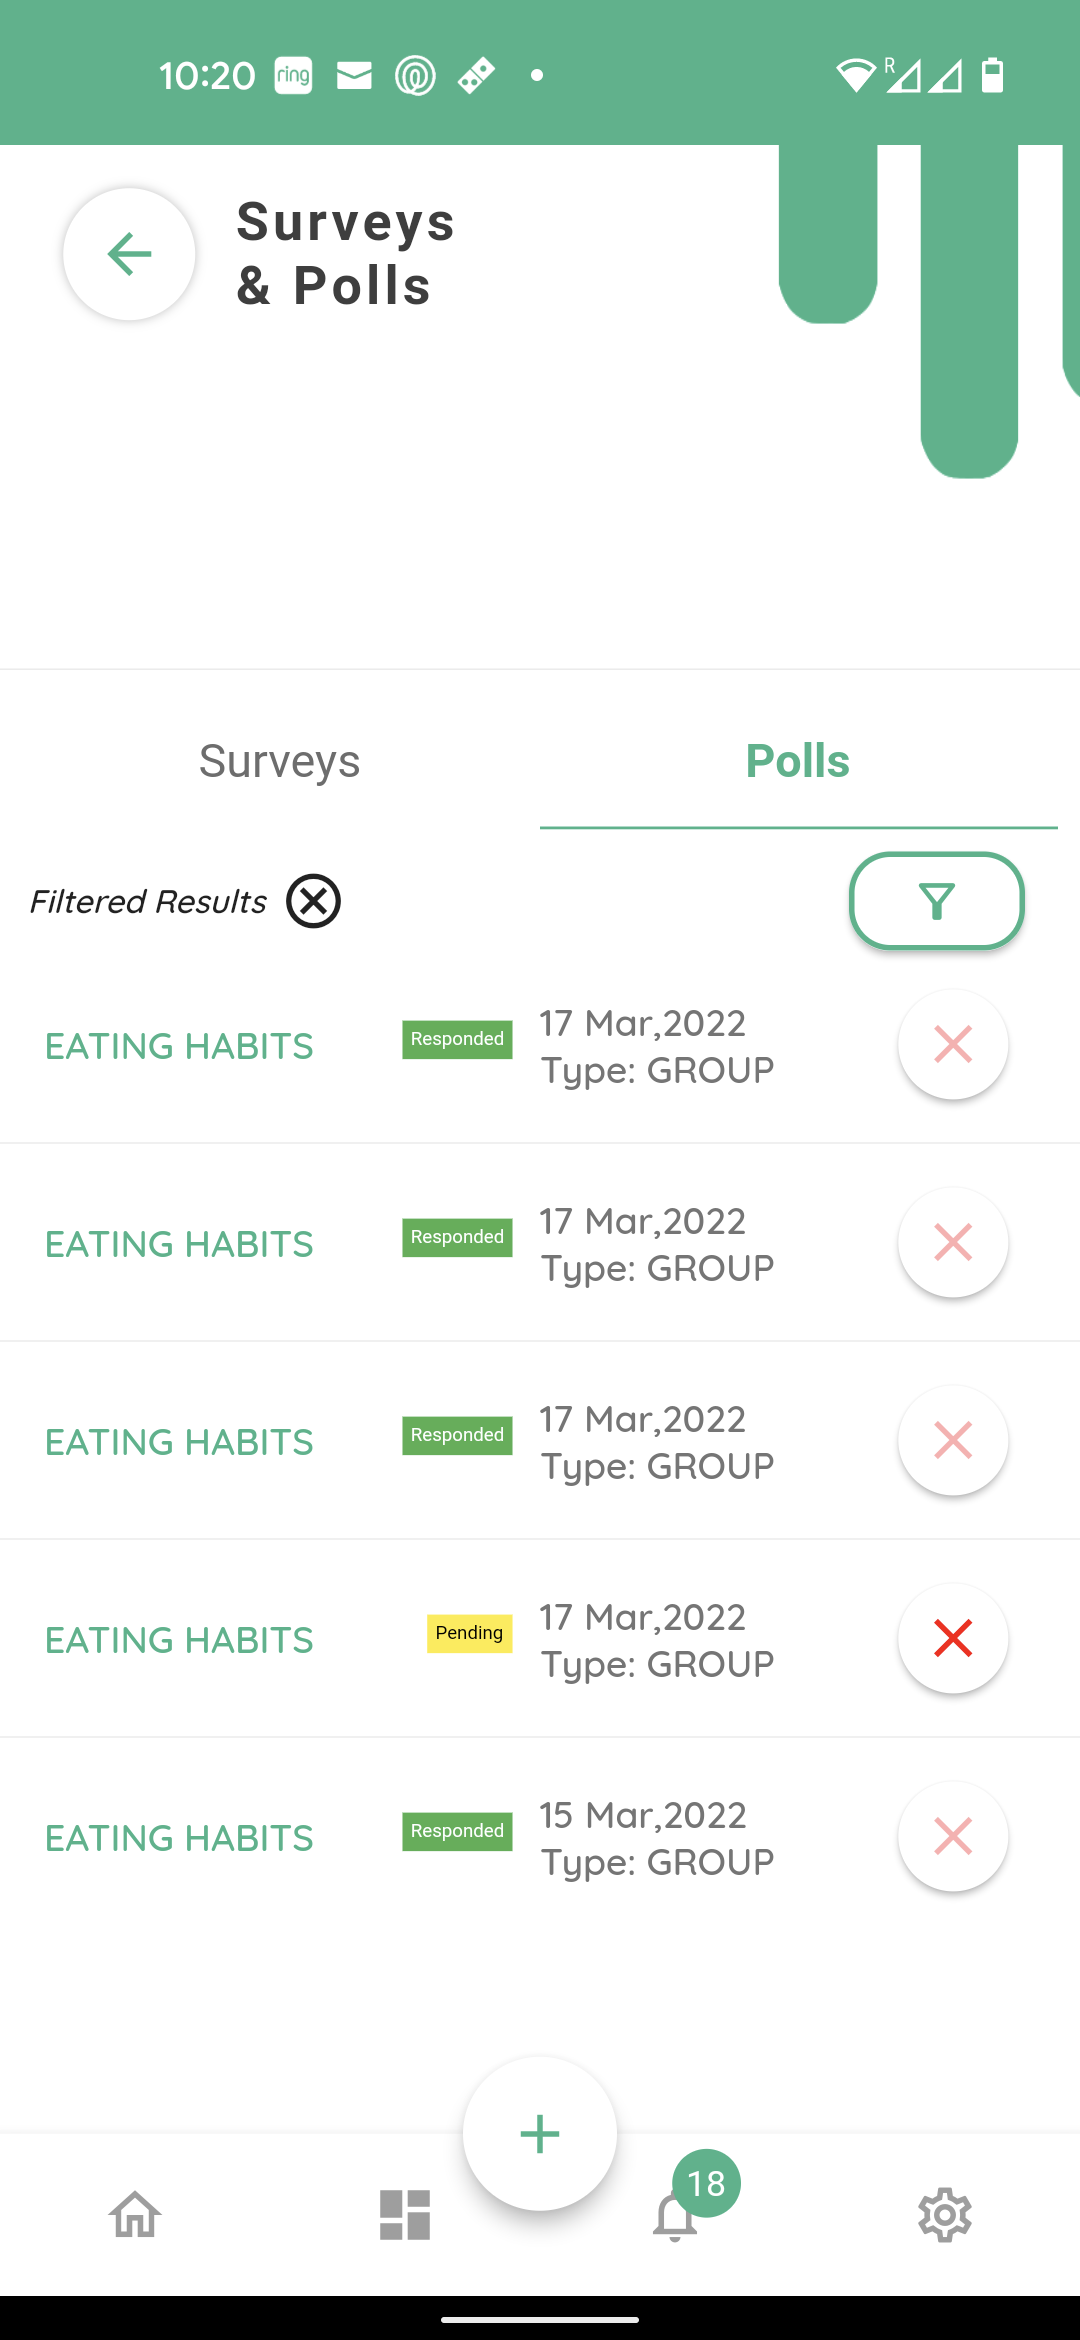
Any searches performed are cleared by clicking on the cross next to the filtered results.
To create a new poll, click “add” at the bottom of the screen.
It will open up a blank form to create a poll.
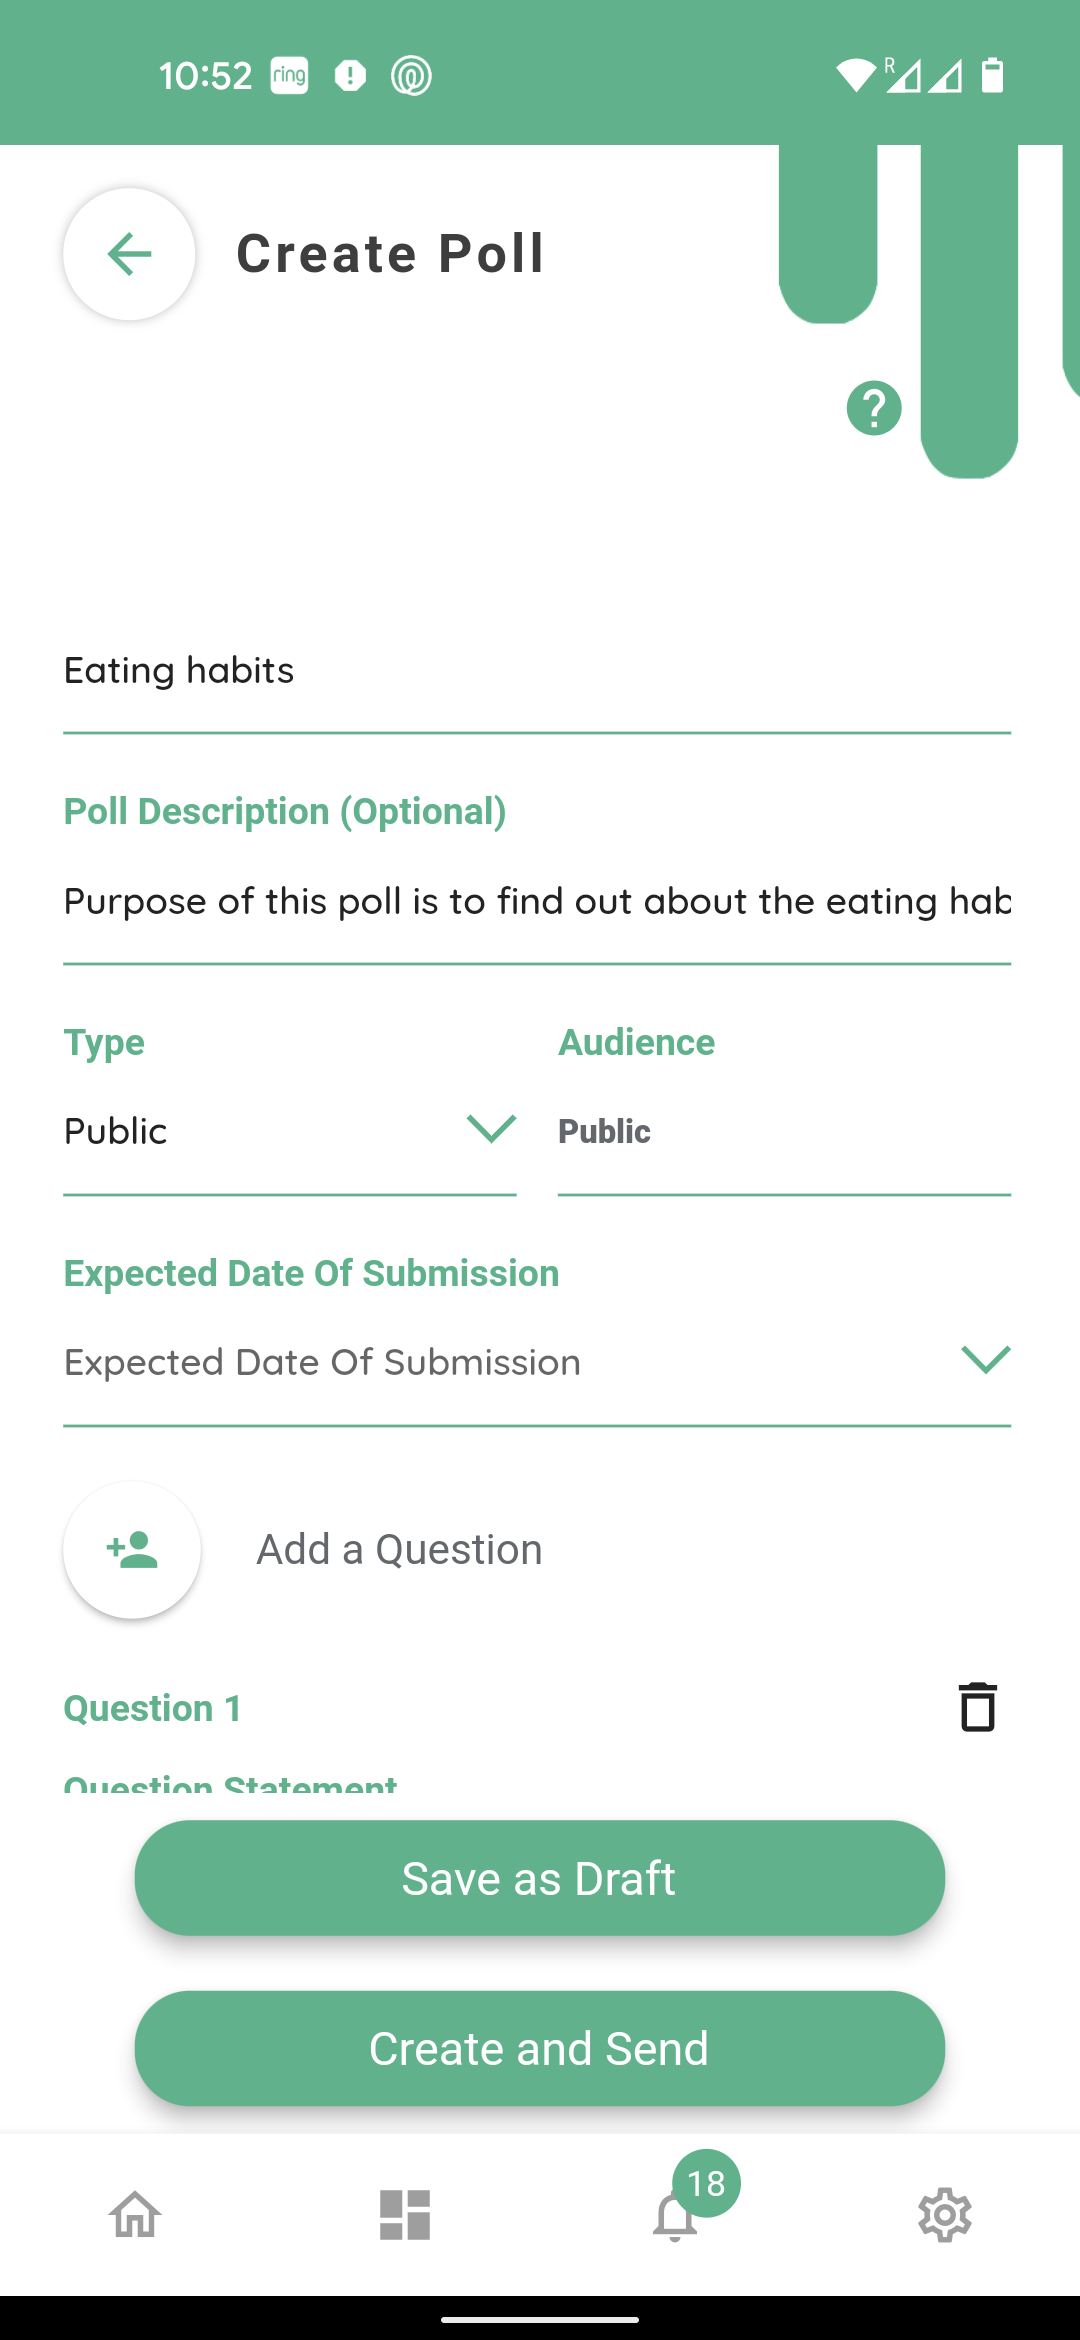
Fill the ‘title’ and ‘poll’ description’.
Clicking the ‘type’ tab will open the pop up menu with two options.

Public and Customer Group. Selecting ‘public’ will send the survey request to all customers registered with your business or organisation, please select accordingly. For this example we will select the customer group.
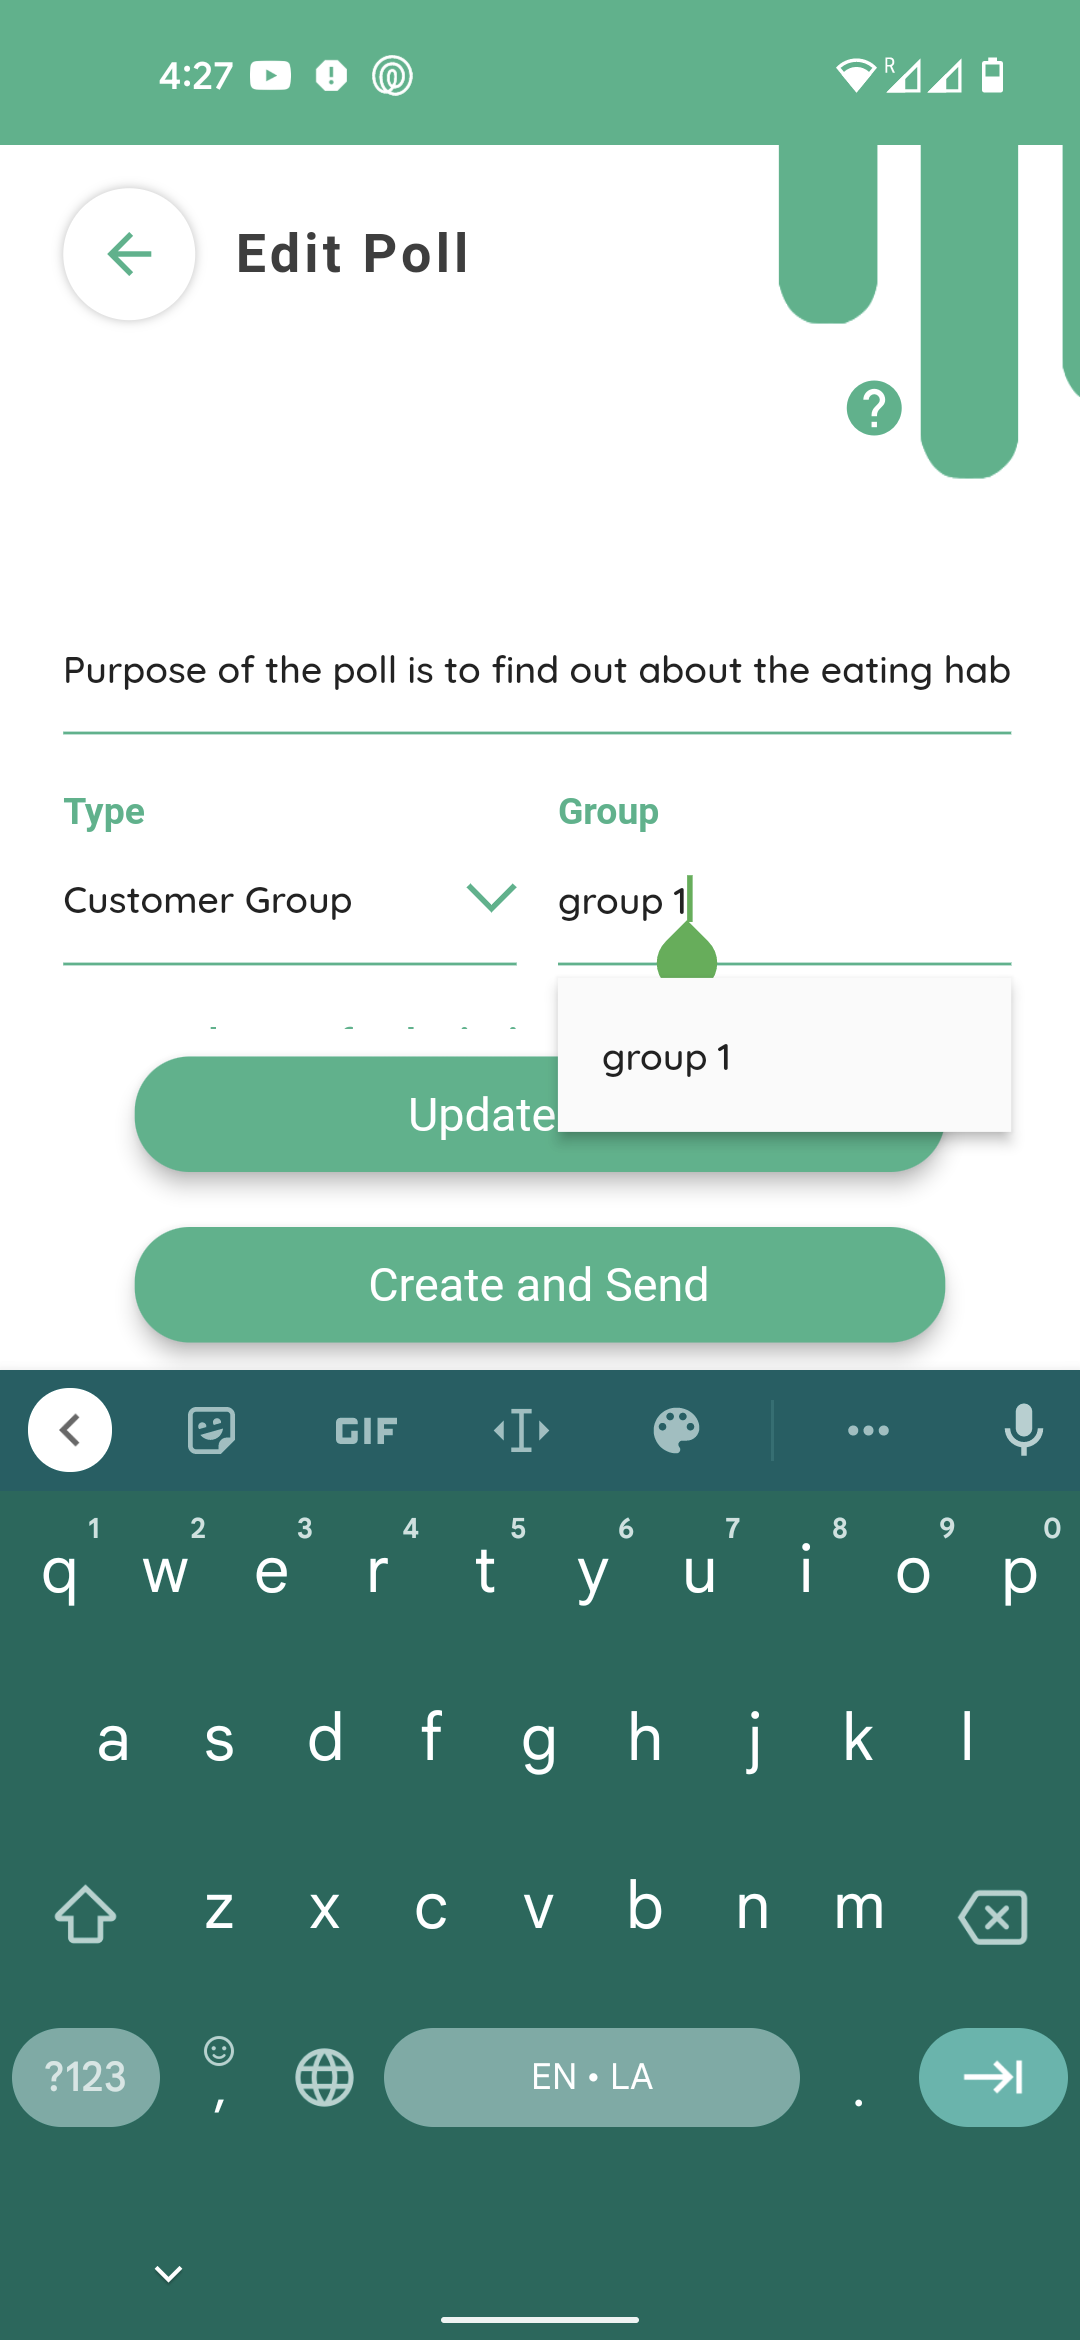
Under the group field please choose the group you want this poll to go out to. We will select group 1 here, which has already been created under the users tab from your connect home screen.
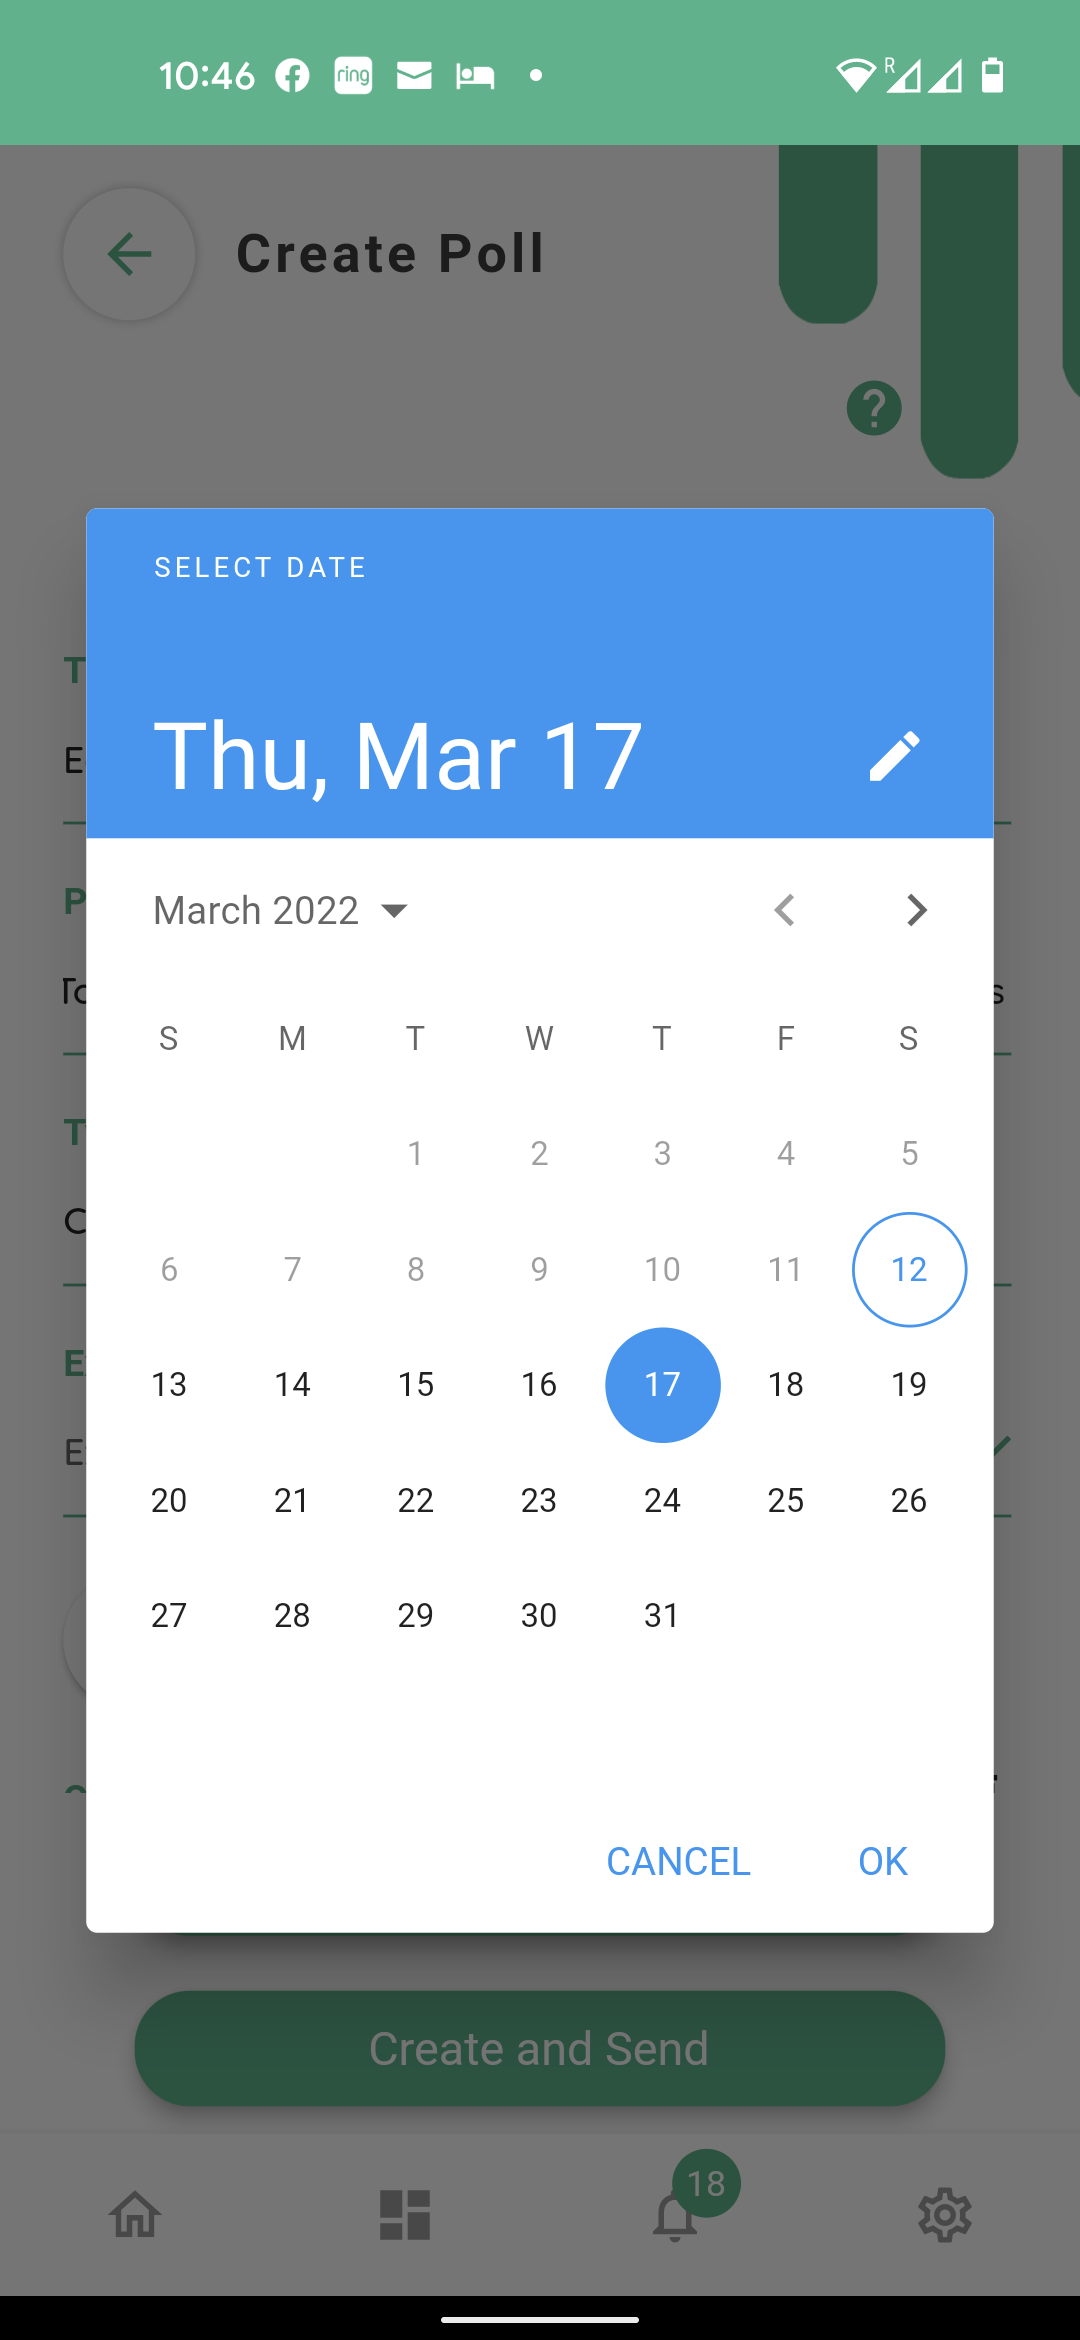
Select the expected date of submission and press ok

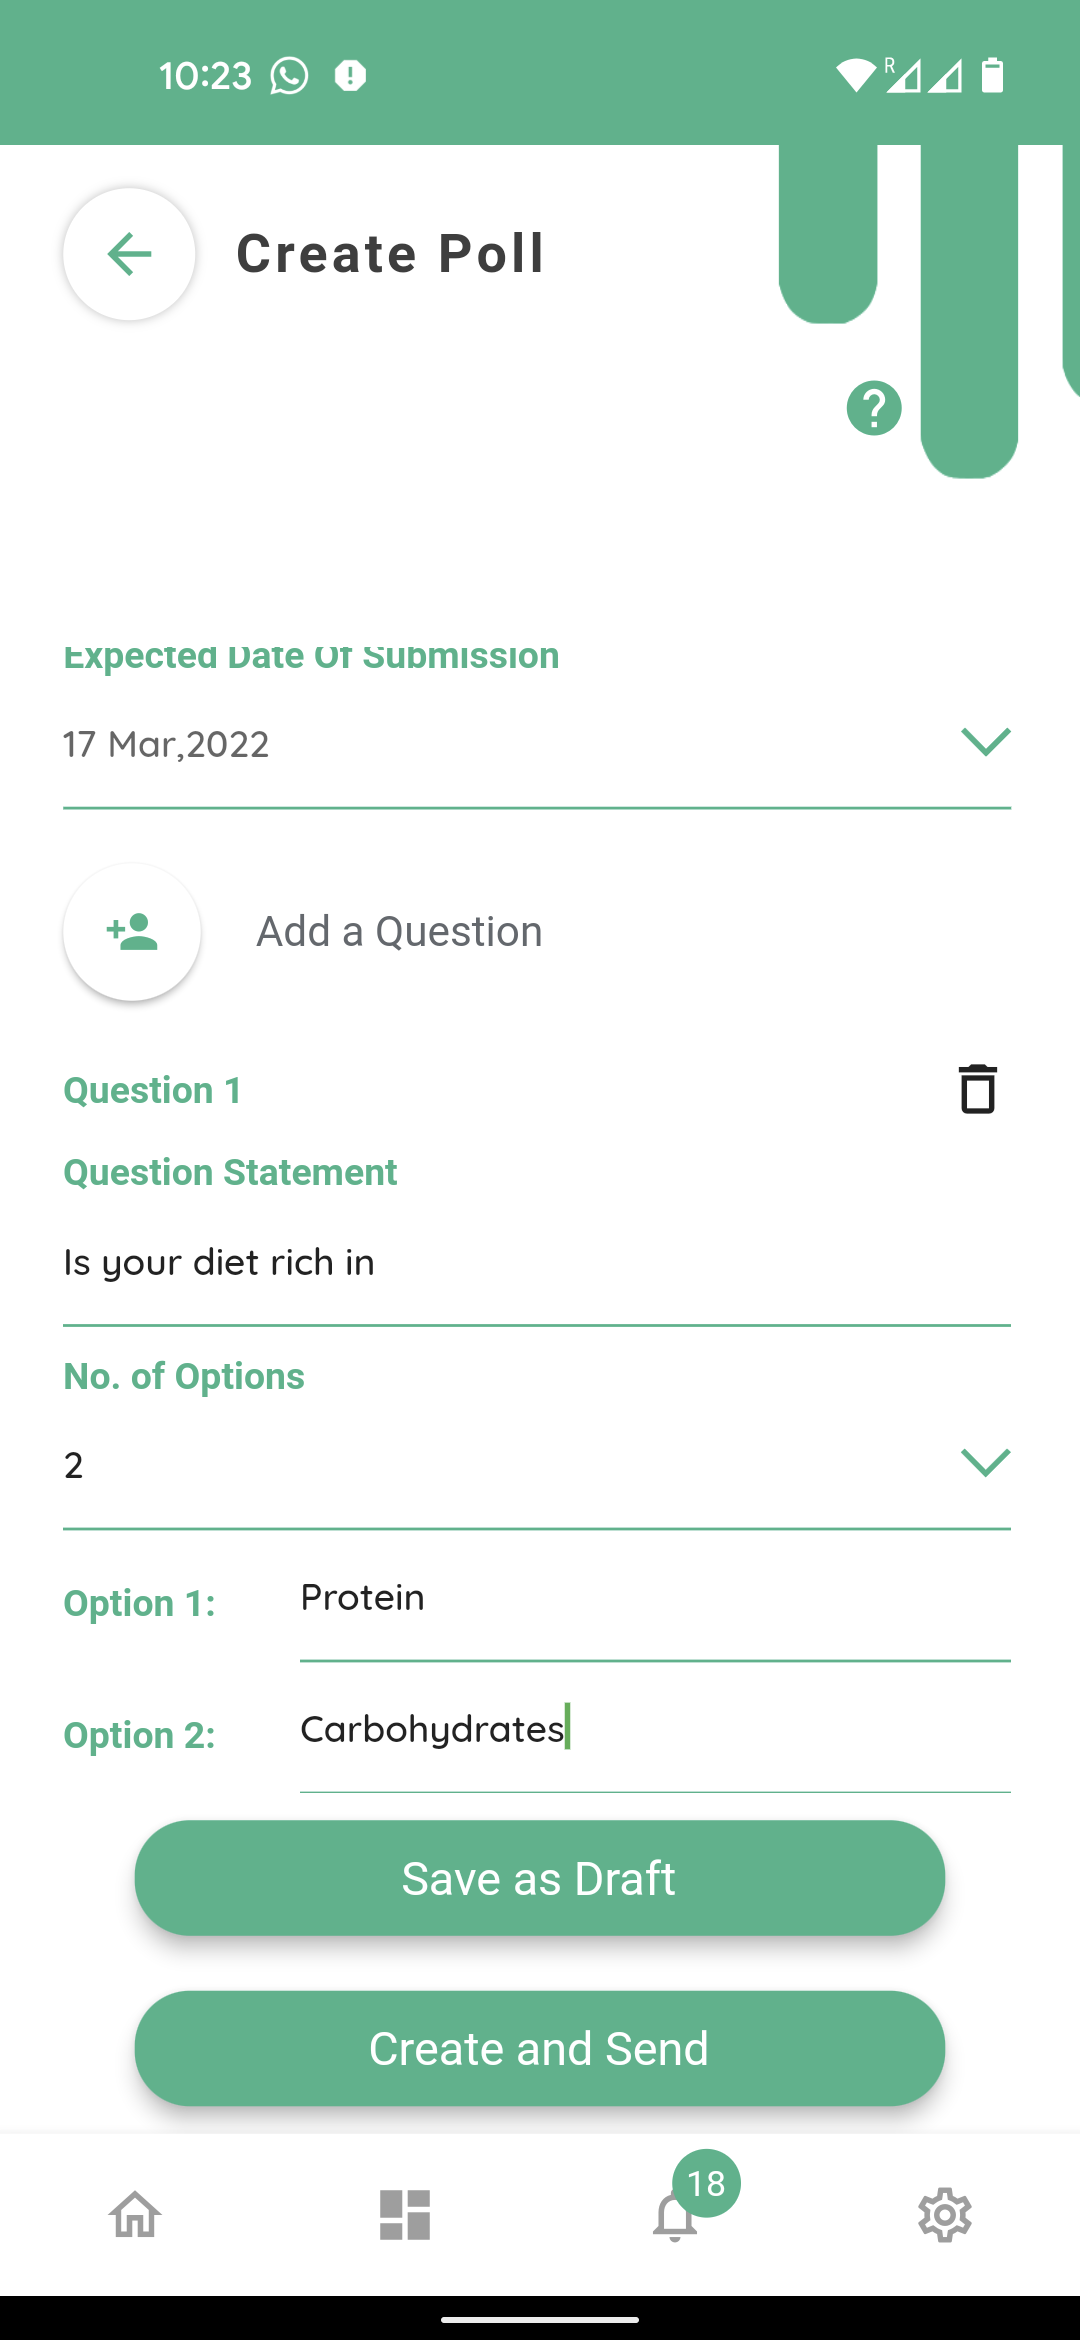
In the question statement field, draft your question.
Select the number of options
Fill in the options fields. Add as many questions as you wish by selecting add a question and repeat the process. You can delete any questions as well by clicking on the bin icon in front of any question.
Once the poll has been created, you have two options; ‘Save as Draft’ or ‘Create and Send’. Selecting ‘Save as Draft’ will let you save, edit or send the survey later on. If it’s ready to be sent, click ‘Create and Send’
In this example we will choose save as draft at this stage.
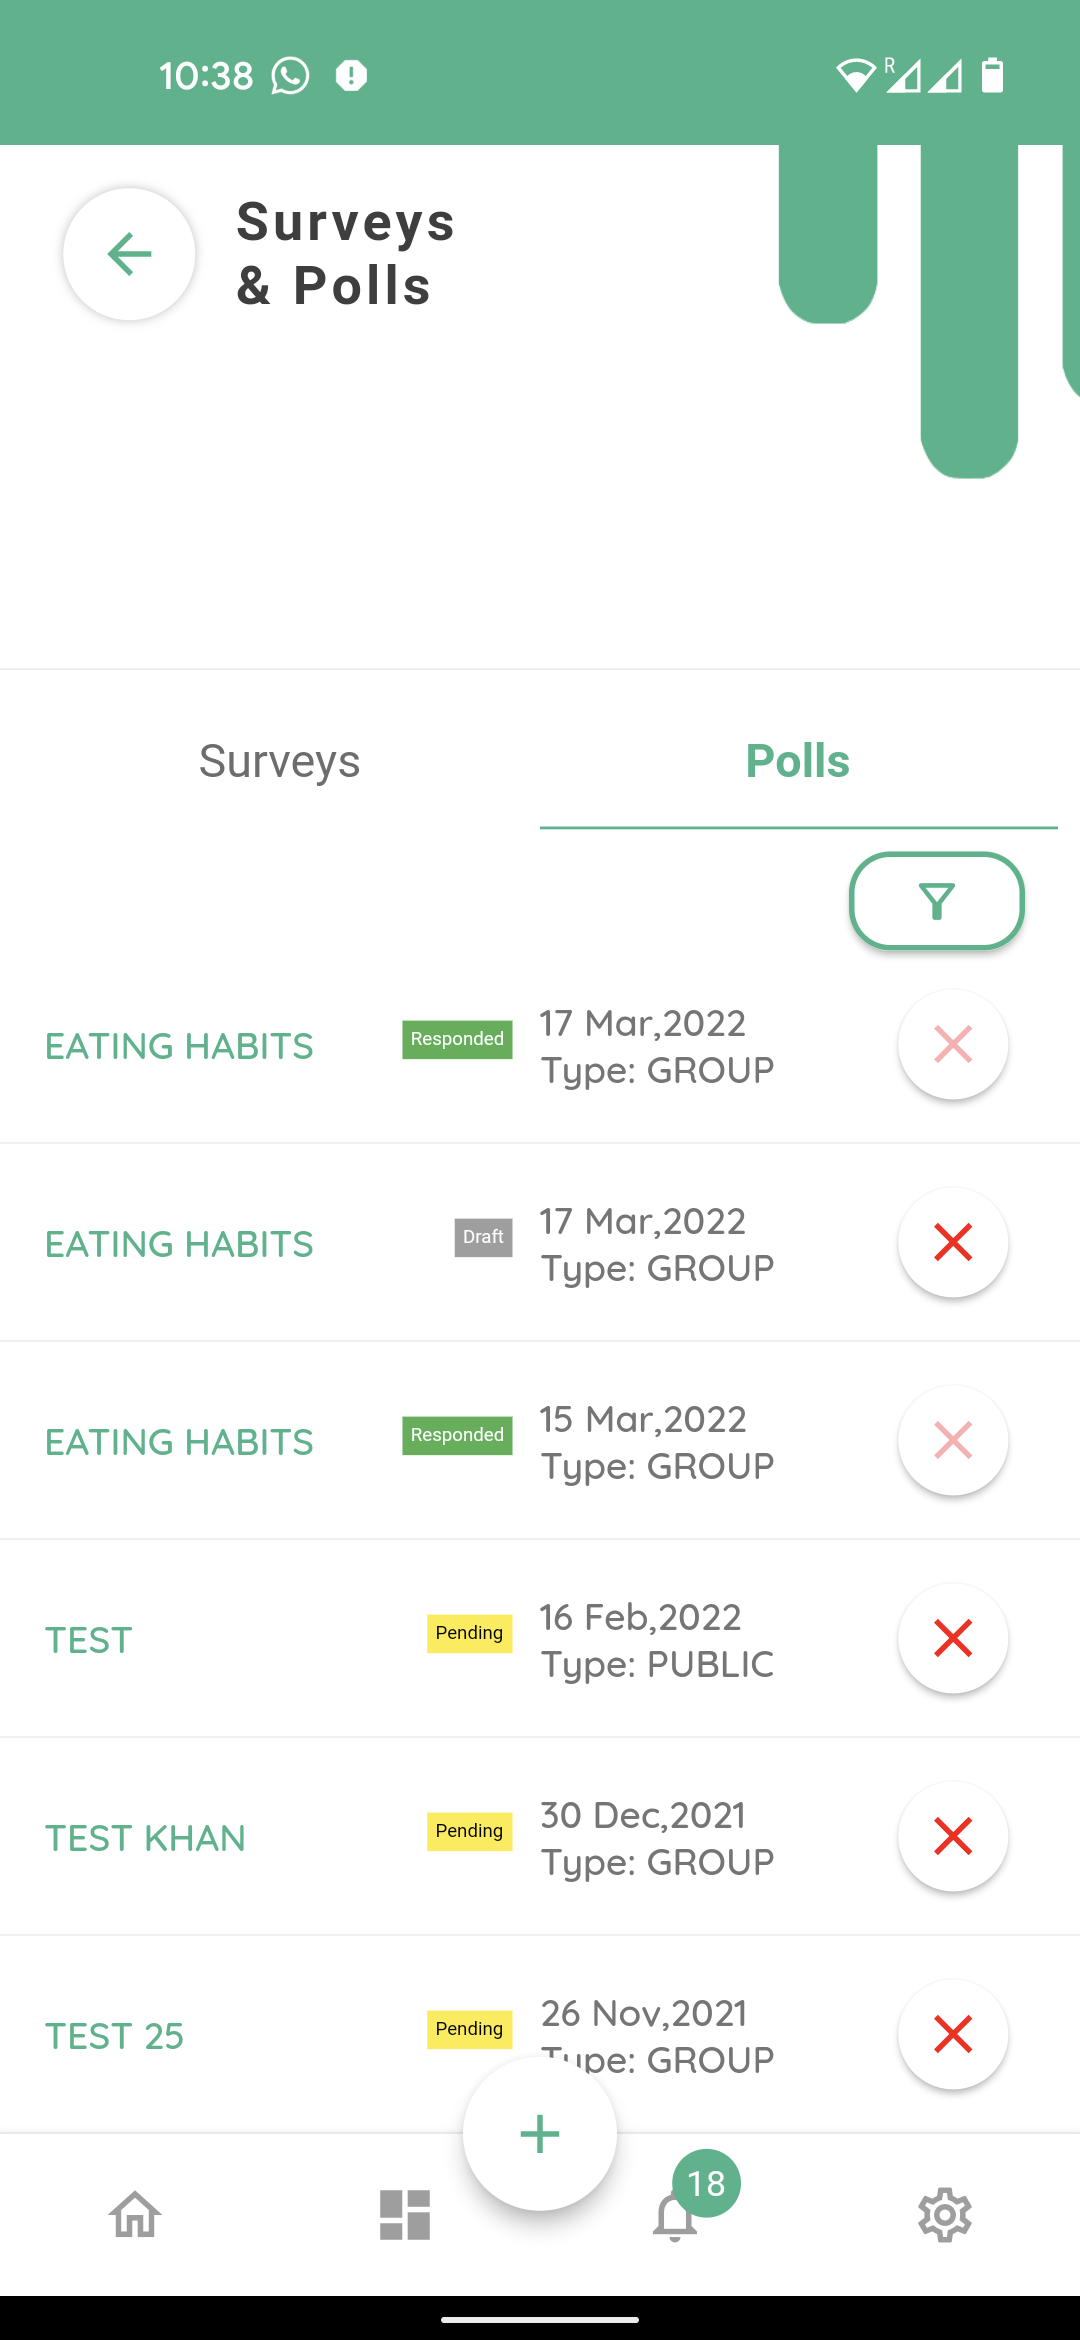
The status of this poll will appear as ‘Draft’ with a grey tag, on the ‘Surveys and Polls’ home screen. You can select it again and it will take you to the edit poll menu.
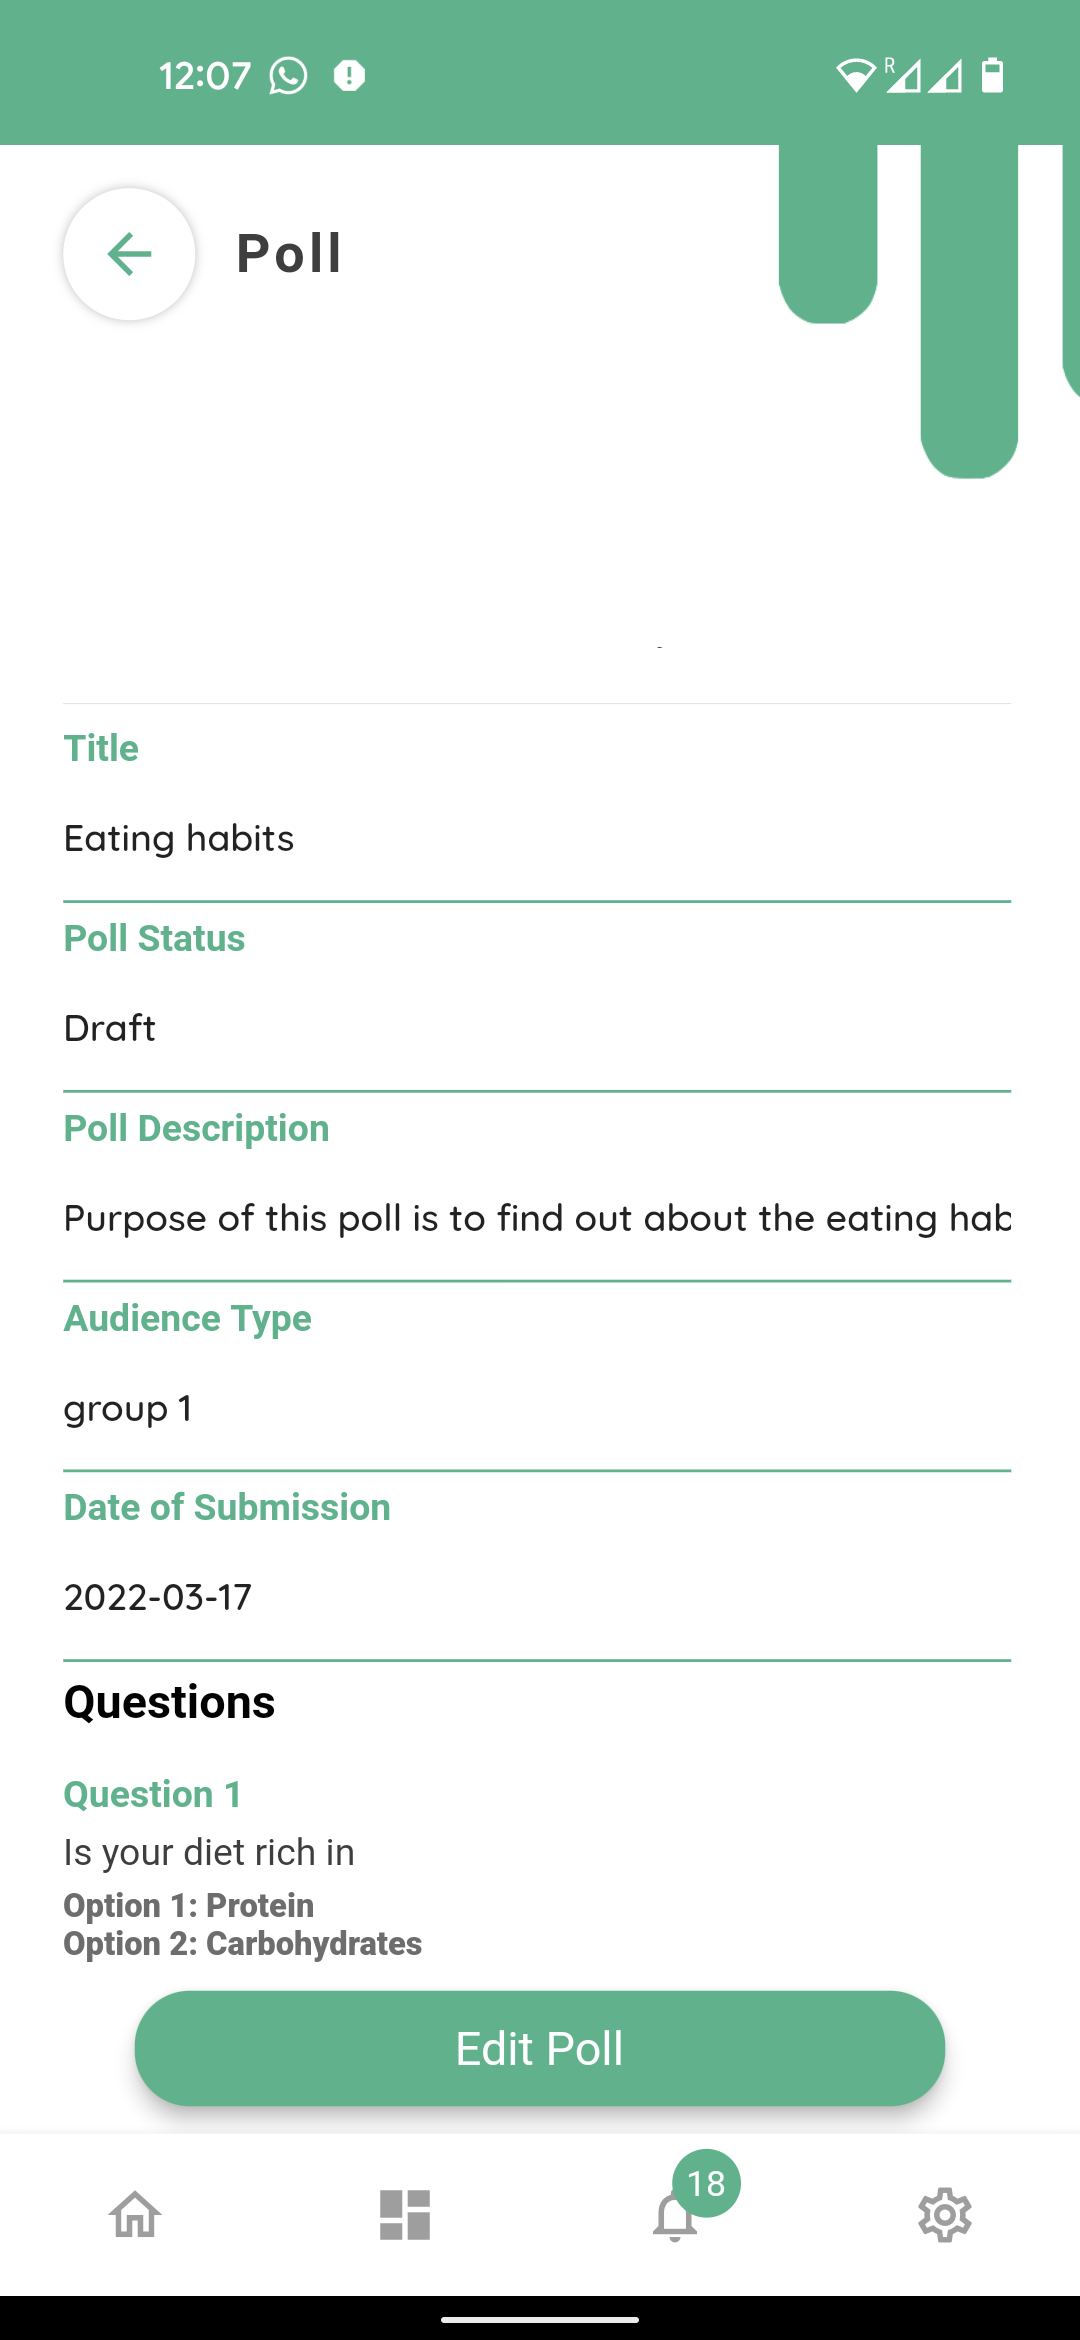
Click ‘Edit Poll’ at the bottom of this screen.

It will open the poll again, ready to be modified.
Let’s add another question to this poll.
Click ‘Add a question’.
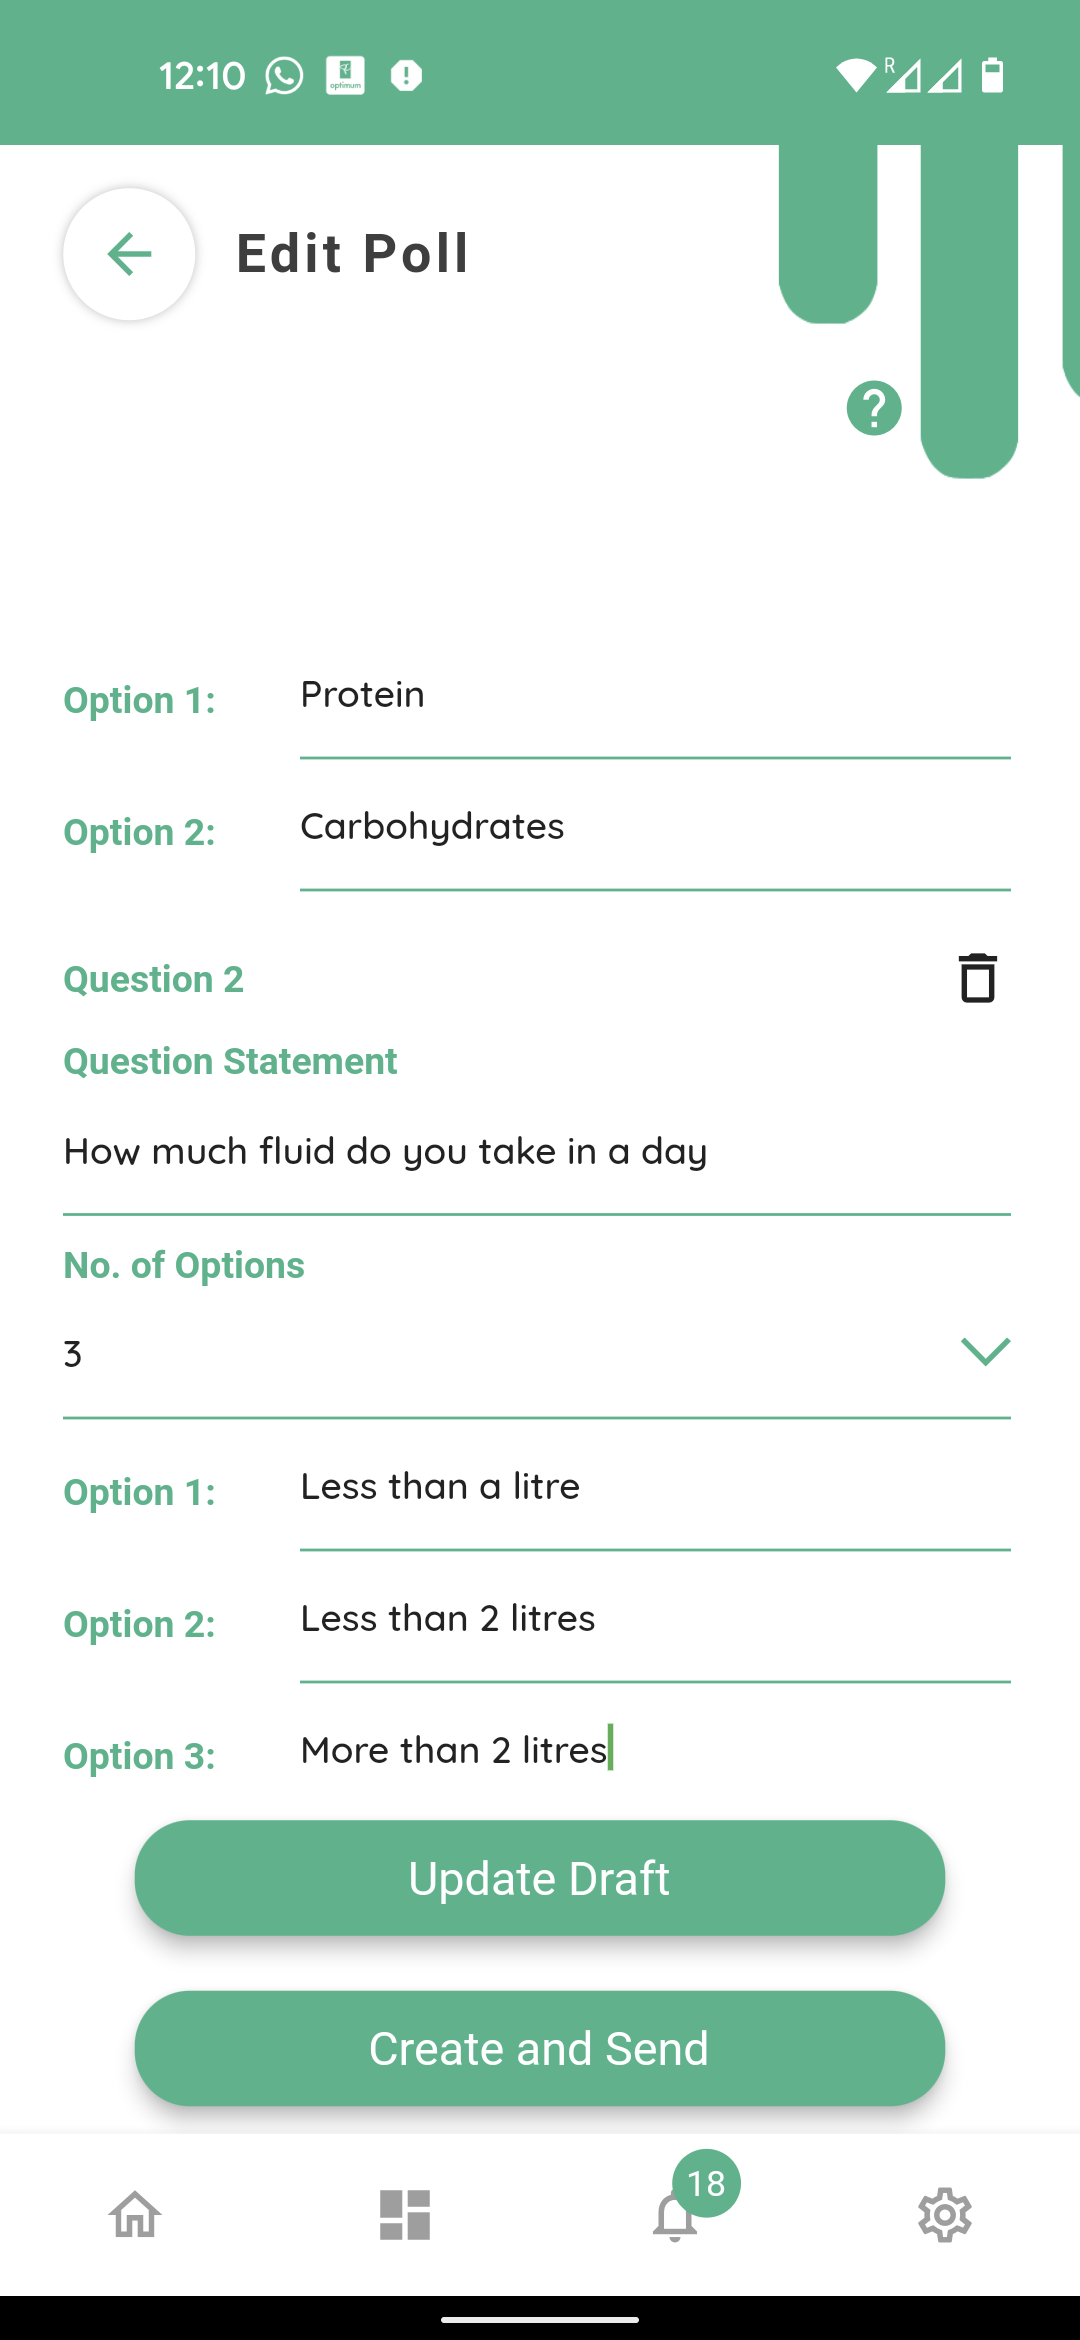
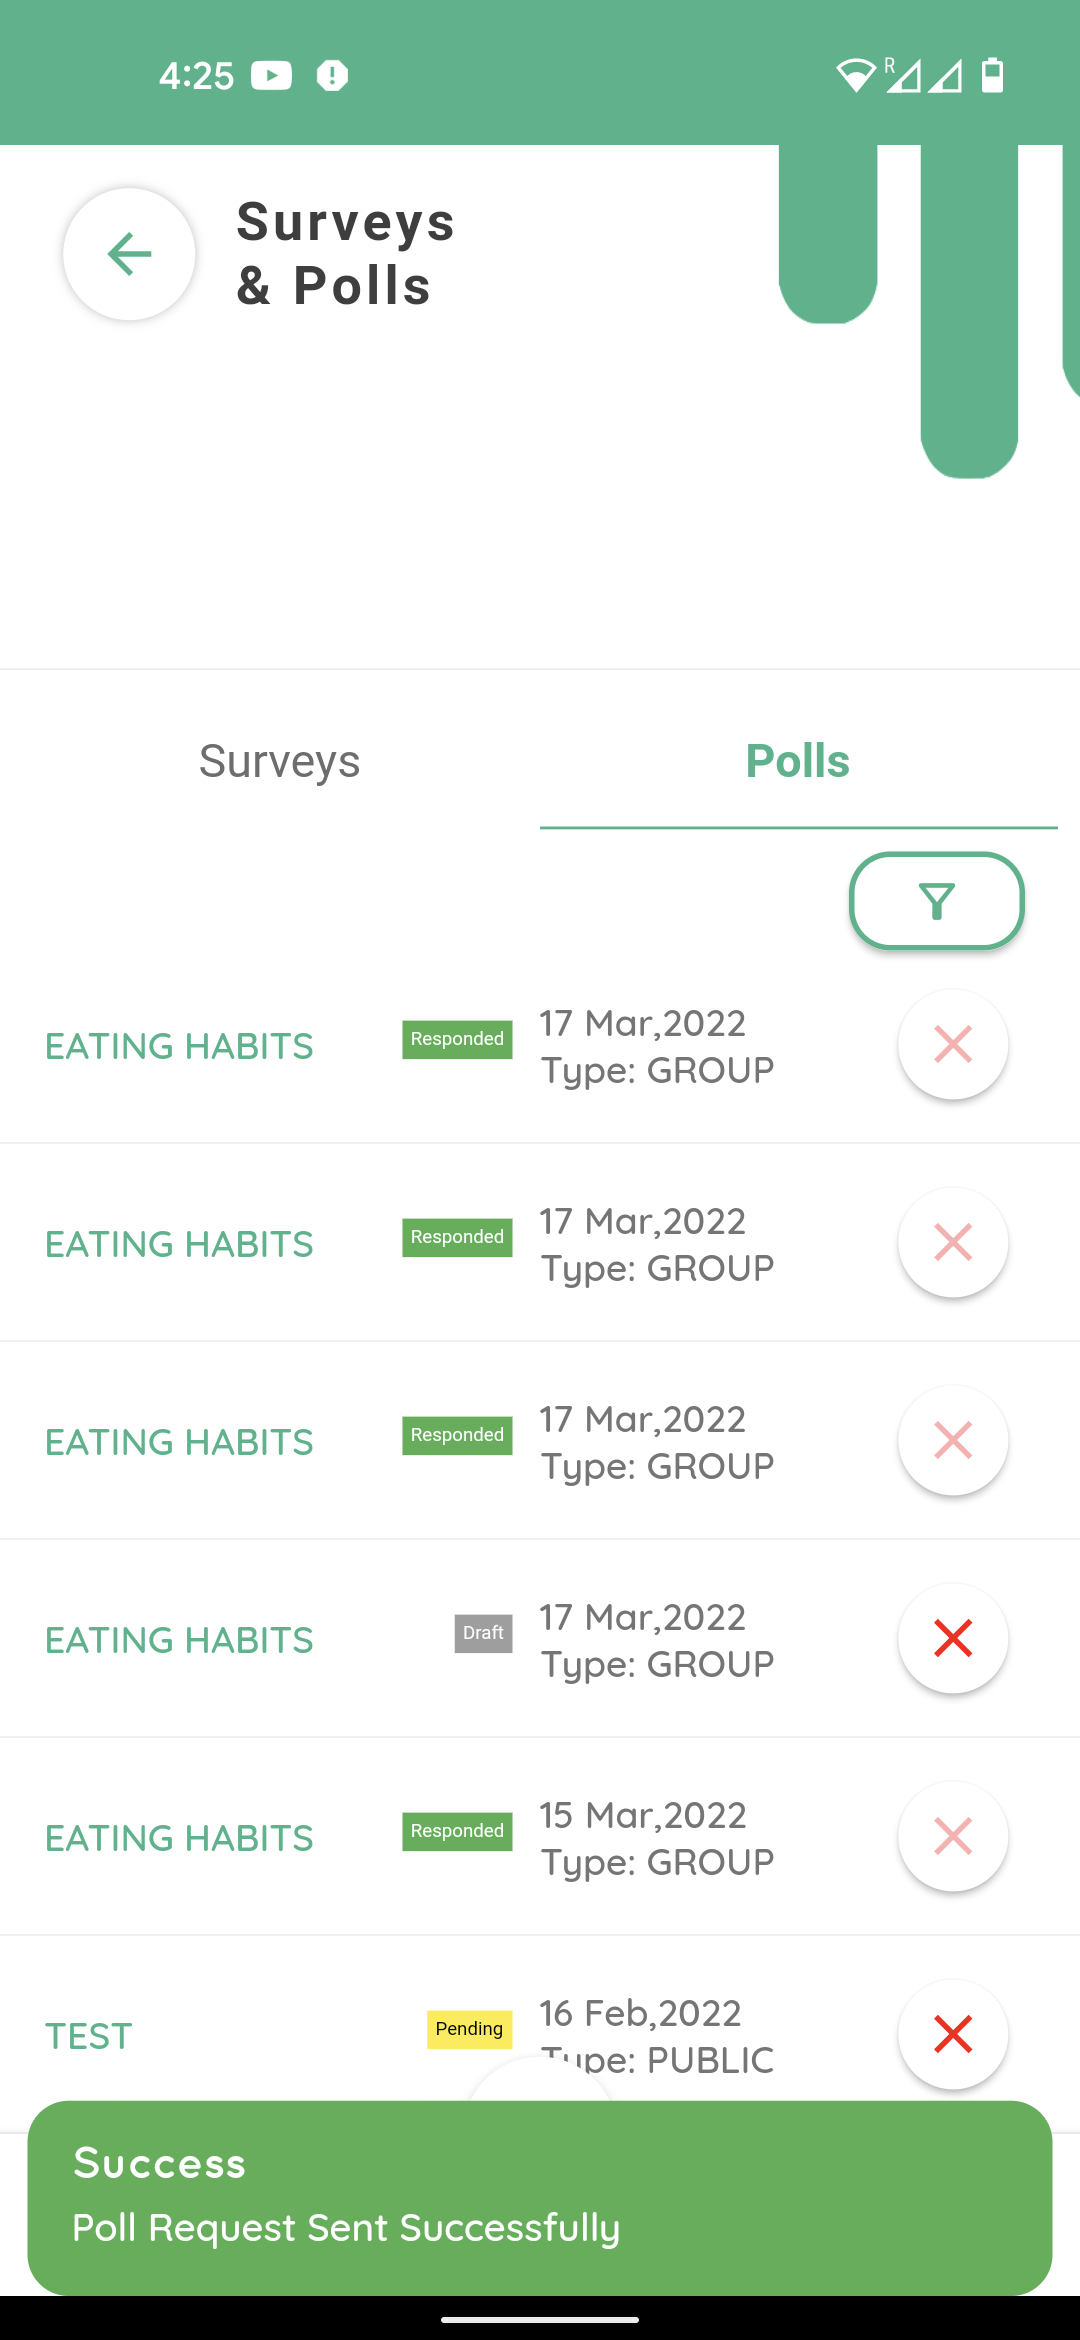
Type question No 2. In this example we are changing the ‘No. of Options’ to 3 for the new question. Fill the rest of the fields. If the poll is ready and finalized select create and send. The poll request sent successfully notifications will show at the bottom of the screen.
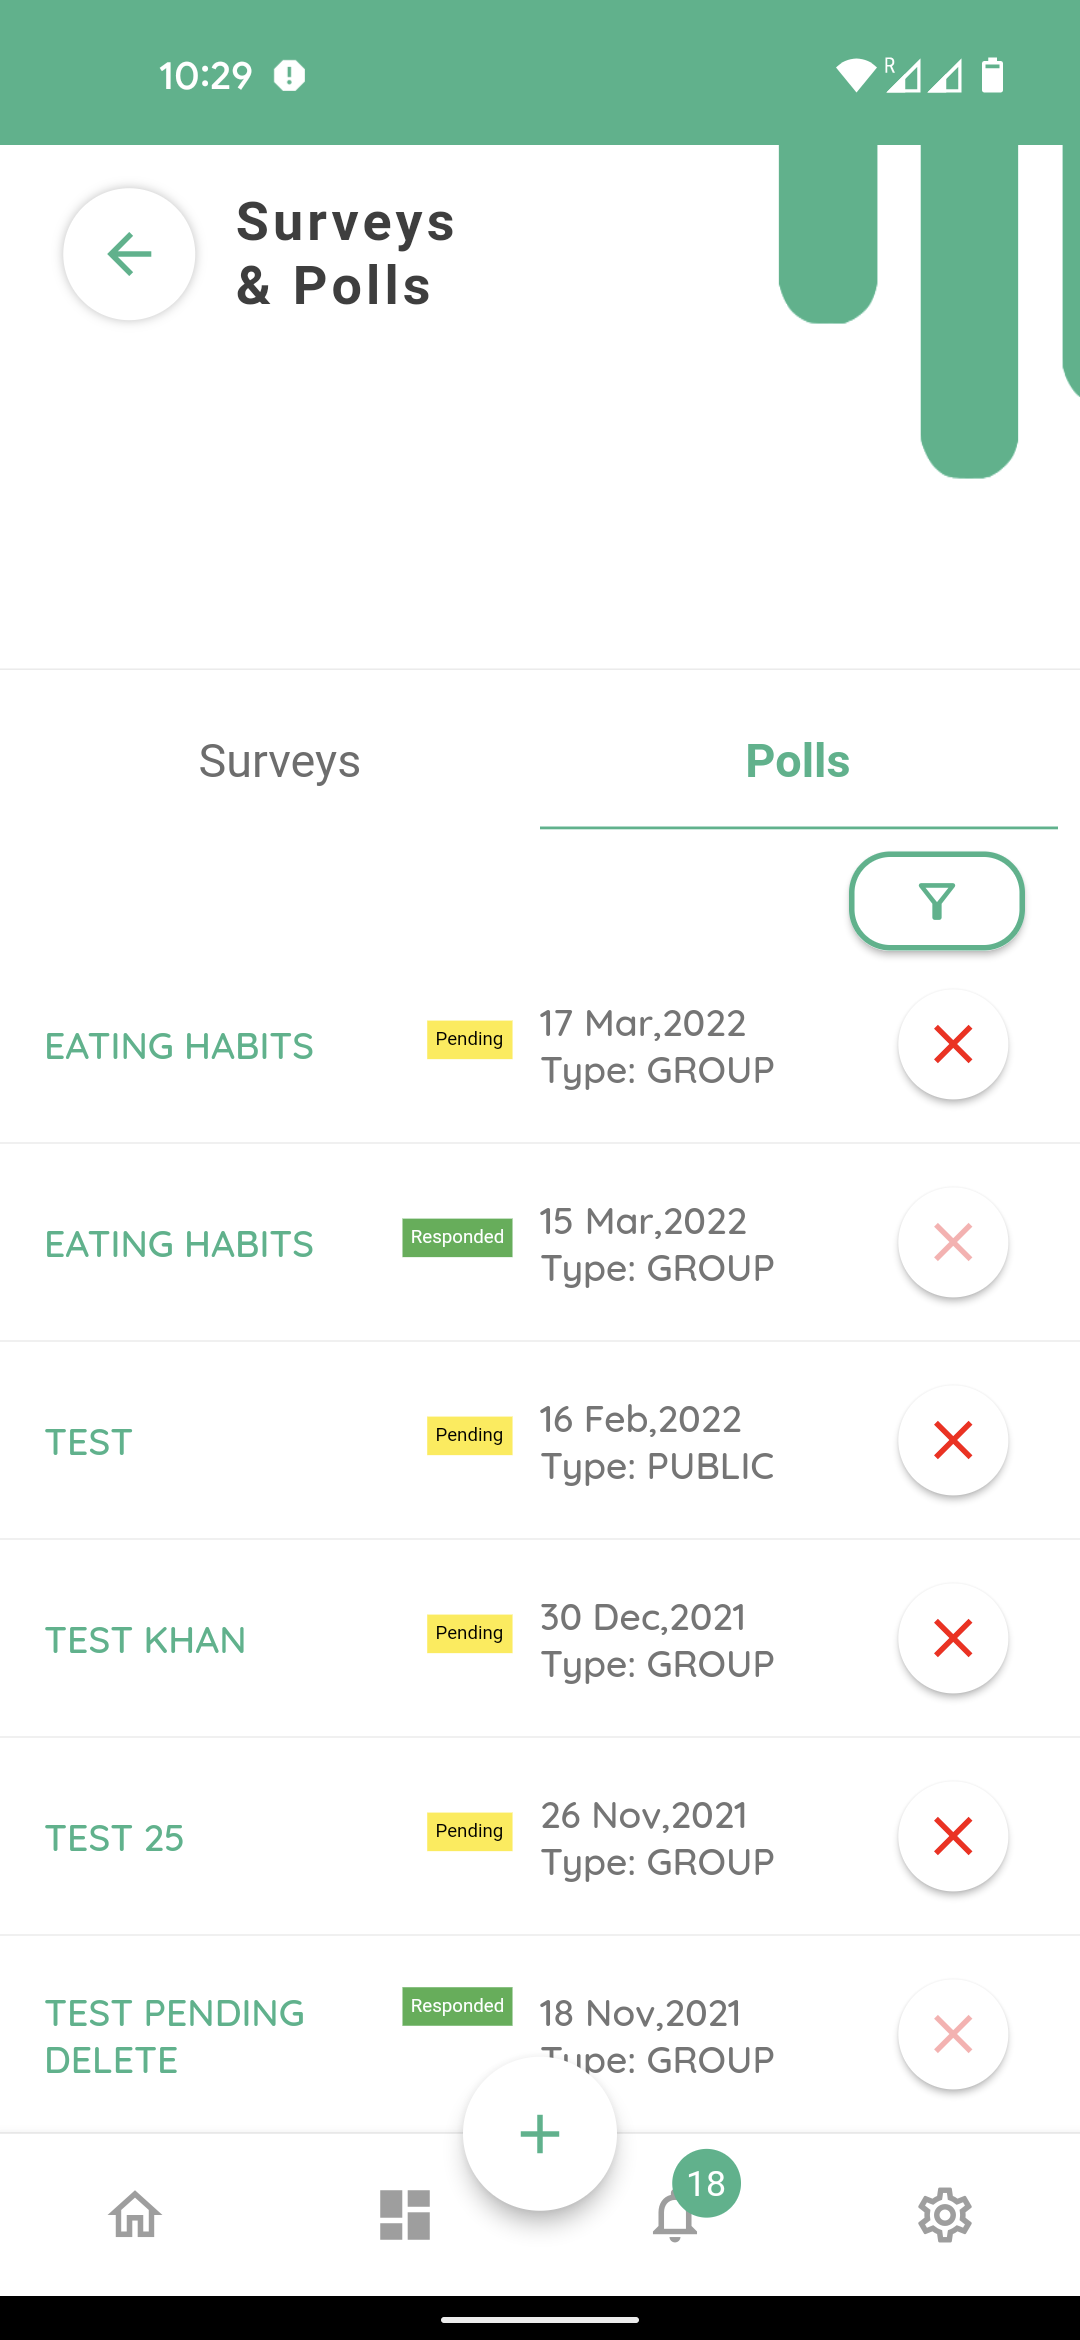
The status of this poll will show as ‘pending’ with a yellow tag. It can still be edited or deleted while the status is ‘Pending’. PLEASE NOTE THAT EVERYTIME YOU EDIT A PENDING POLL AND SAVE IT, A FRESH NOTIFICATION WILL BE SENT OUT TO THE PARTICIPANTS, HENCE IT WILL BE A GOOD IDEA TO KEEP THE EDITS OF PENDING POLL TO THE MINIMUM. Editing a draft POLL does not result in any notifications till create and send is selected.
Status will change from ‘Pending’ to ‘Responded’ with a green tag, when a participant responds to it. Any Poll cannot be deleted or edited once responded.
Response can be checked by clicking on the responded poll under Polls tab.
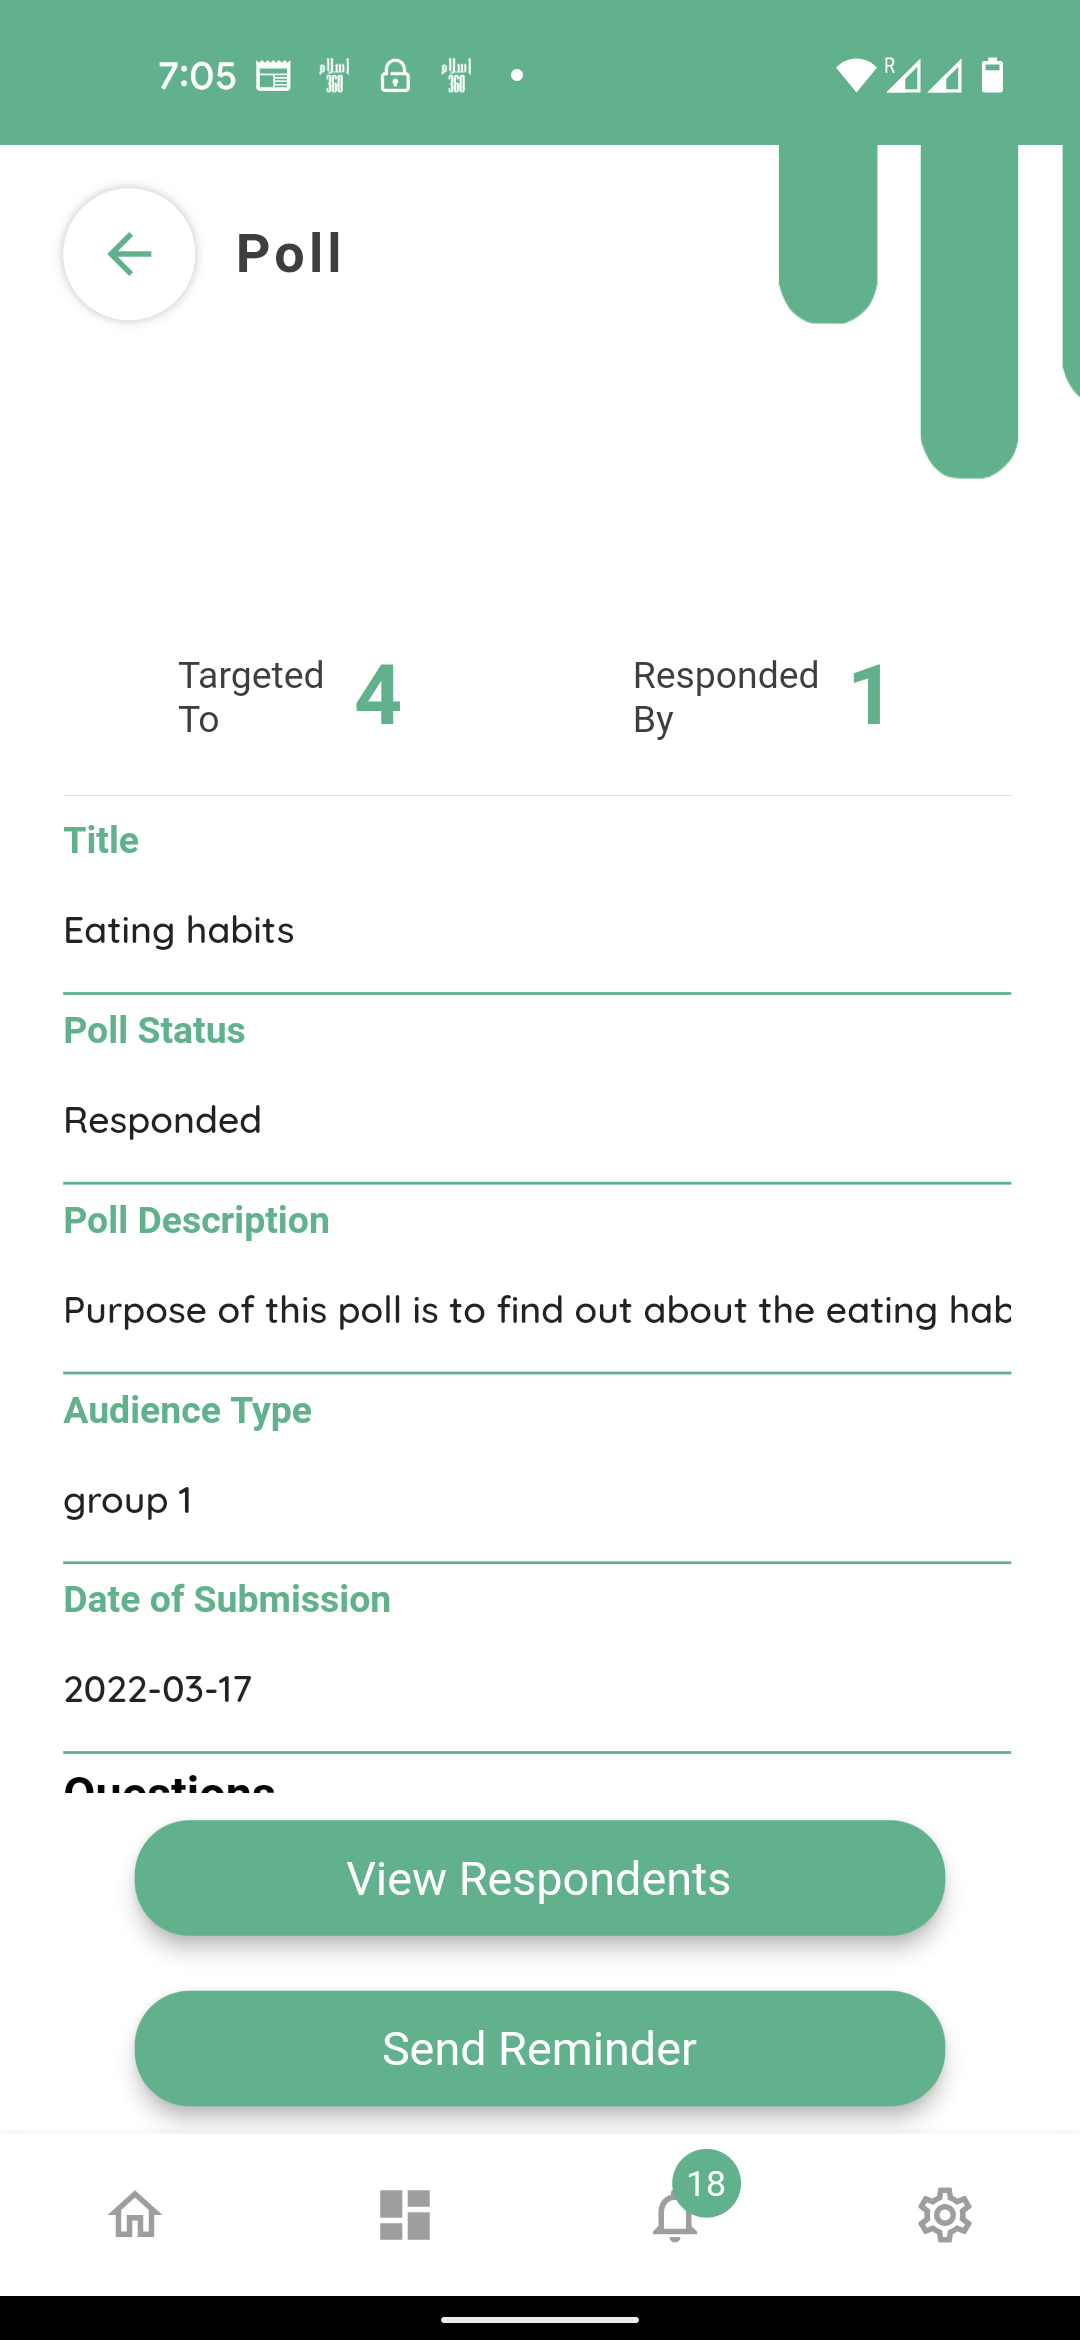
It gives you two options ‘View Respondents’ and ‘Send Reminders’
Clicking ‘View respondents’

Will show how many participants have responded with their names listed on the screen.
The top of the screen will also show the number of participants the poll was sent to on the left side and the number of responses received on the right
The result of the poll can be retrieved by clicking ‘View Results’ at the bottom of the screen.
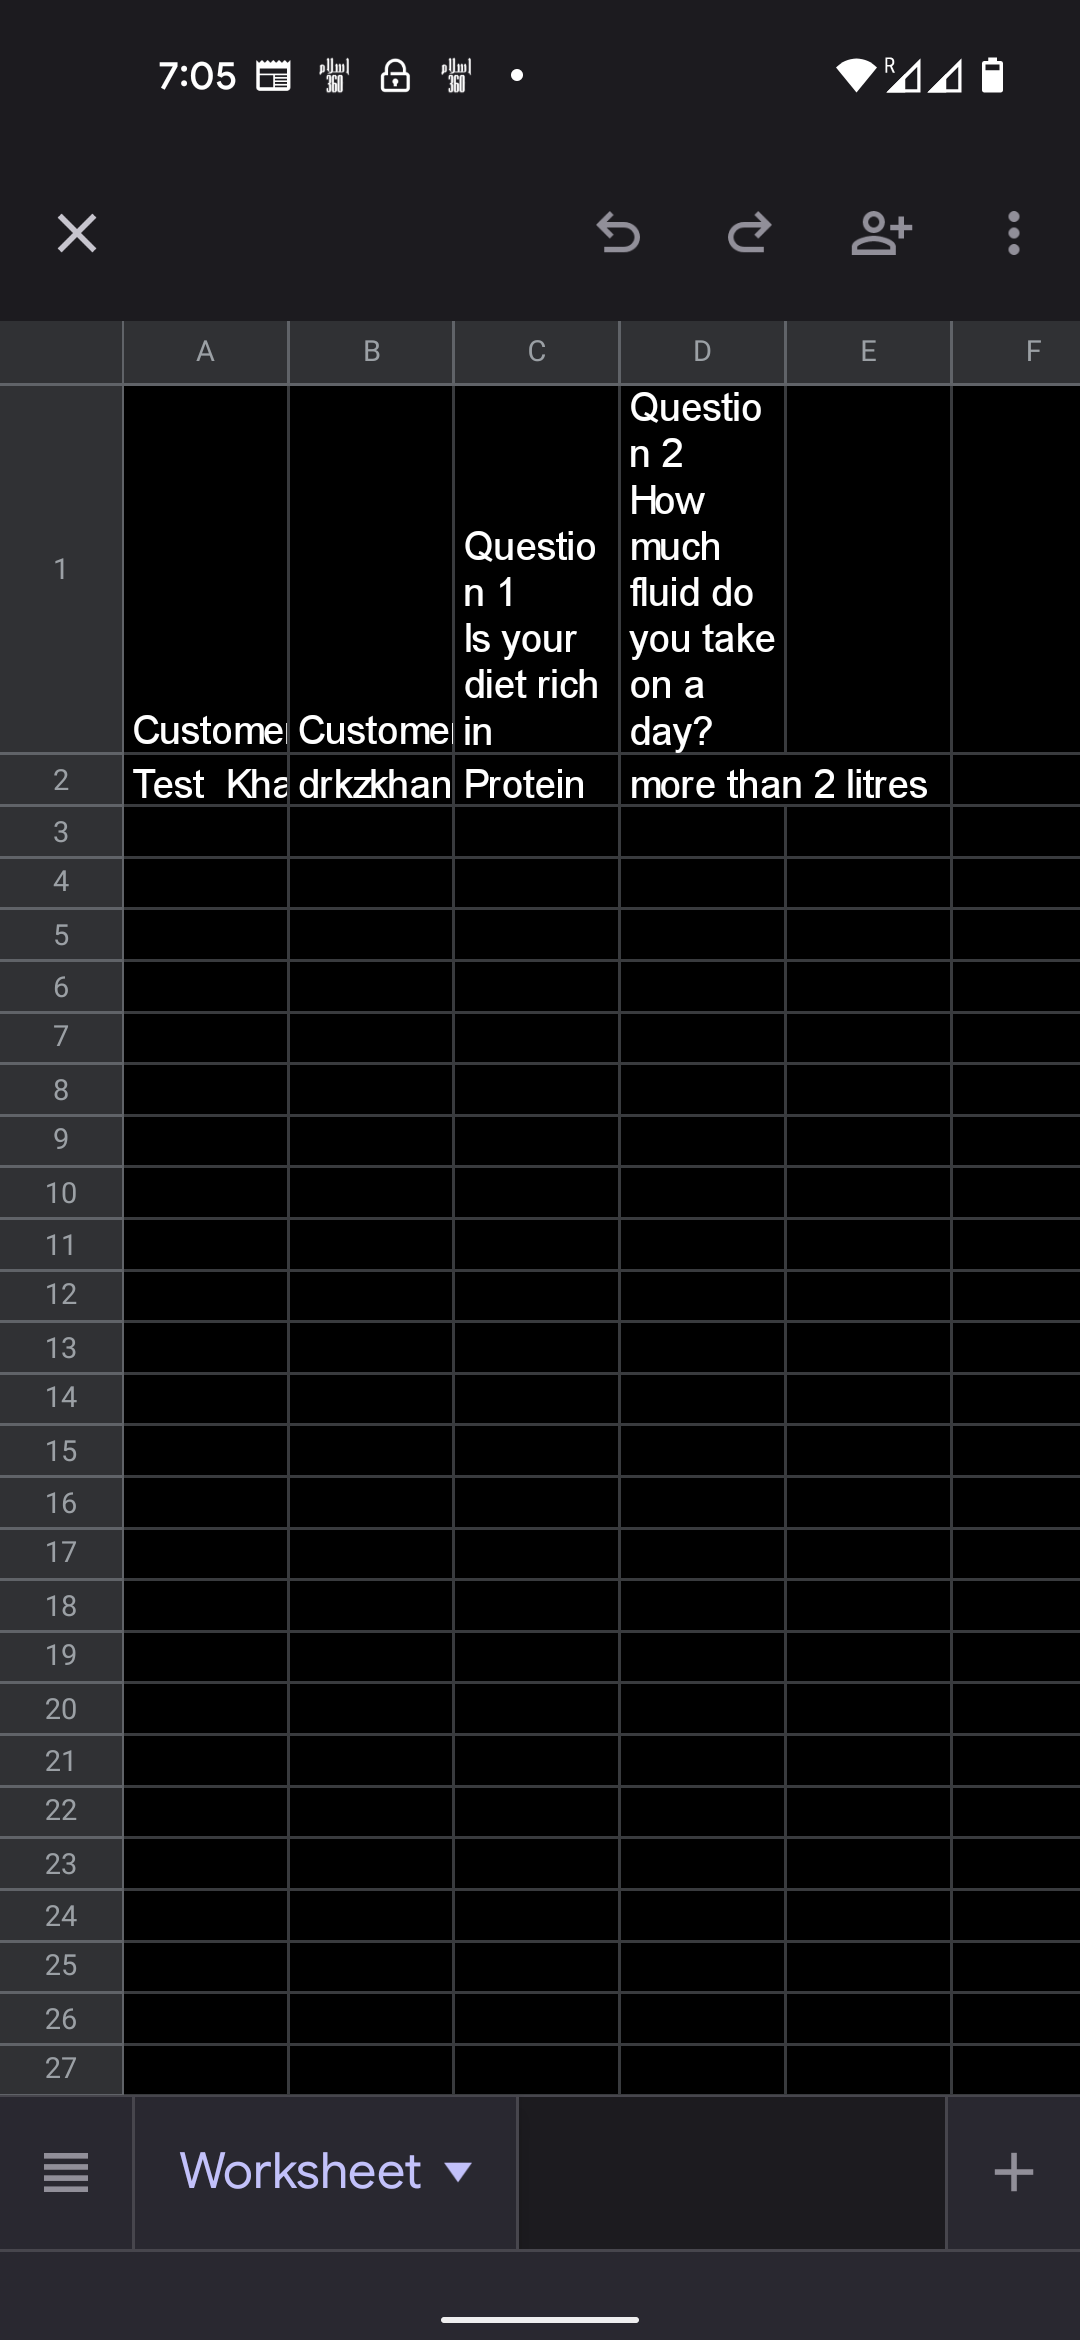
The result will open in Excel format.
From here results can be printed, shared or saved by using your device’s default application to open spreadsheets.
Swiping back to your connect app will show the same screen from where you selected to view the results.
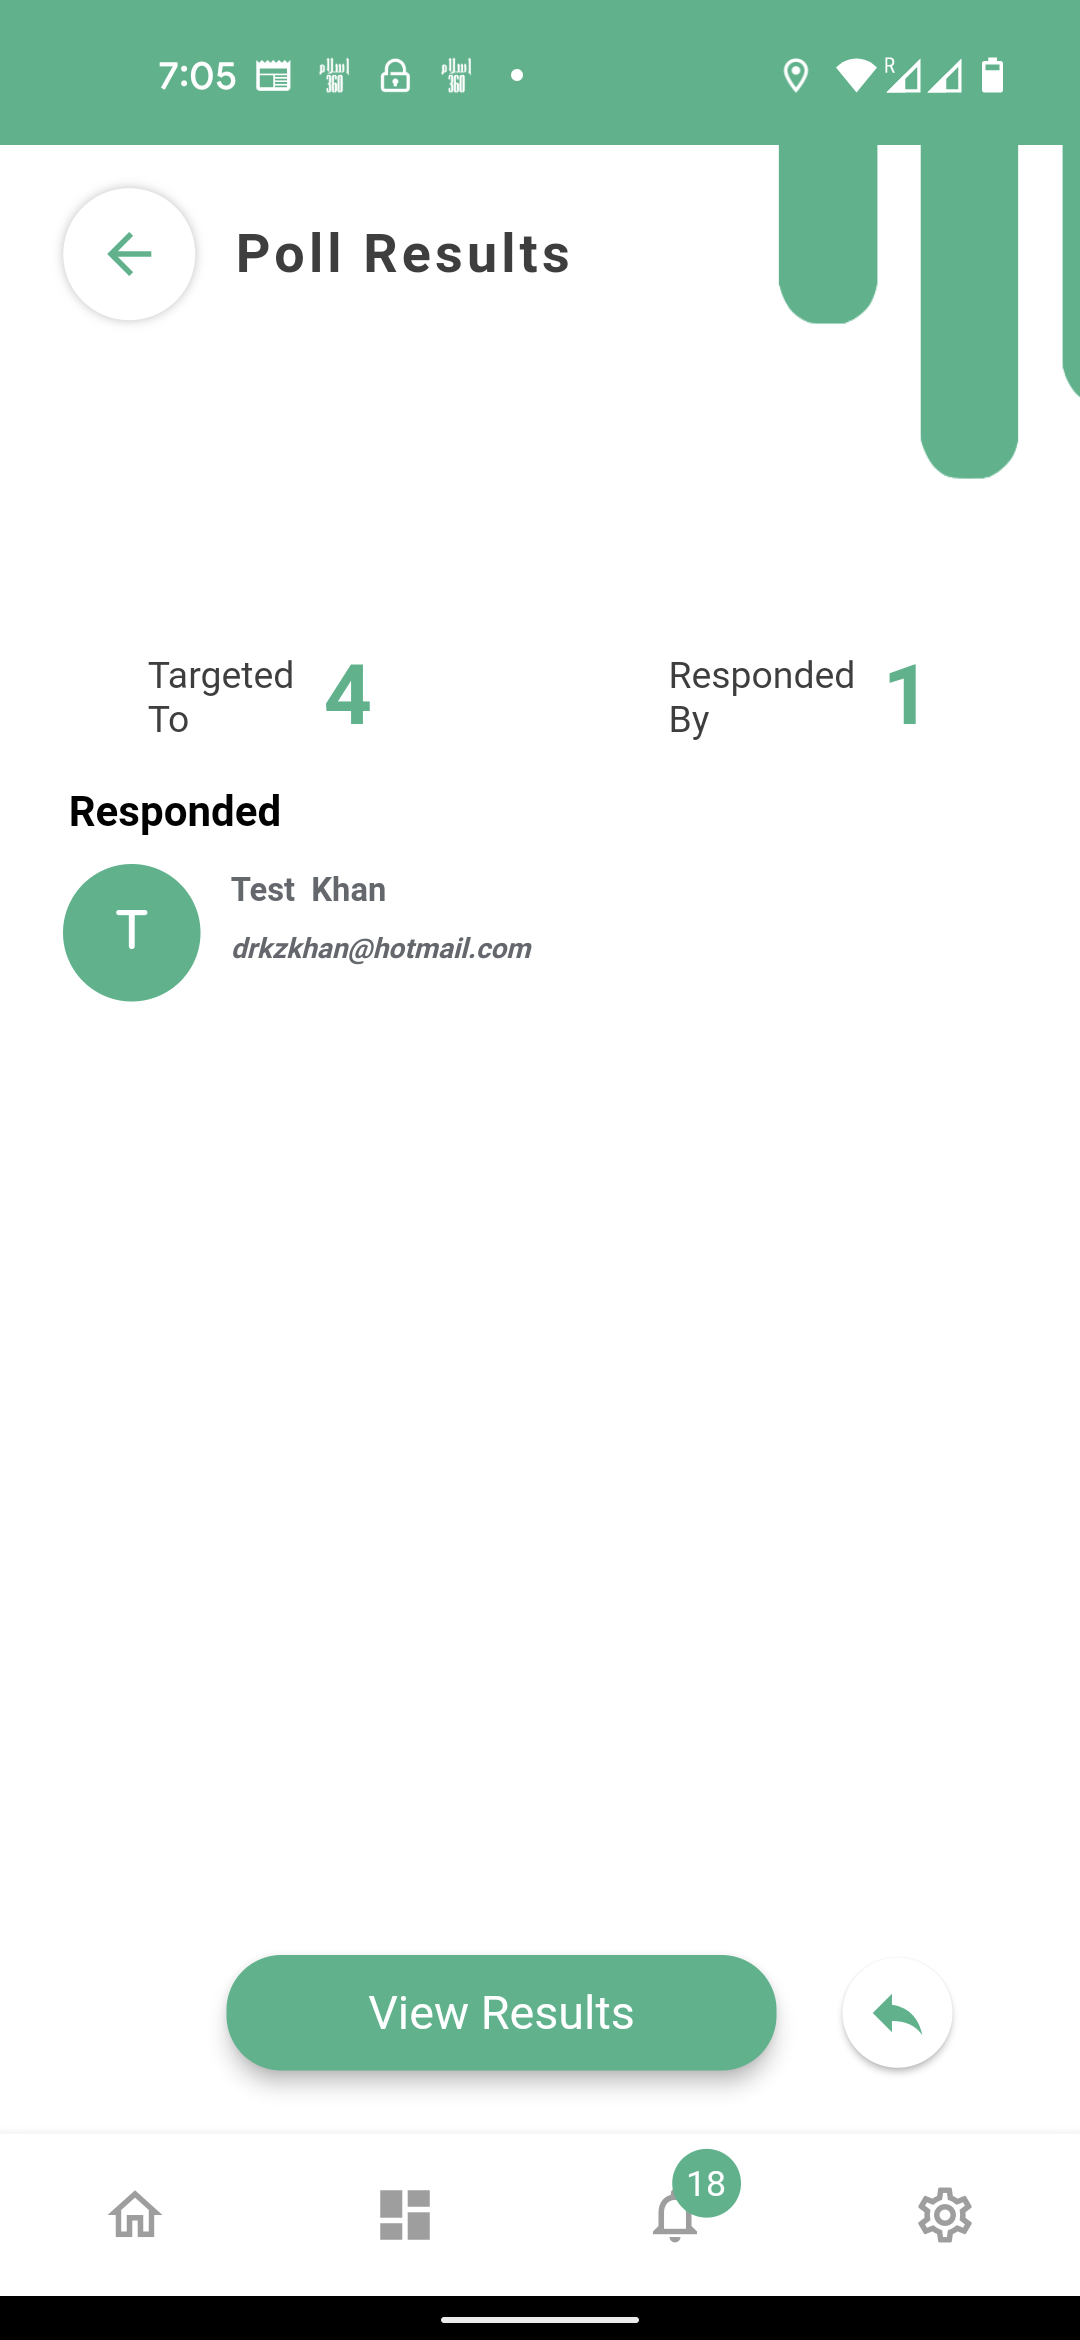
From here the results can also be shared with other staff or organisations through email or text messaging services by clicking ‘green arrow’.
