Role And Permissions

Users in connect app refer to the staff of your organisation. While consumers of your services or products are referred to as ‘Customers’.
From your connect app home screen selecting users tab takes you to ‘User Management’ home screen.
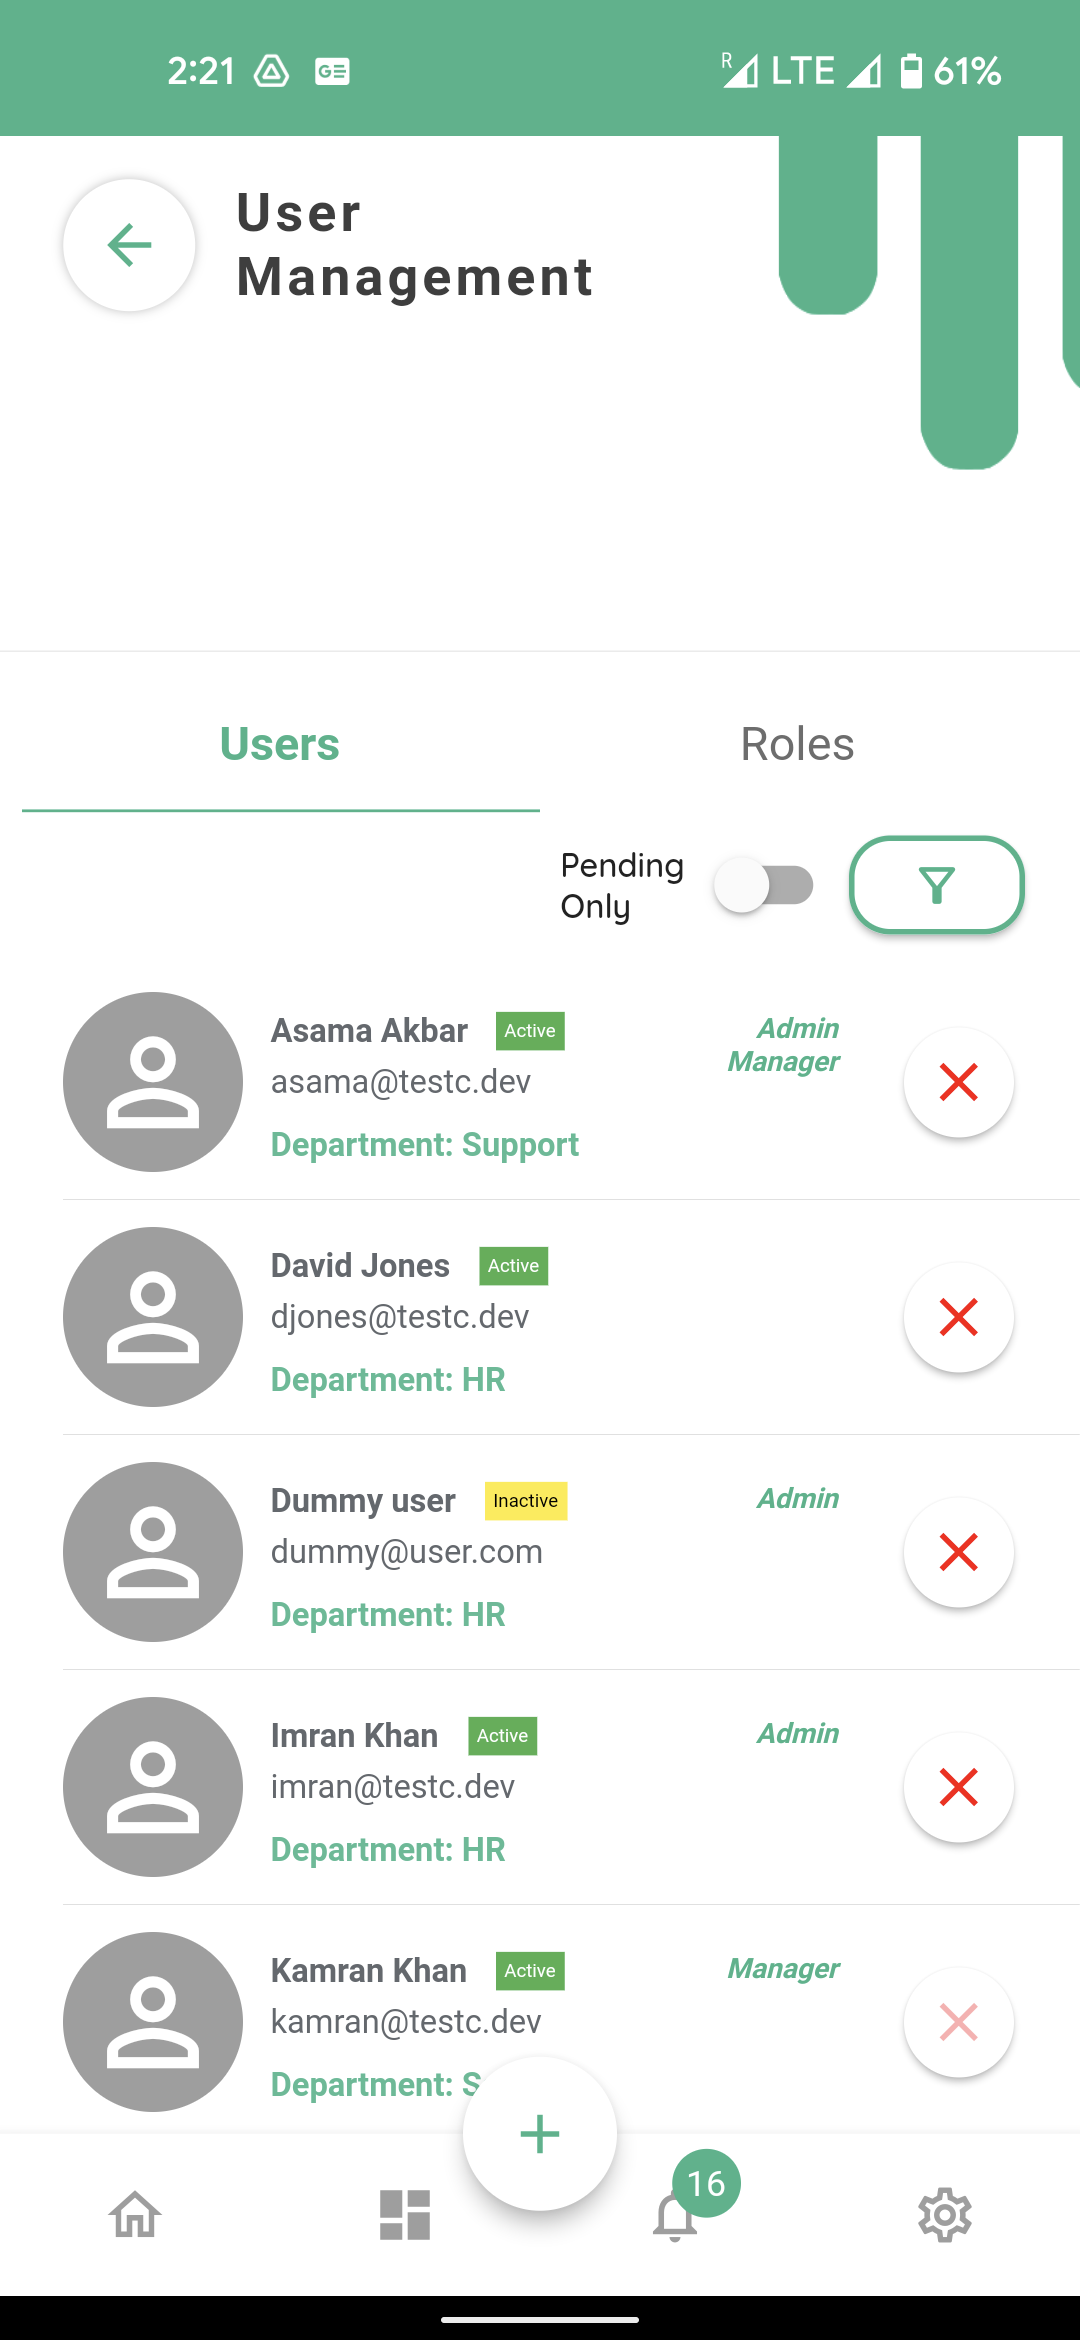
By default you will see the users tab first on the left side, with all your staff listed underneath in alphabetical order.
Each user has one or more roles assigned to them listed across their names like Admin or Manager etc.
If a user has no assigned roles they will not be able to use any connect app modules until they are assigned one or more roles. There is a separate tutorial on user management. We will focus on ‘roles’ and their associated permissions in this tutorial.
Selecting the roles tab on the right side of the screen takes you to the roles screen.
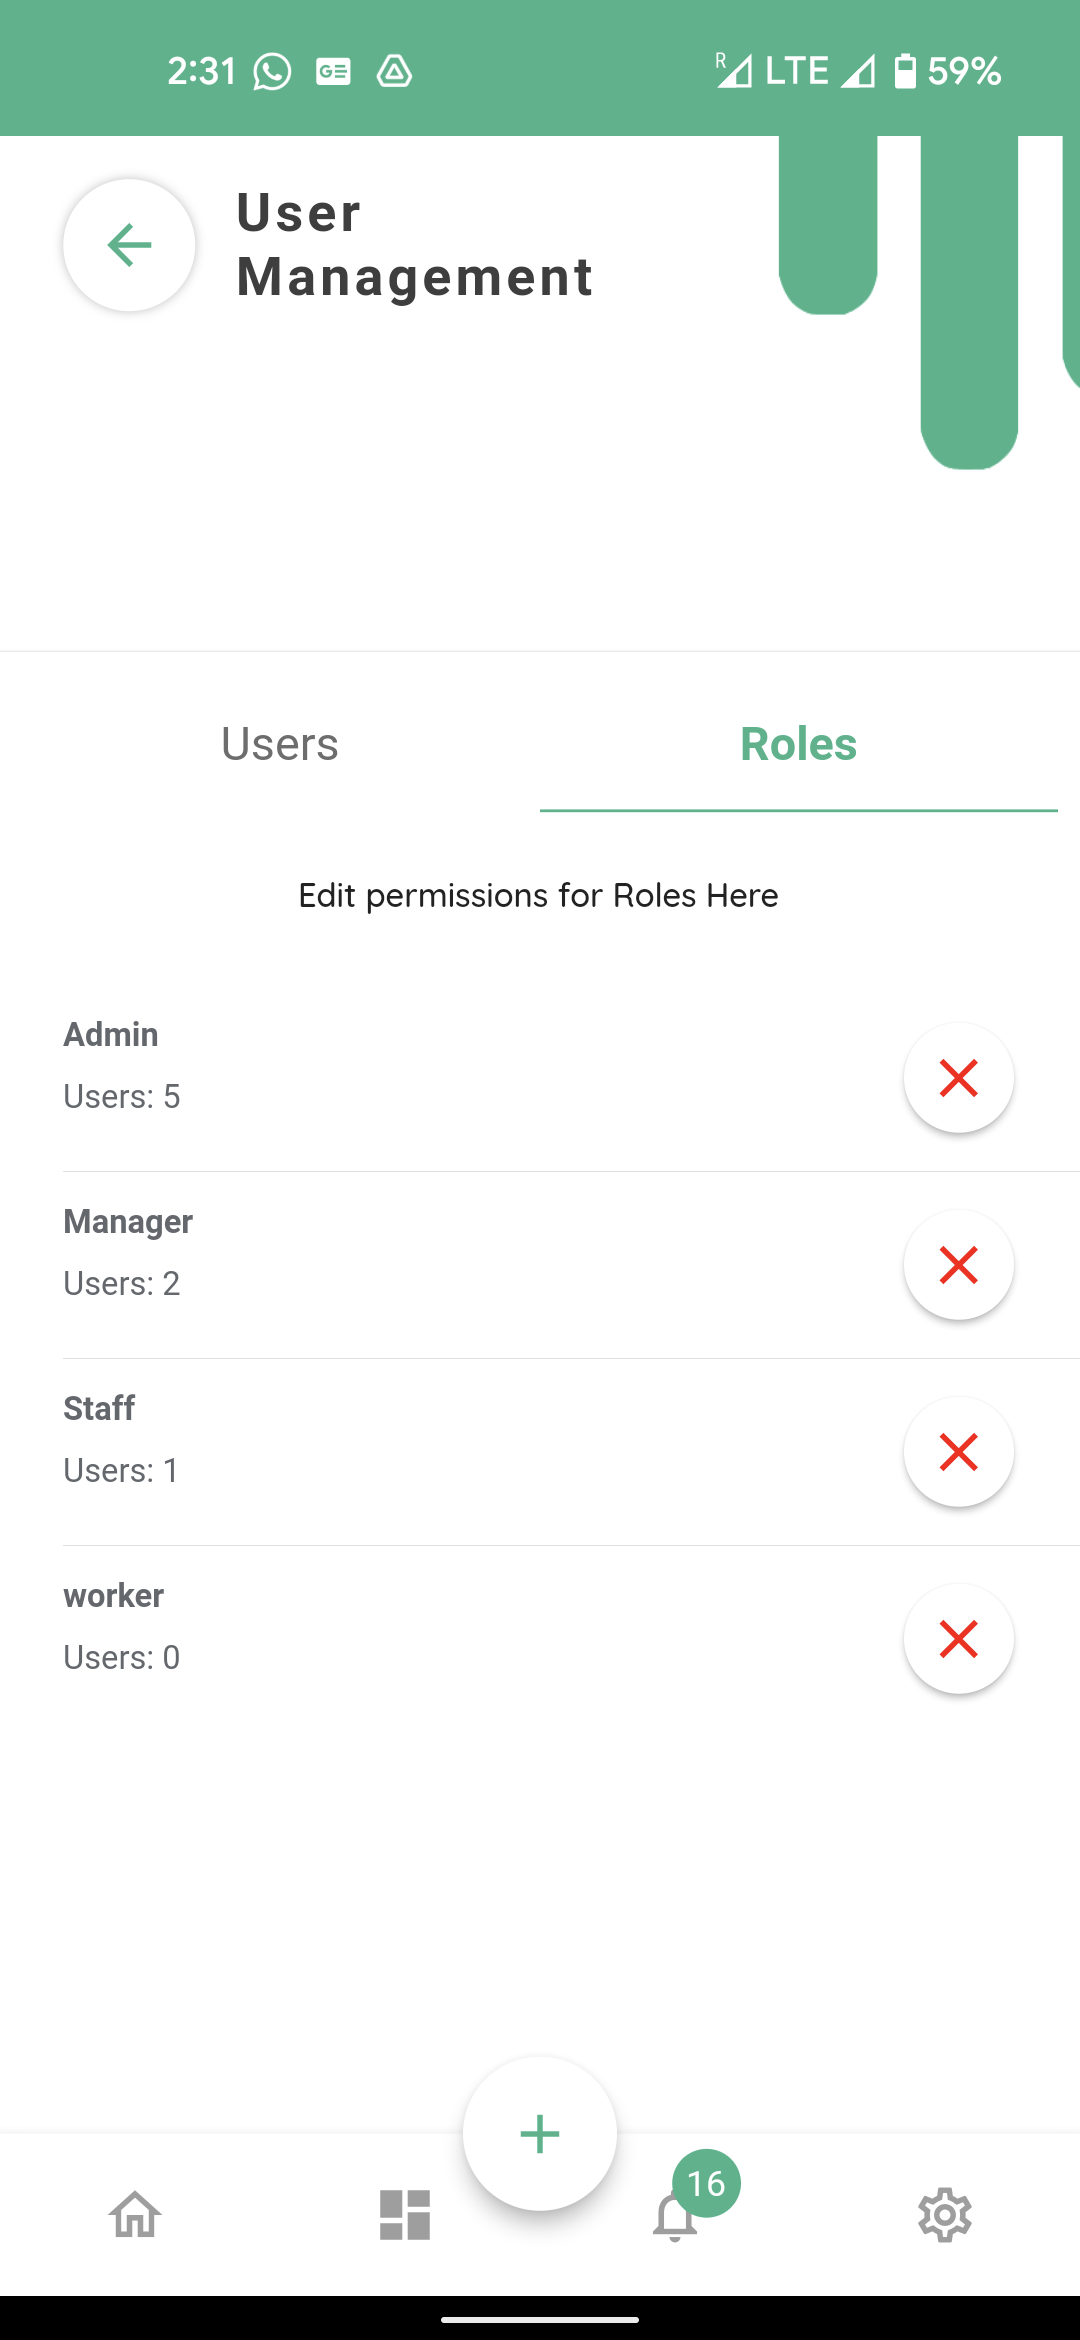
The connect app comes with three preset roles for your ease with a set of default permissions; these are admin, manager and staff with most to least permissions respectively. While the app was being setup by your super admin they might have created new roles or deleted the preset ones. In either case the roles visible on the left are the ones your organization has at this stage.
Under each role you will see the number of your staff with each role assigned to them. Here you can see 2 staff in your organisation have ‘Manager’ permissions.
You can delete a role here by clicking the red cross across from each role.
Please bear in mind if you delete a role it is not reversible, all staff with the permissions associated with that role will lose the permissions and will not be able to use the connect app, unless they have permissions for another role or they are assigned another role after the deletion of the current one.
If you want to create a new role in your organisation you can select the add button at the bottom of the screen.
We will come to the creation of a new role at the end of this tutorial once we have gone through the permissions and how these work.
Selecting any role will open the permissions page associated with that role.
For example Clicking Admin

Will take you to Role Permissions screen for Admin
The first field refers to the name of the role.
You can choose to change the name here, but it will not affect the permissions and the staff which has those permissions. They will have the same permissions but with a different name as chosen by you here.
The status field
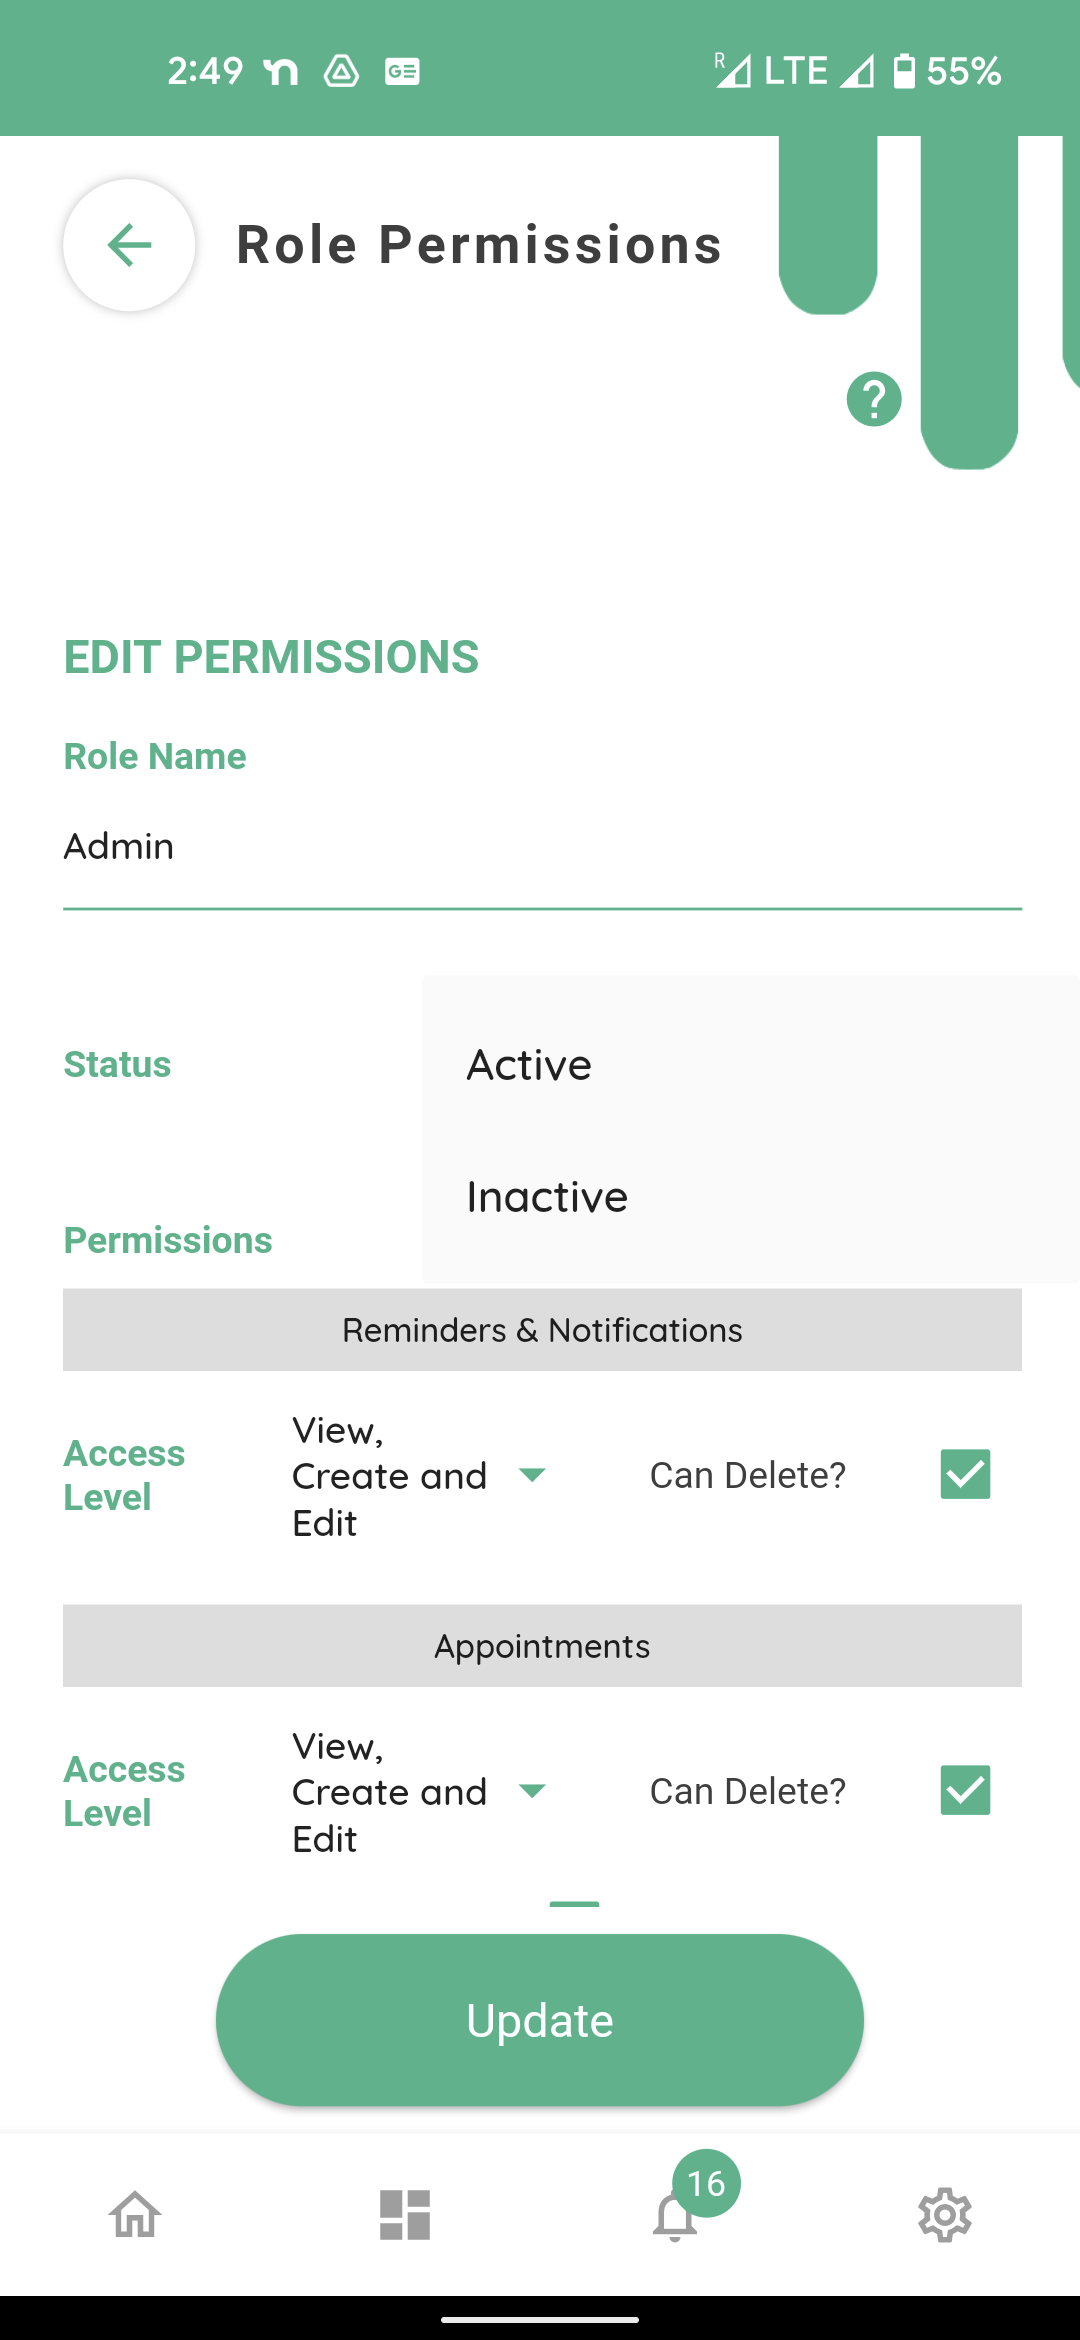
Lets you choose between active and inactive. If you choose to inactivate the status here, all staff with the selected role ‘in this case Admin’ will lose their permissions and will not be able to use the modules of the connect app. Unless they have permissions in another role.
This facility has been developed for your organisation, in case you have created a temporary role with special permissions for any project. At the completion of that project such a role can be inactivated along with its associated permissions. These permissions can be activated again when needed.
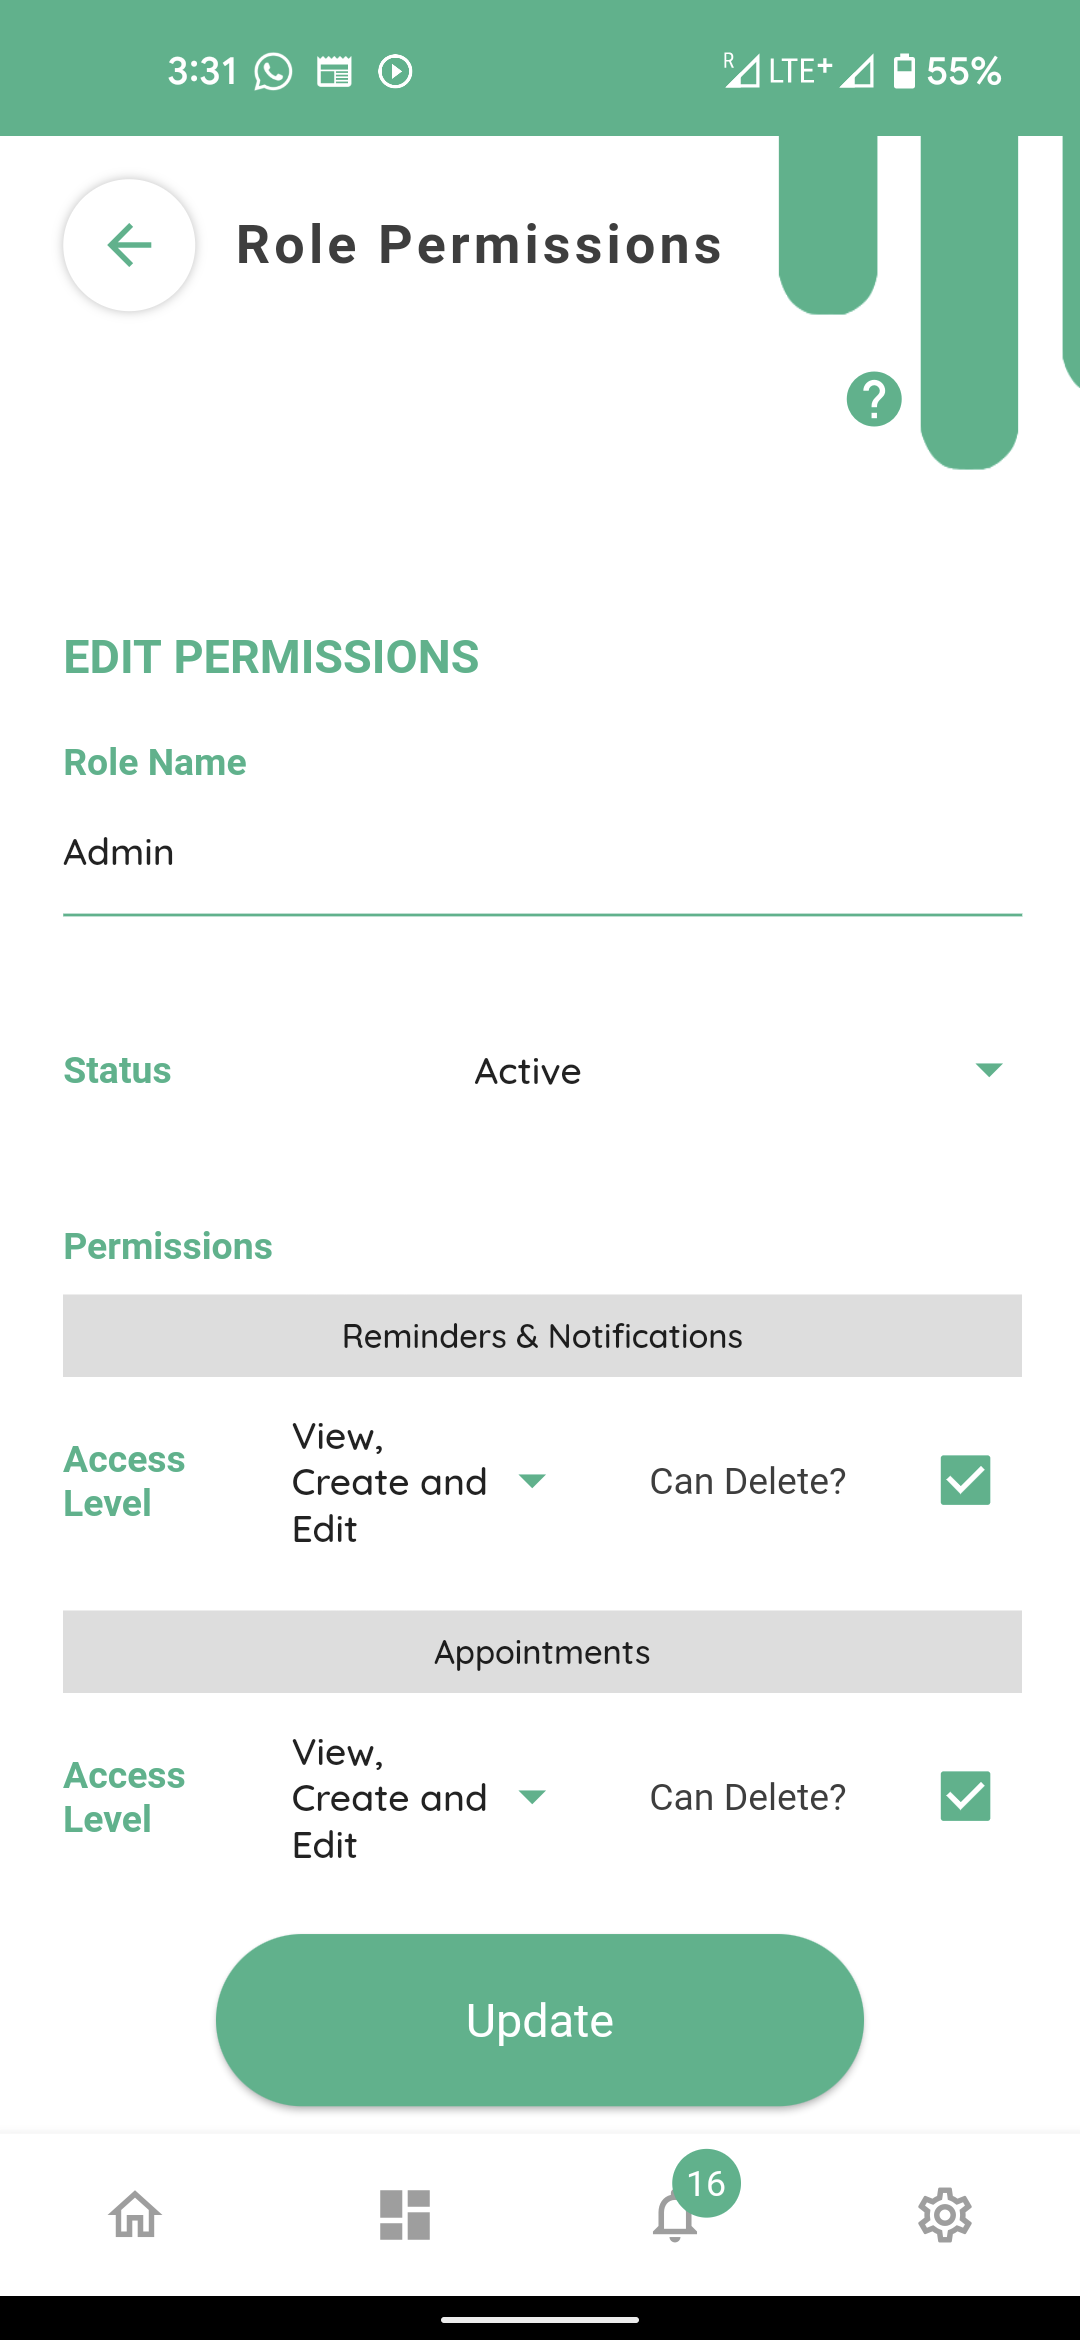
All modules and settings of the connect app have permissions set up under ‘access level’.
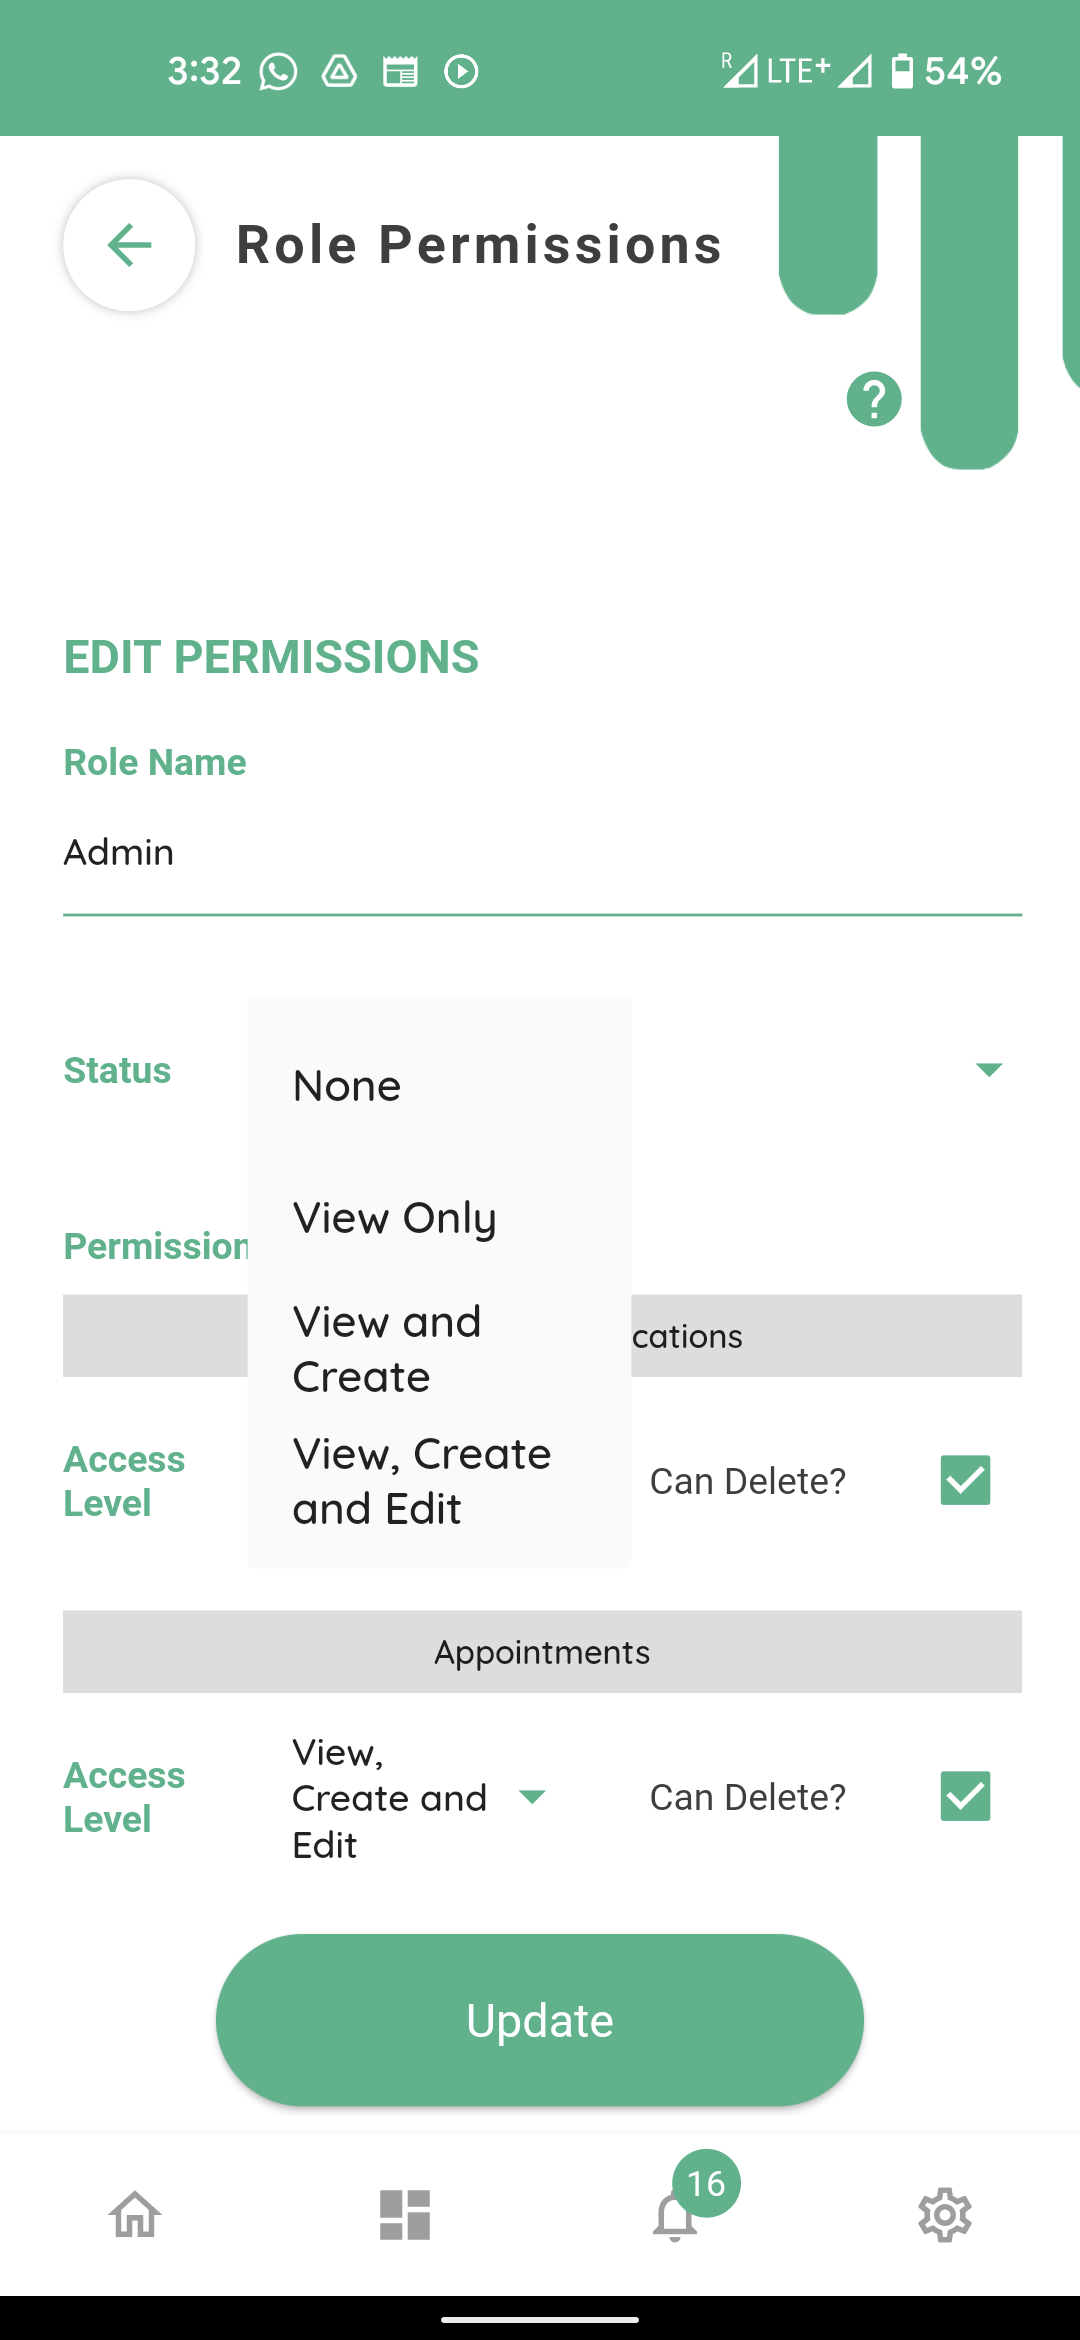
Most modules let you choose between
None
View only
View and create
and
View create and edit
Each module also has the permission allowing the user to delete items within the module as well.
There are a few exceptions to the standard four levels settings as mentioned earlier.
First exception to the above generic options is for the appointments module

Here you can see the option of ‘can view all departments’. This special permission had been created for a receptionist or equivalent role who would need to manage appointments for all departments in the organisation.
The other two exceptions are for market place and organisation.
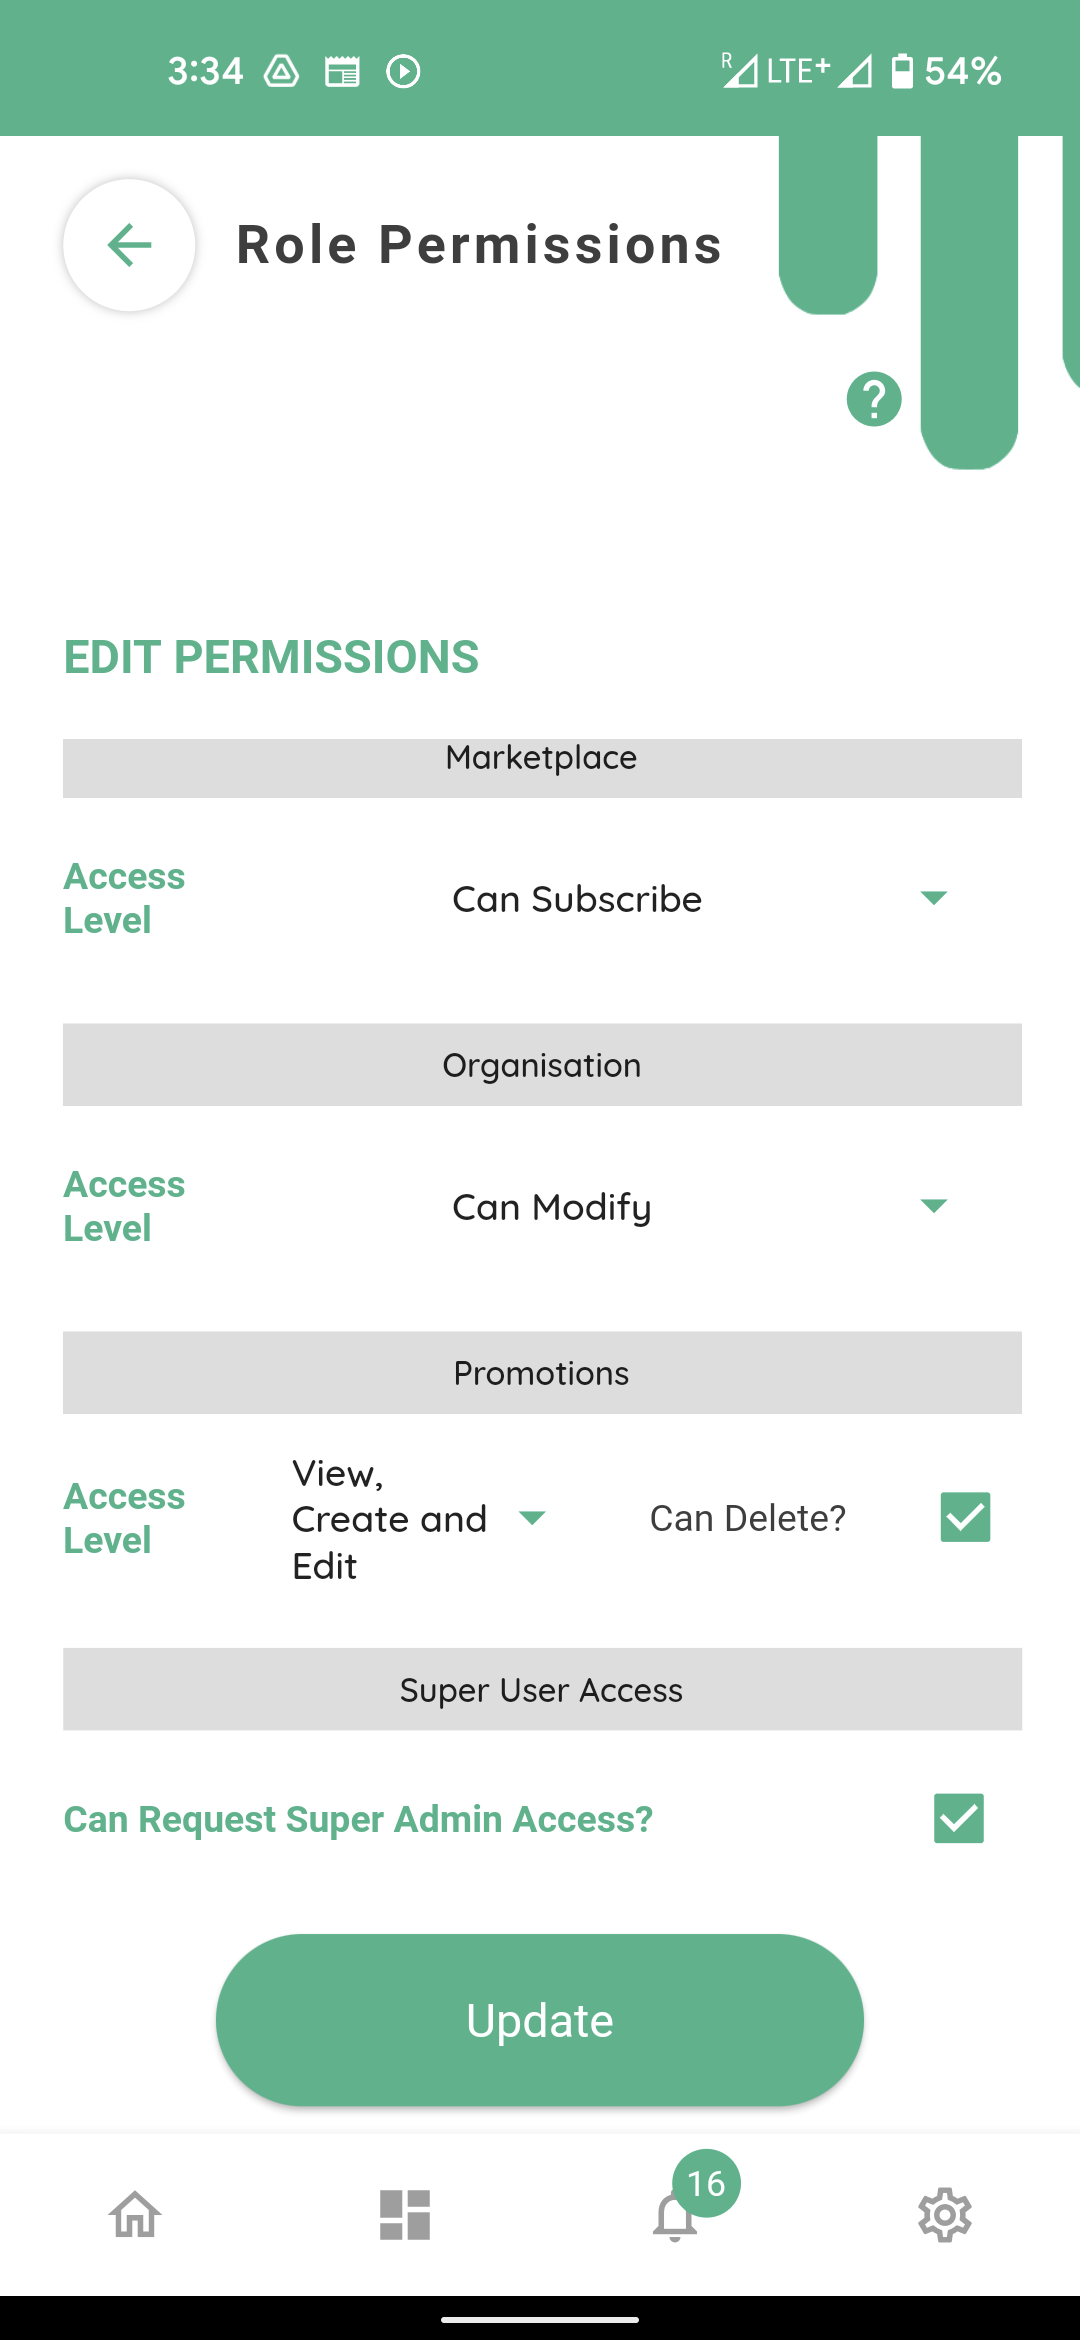
Marketplace has two access levels
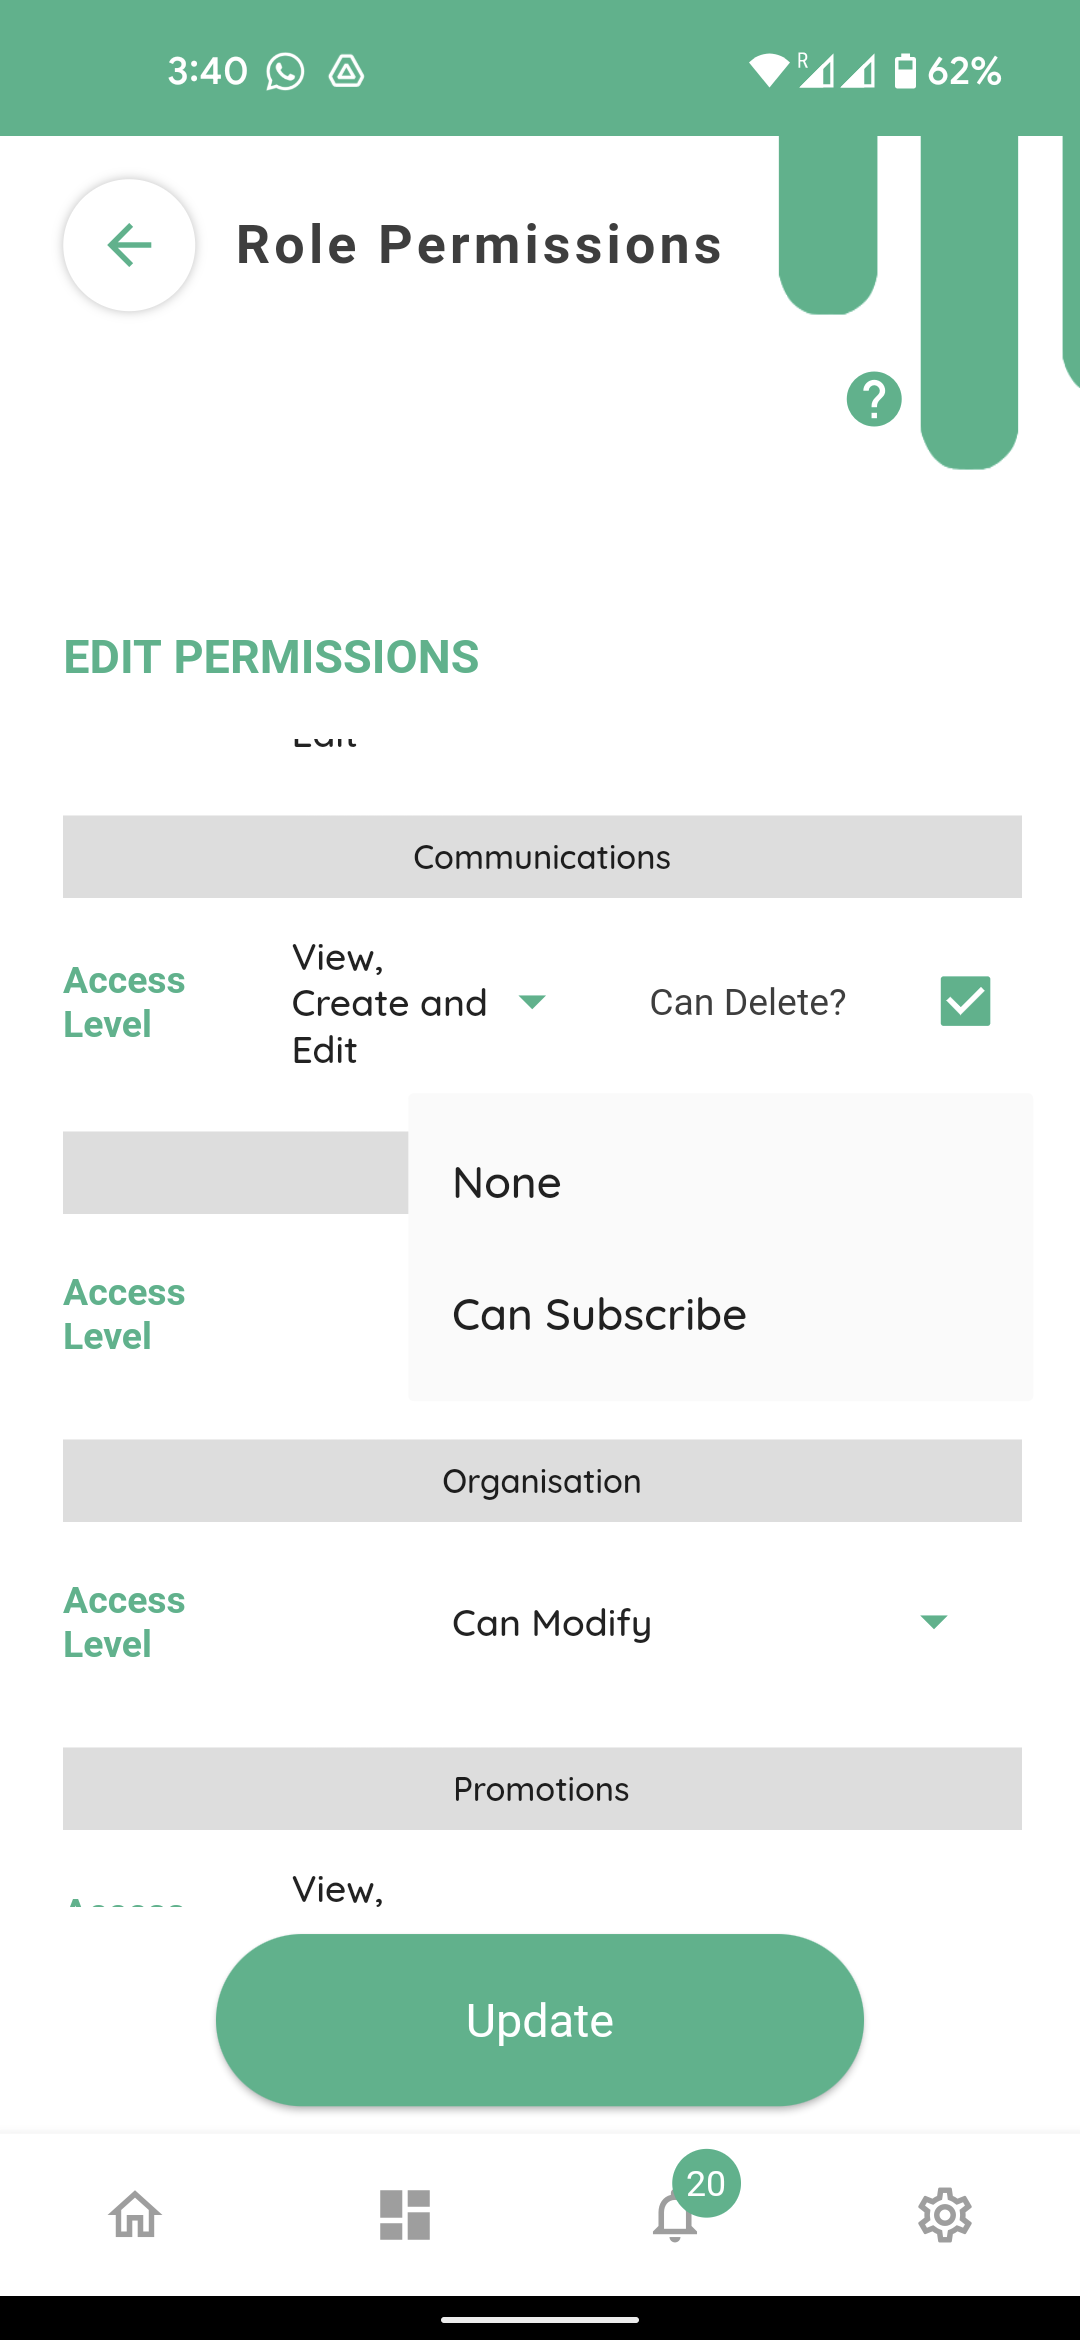
Can subscribe and none.
Can subscribe will allow the users to purchase and update subscriptions of the modules from the connect marketplace found under Settings
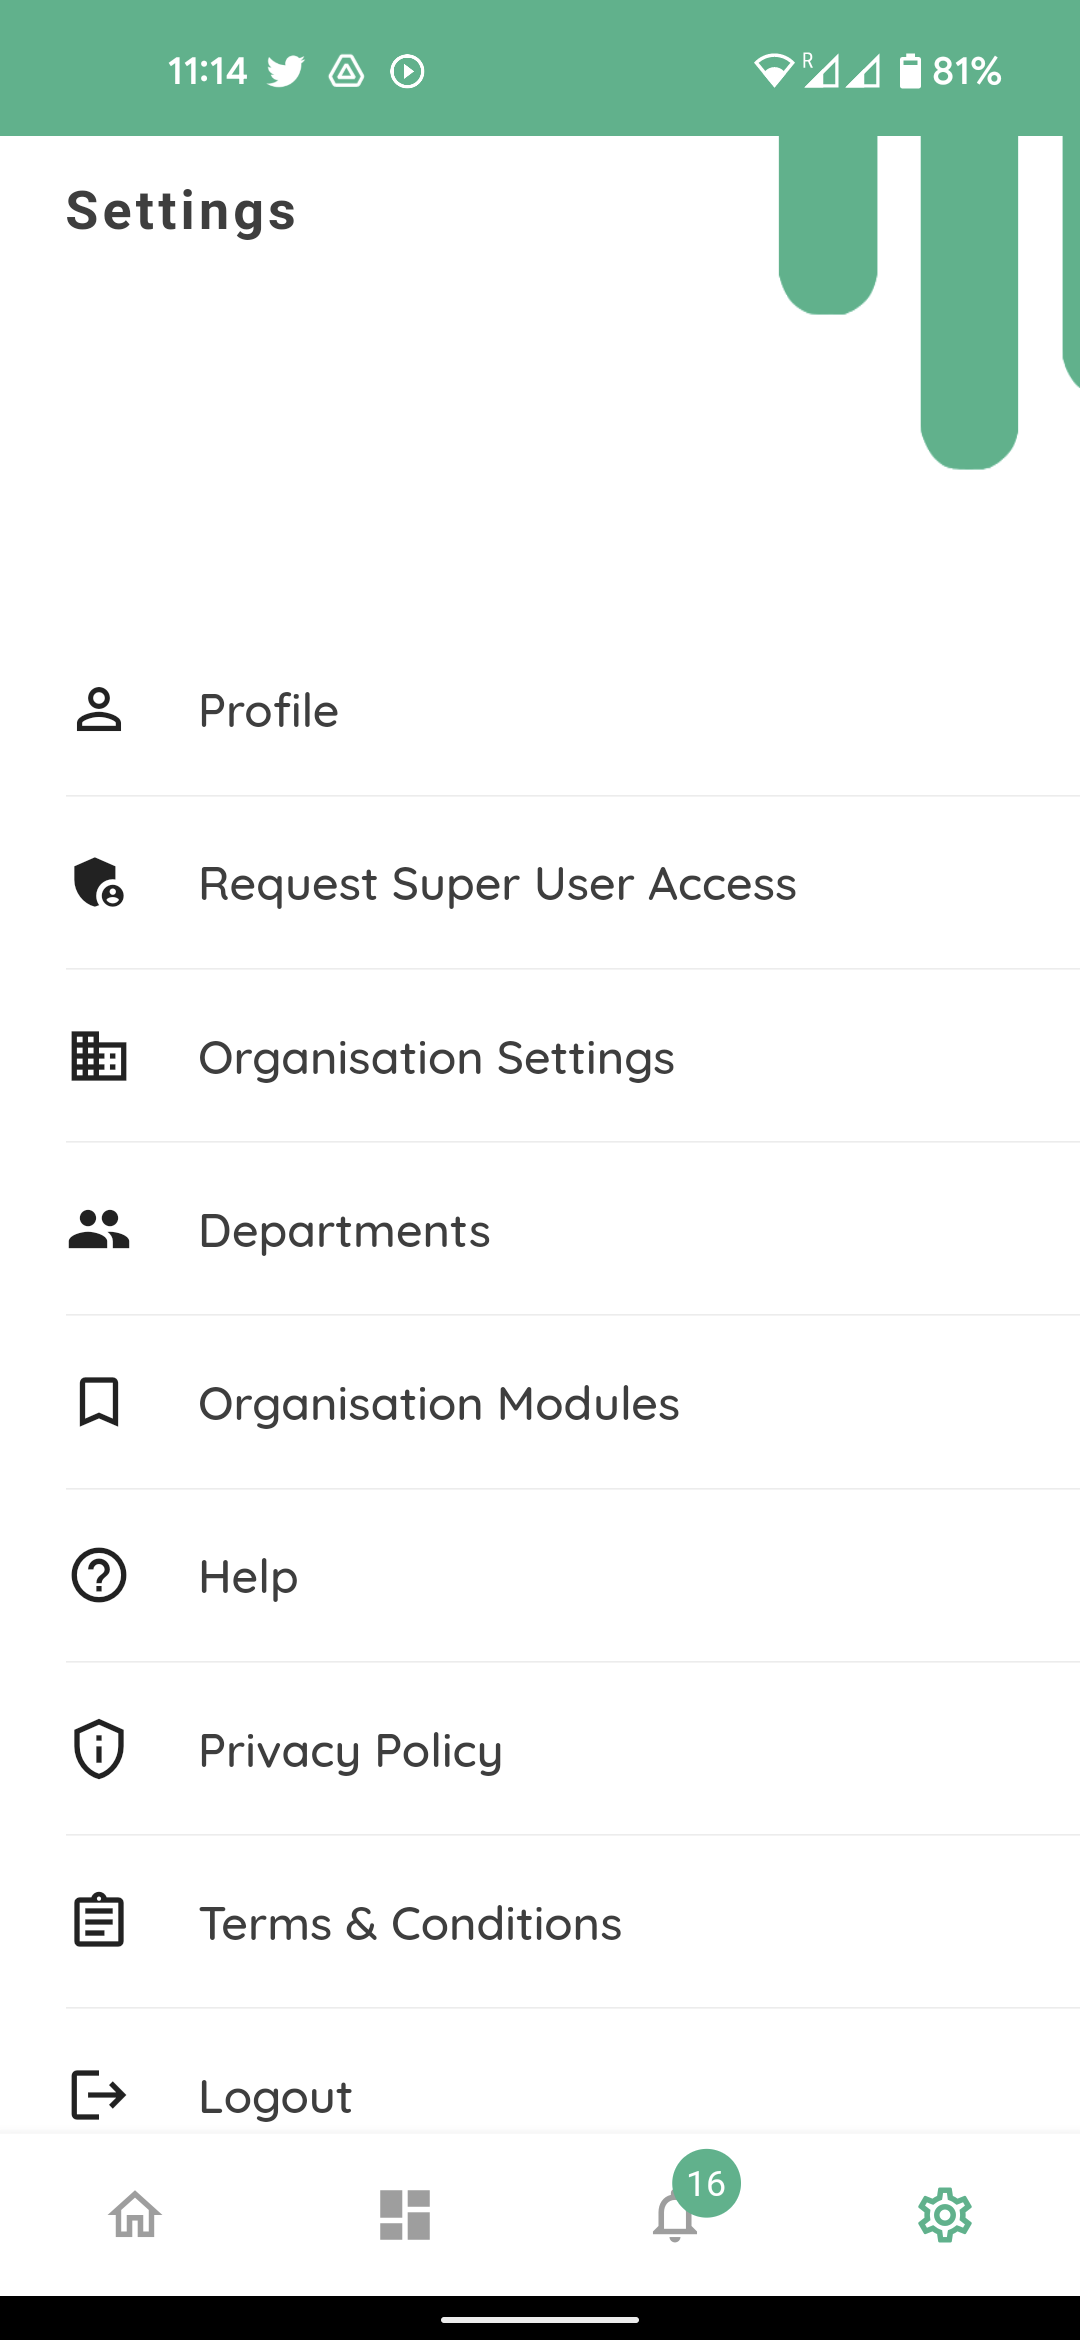
and Organisation Modules.

Going back to role permissions screen

Organisation also has two settings

‘can modify’ and ‘none’. Users with ‘can modify’ permission will be able to select ‘settings’

and modify ‘Organisation Settings” and ‘Departments’ settings.
Final permission at the bottom of the role permissions page

is the ability to request change to the superuser.
Every Organisation has only one superuser they have maximum permissions by default and their permission level cannot be changed or modified. If the superstar needs to be changed, users with this permission will be able to send a request to the Connect App team through the settings page
Under ‘update super user’. The further process is explained in the tutorial on the ‘organisation settings’.
To create a new role please go back to user management screen

Under roles tab clicks on + button
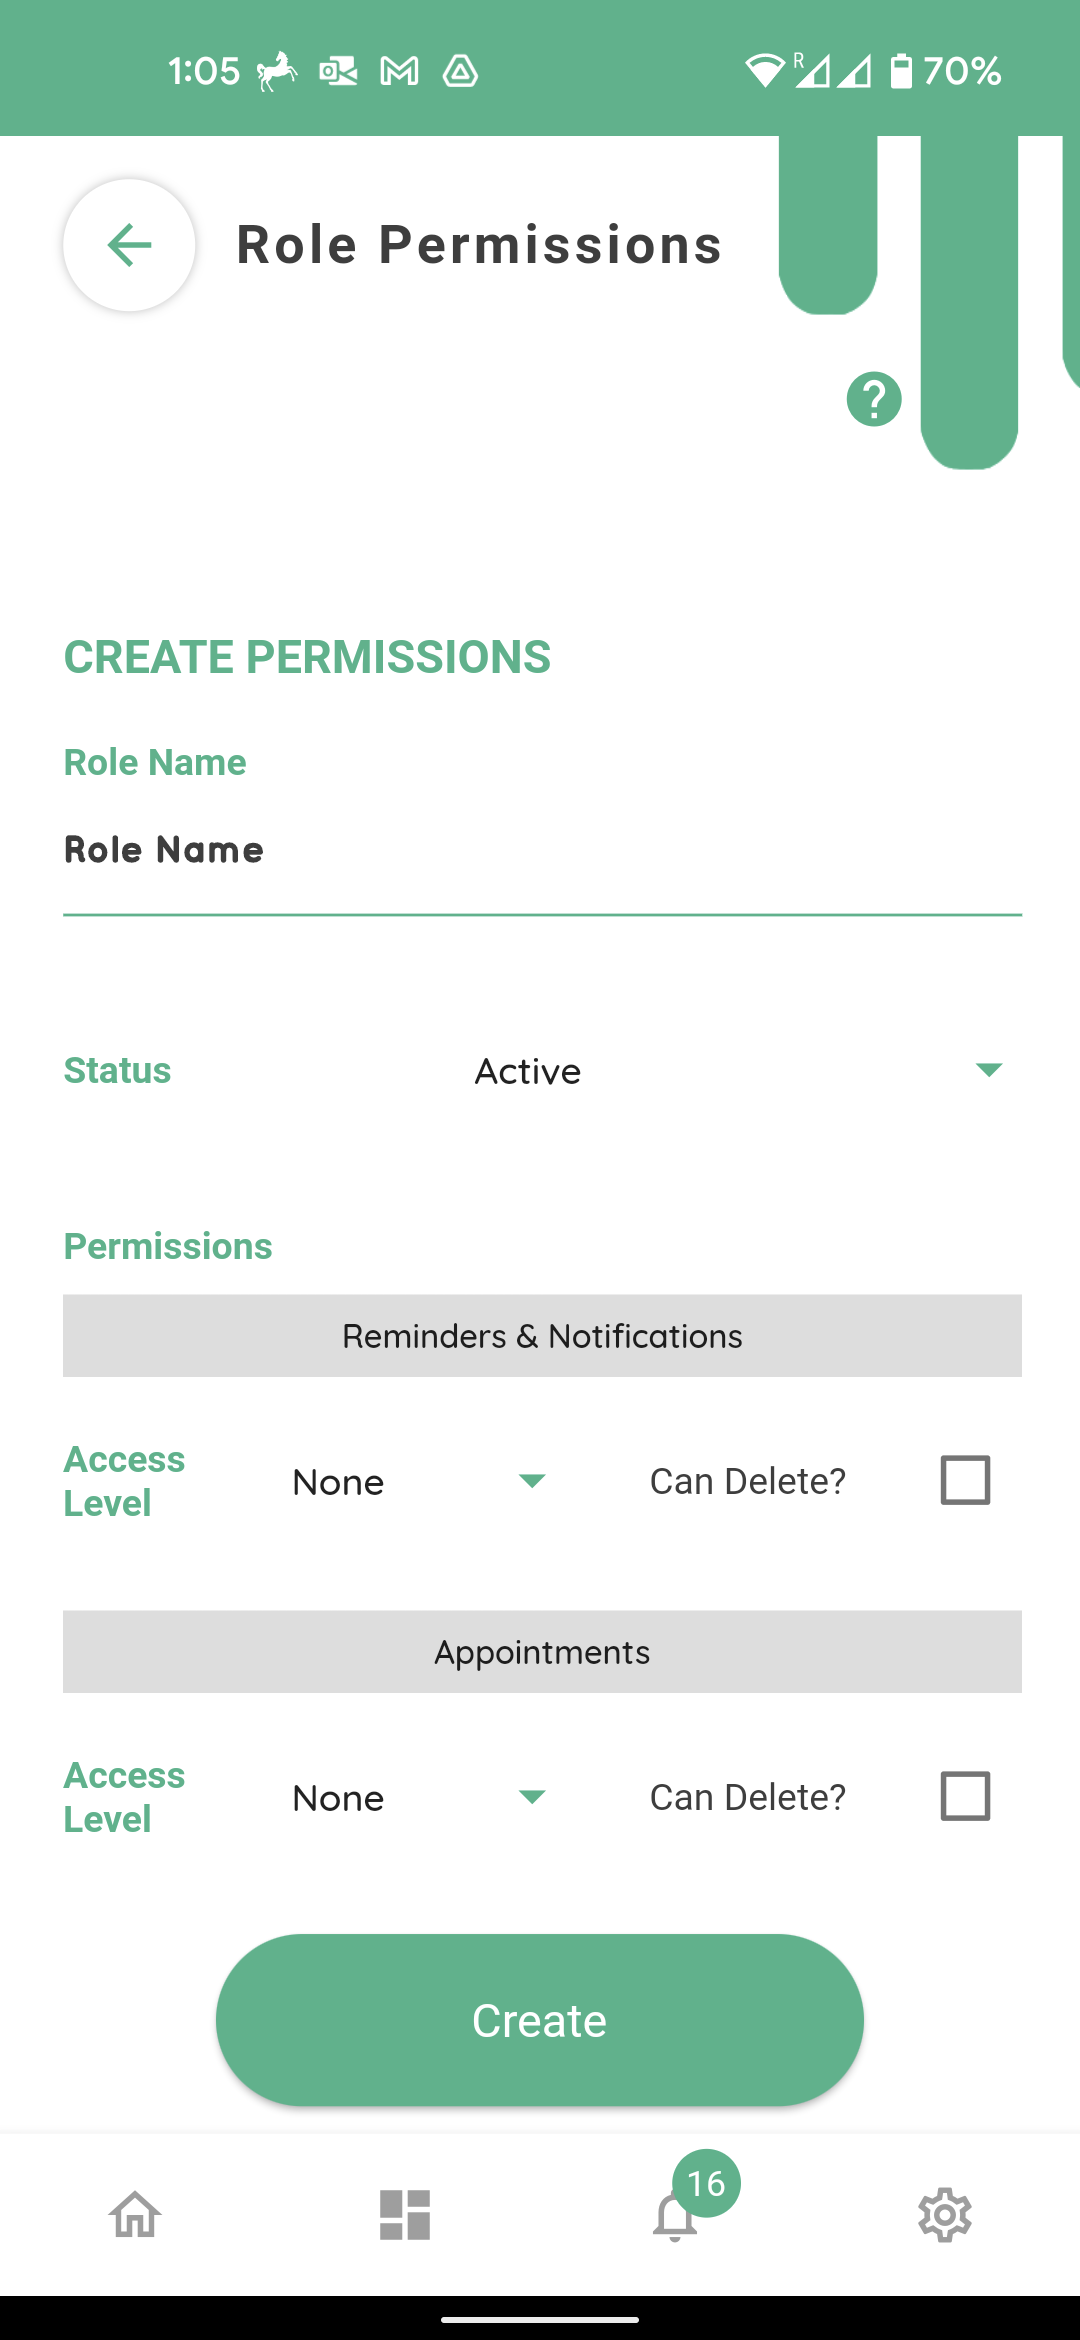
On this screen name the role and allocate permissions accordingly.
Then press create at the bottom of the screen.
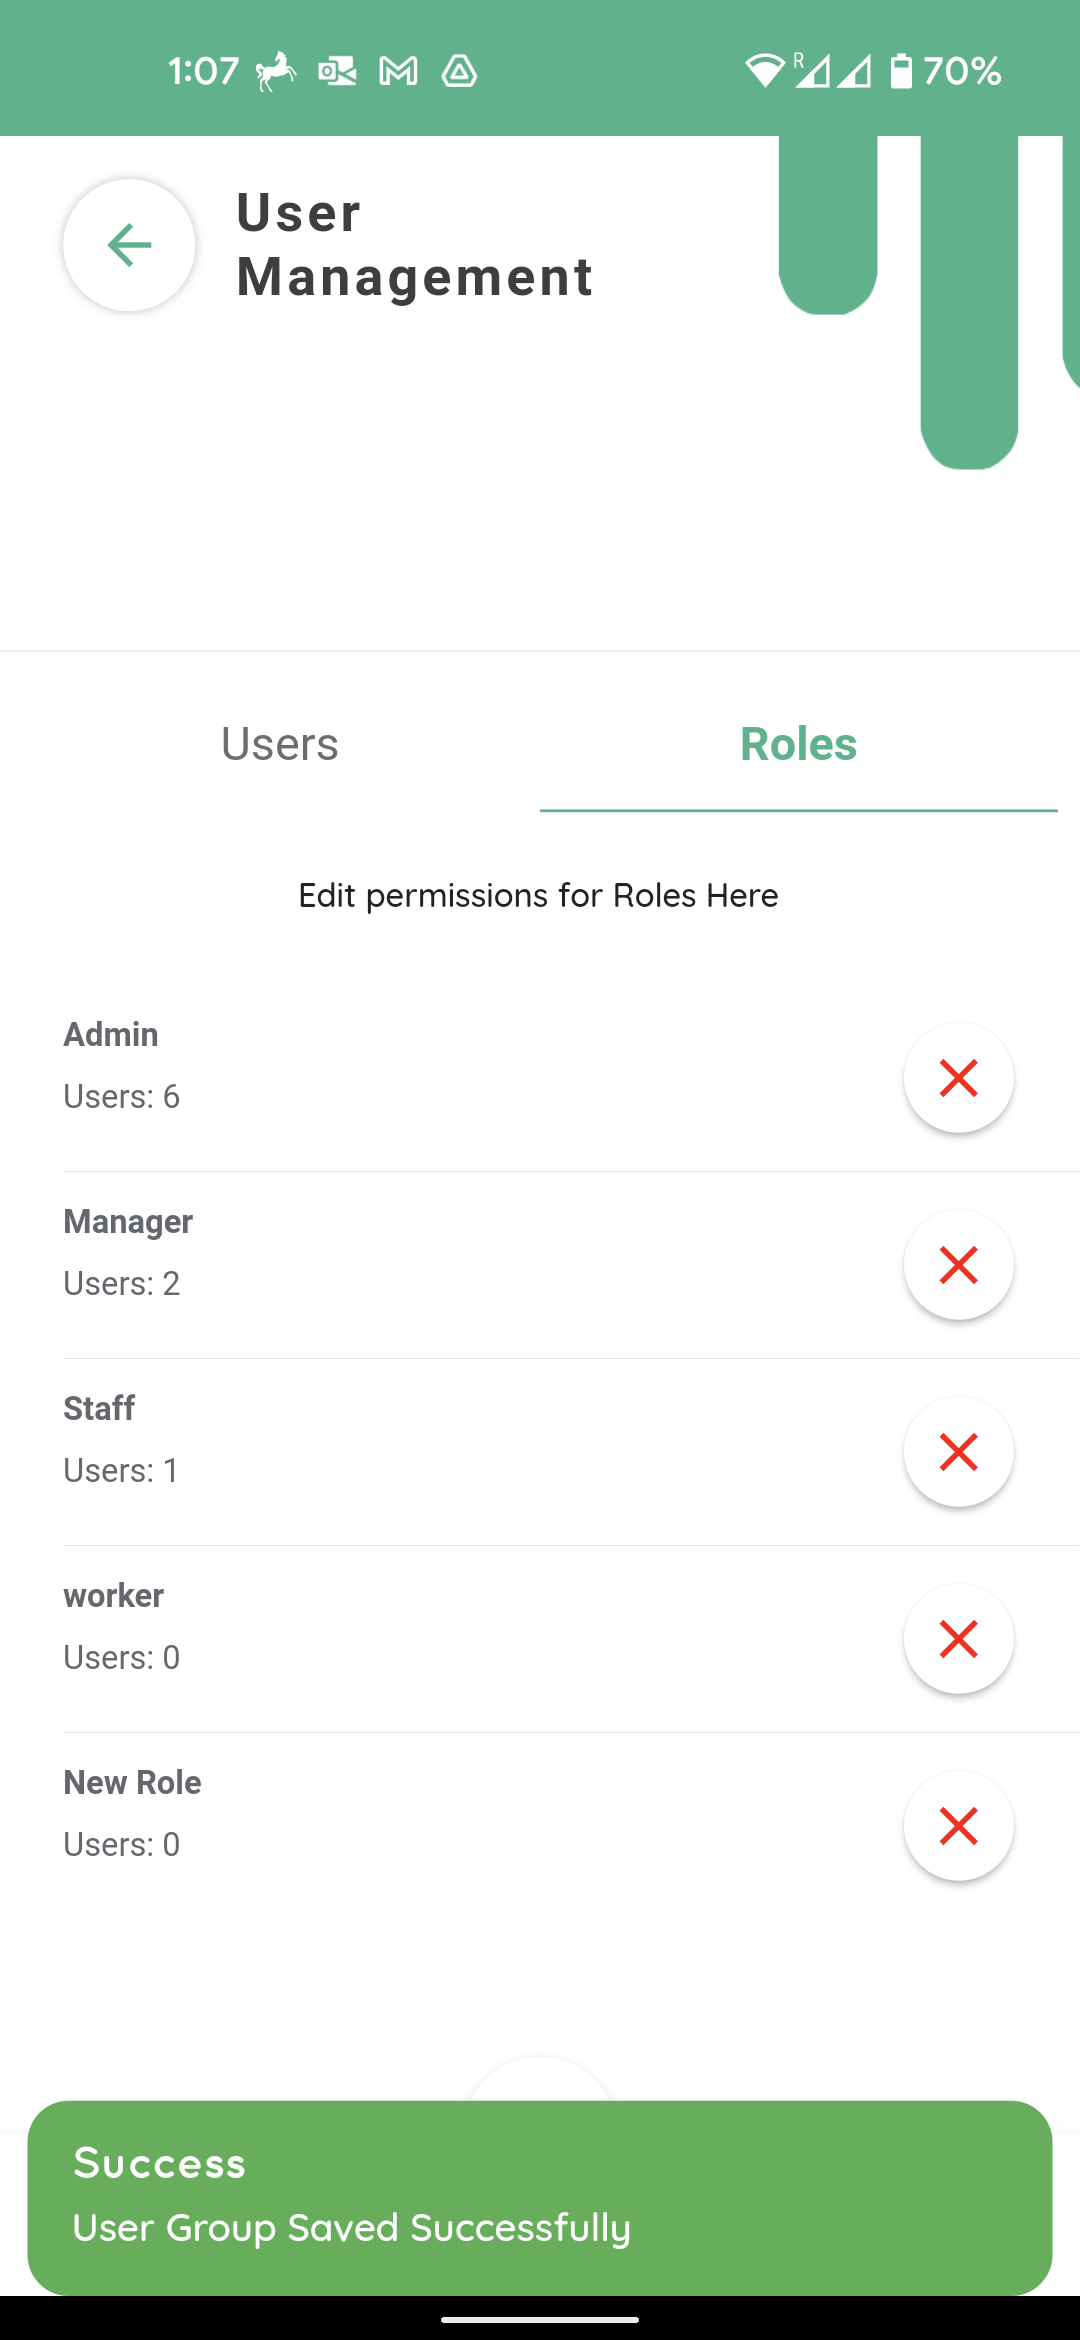
The ‘new role’ will appear on the roles home screen. It can now be allocated to any existing staff.