Authorisations (Blue app)

Businesses and organisations have the ability to send you request for authoritarians using the connect app. These will appear on your home feed.
On the feed card you will be able to see the company, which has sent you the authorisation request along with the details of the request. The feed card will also show the due date by which your response is required, and it’s status as pending until you have responded to it.
All authorisation requests can also be found by clicking the dashboard button, four squares at the bottom of your home screen.
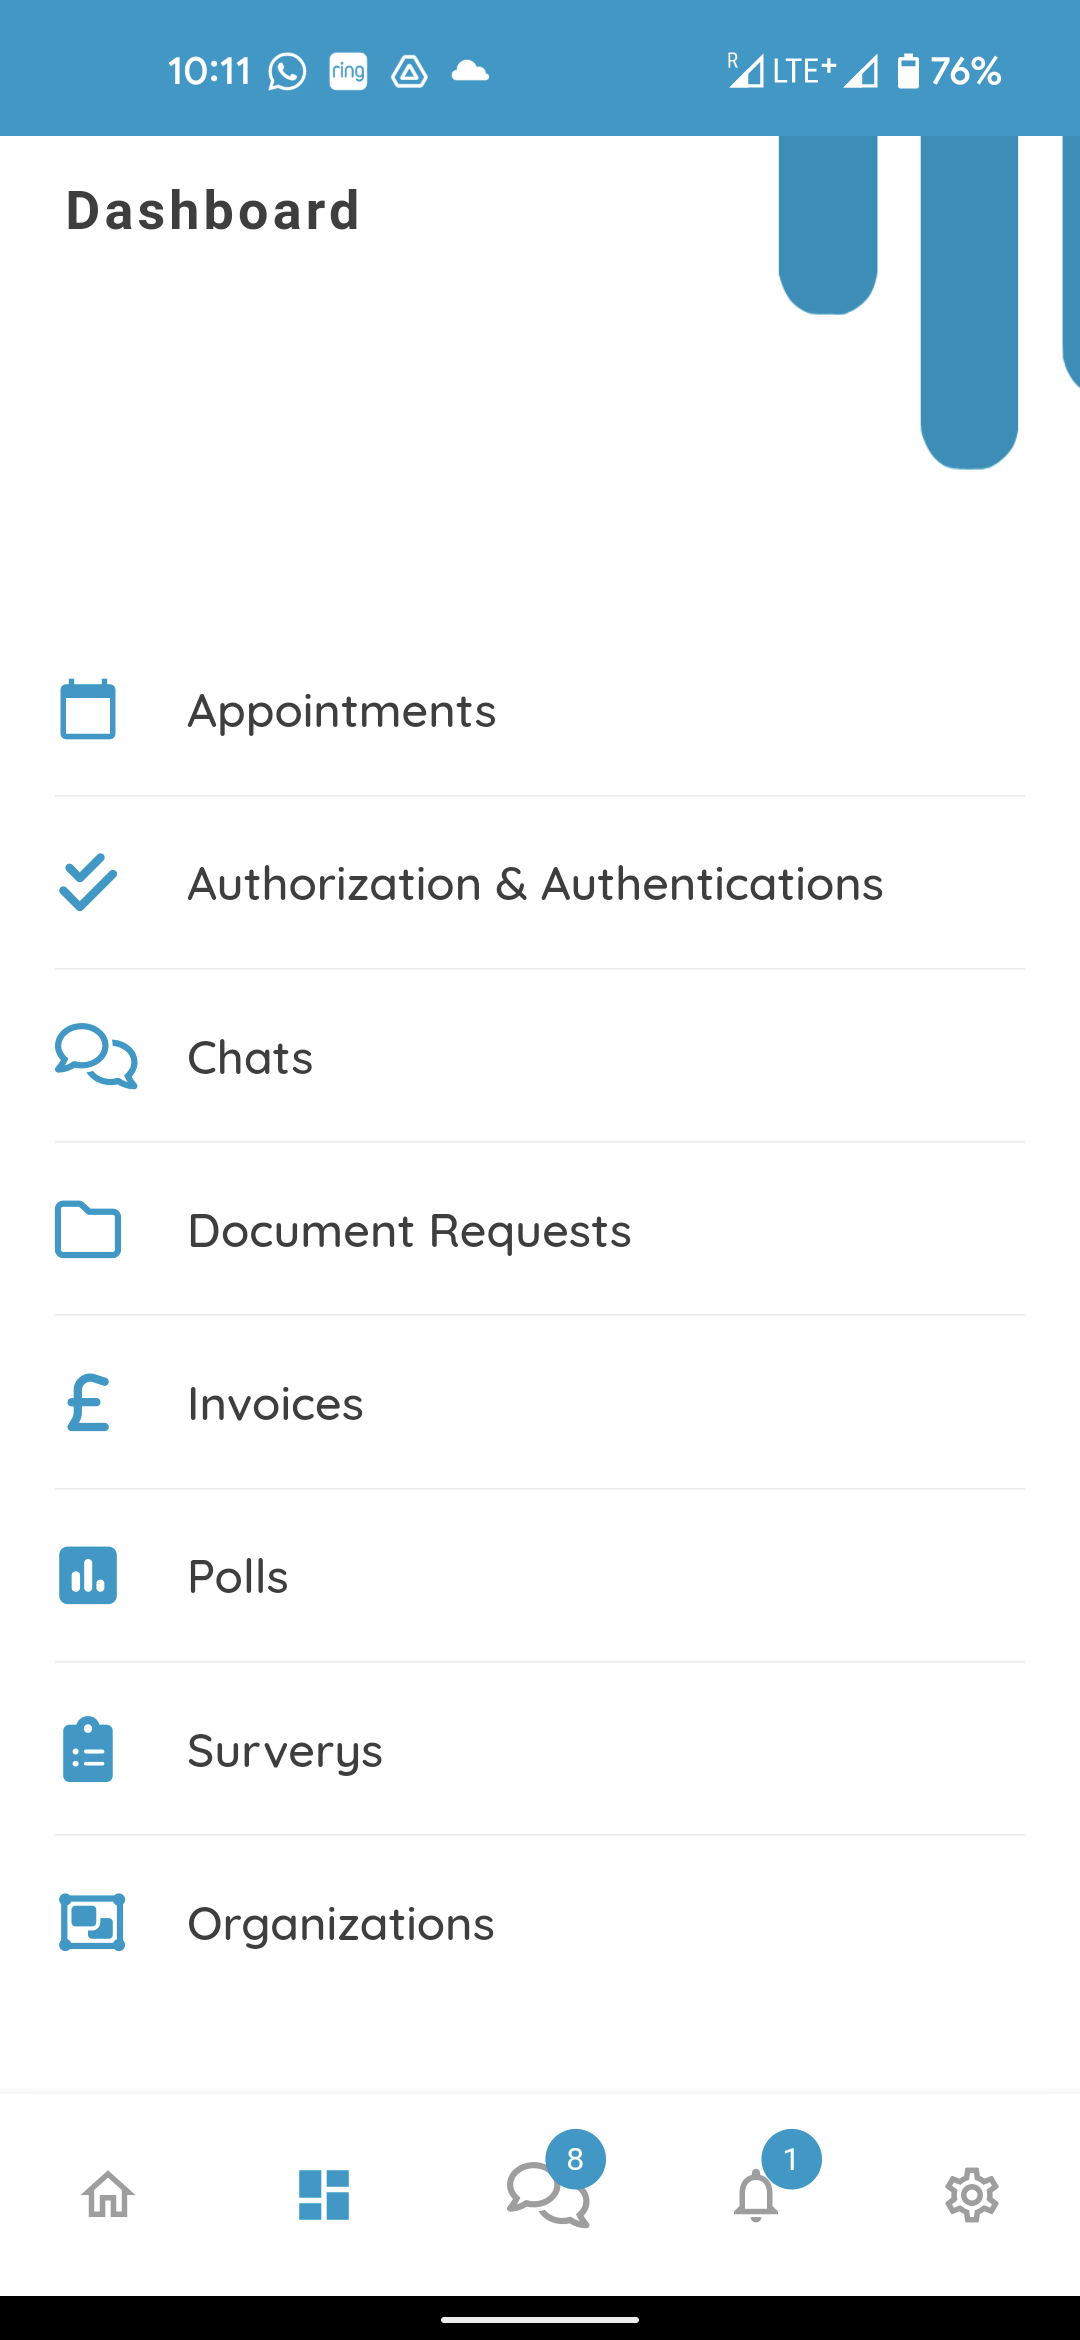
Clicking authorisations and authentications here (show arrow) will take you to the respective module, where you will be able to see all Authorization requests you have received.
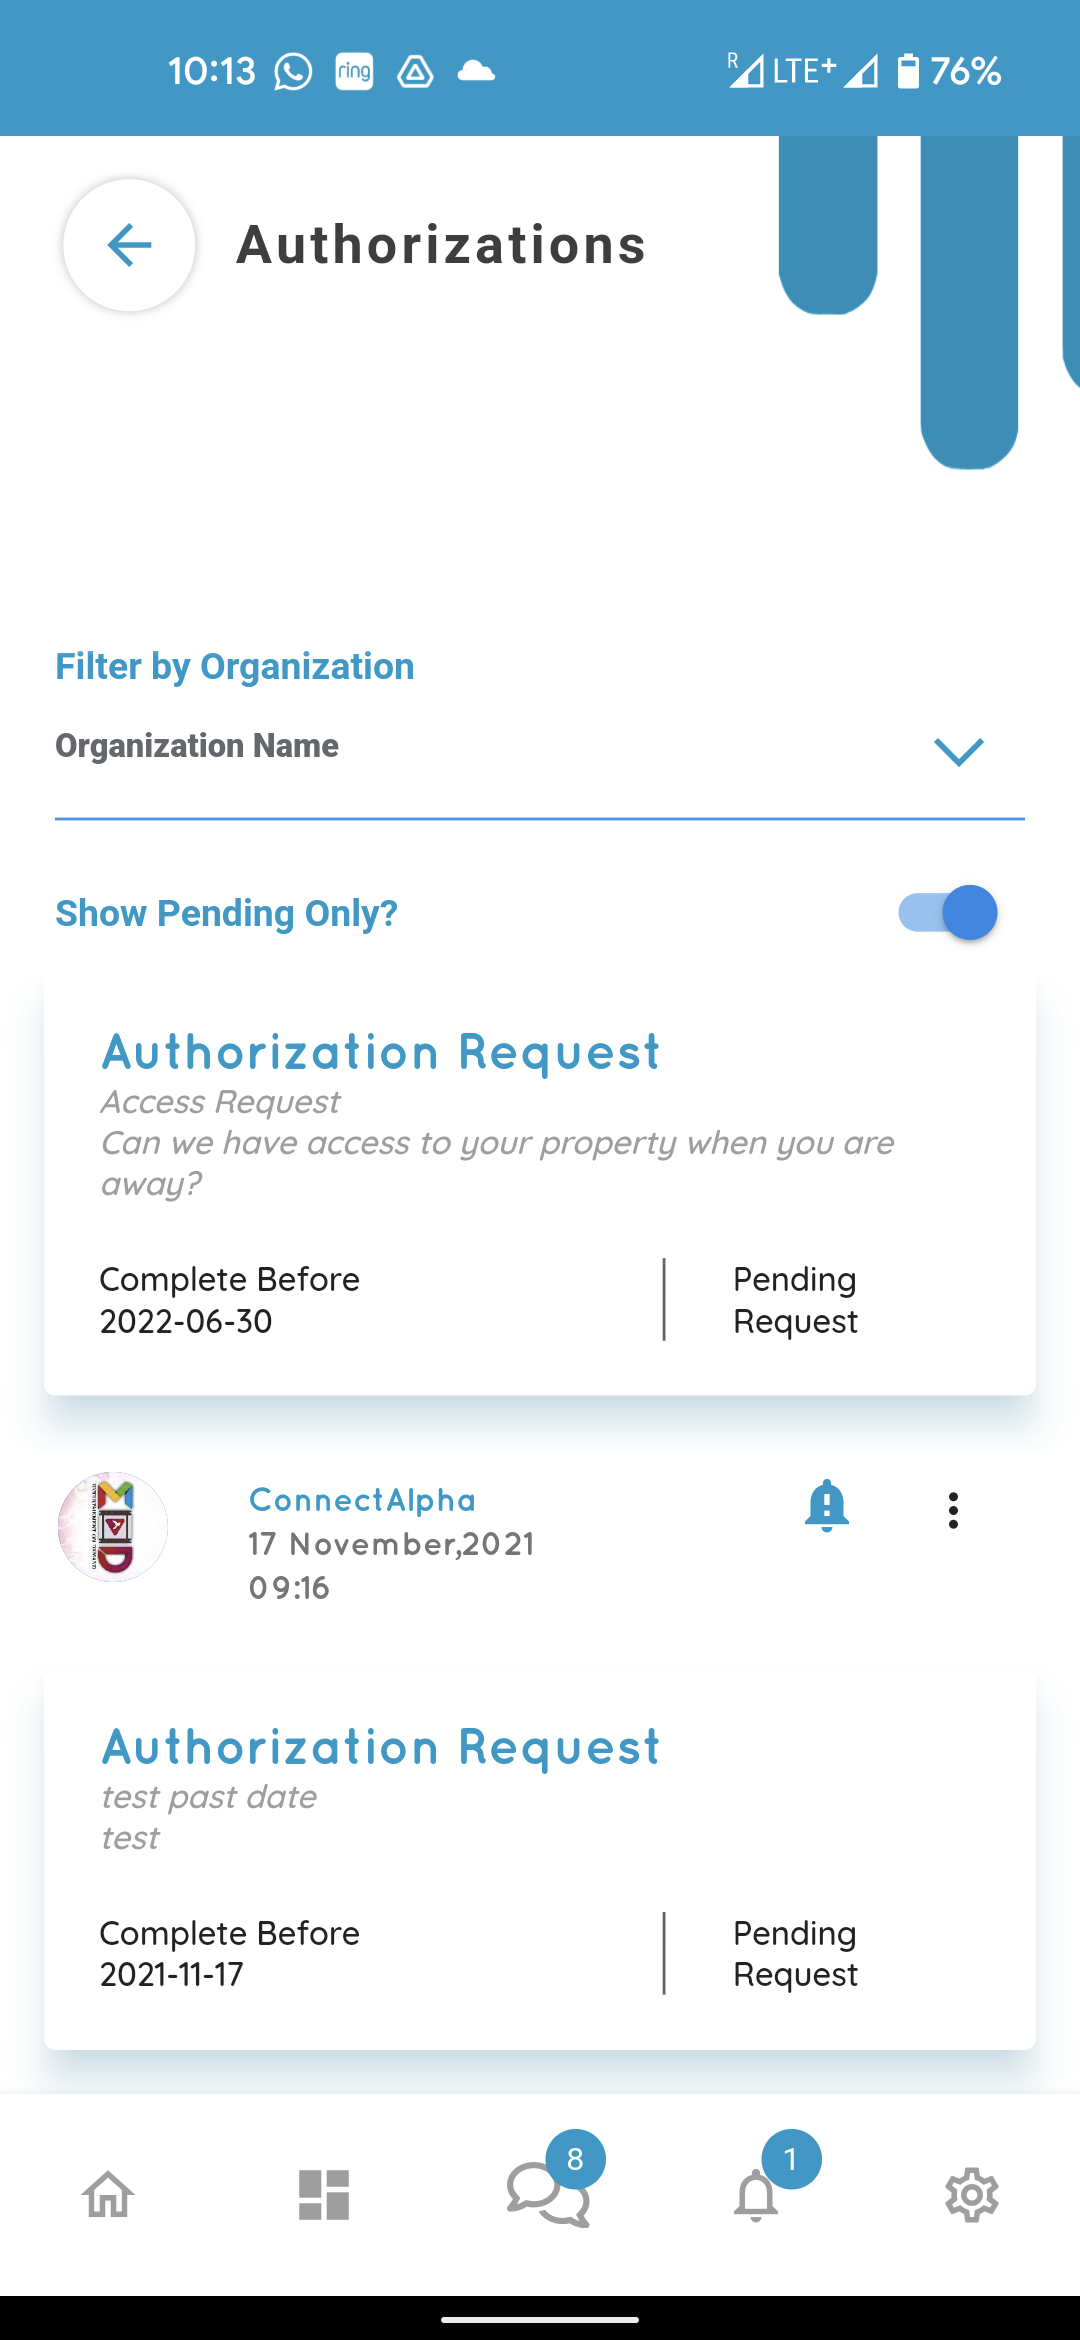
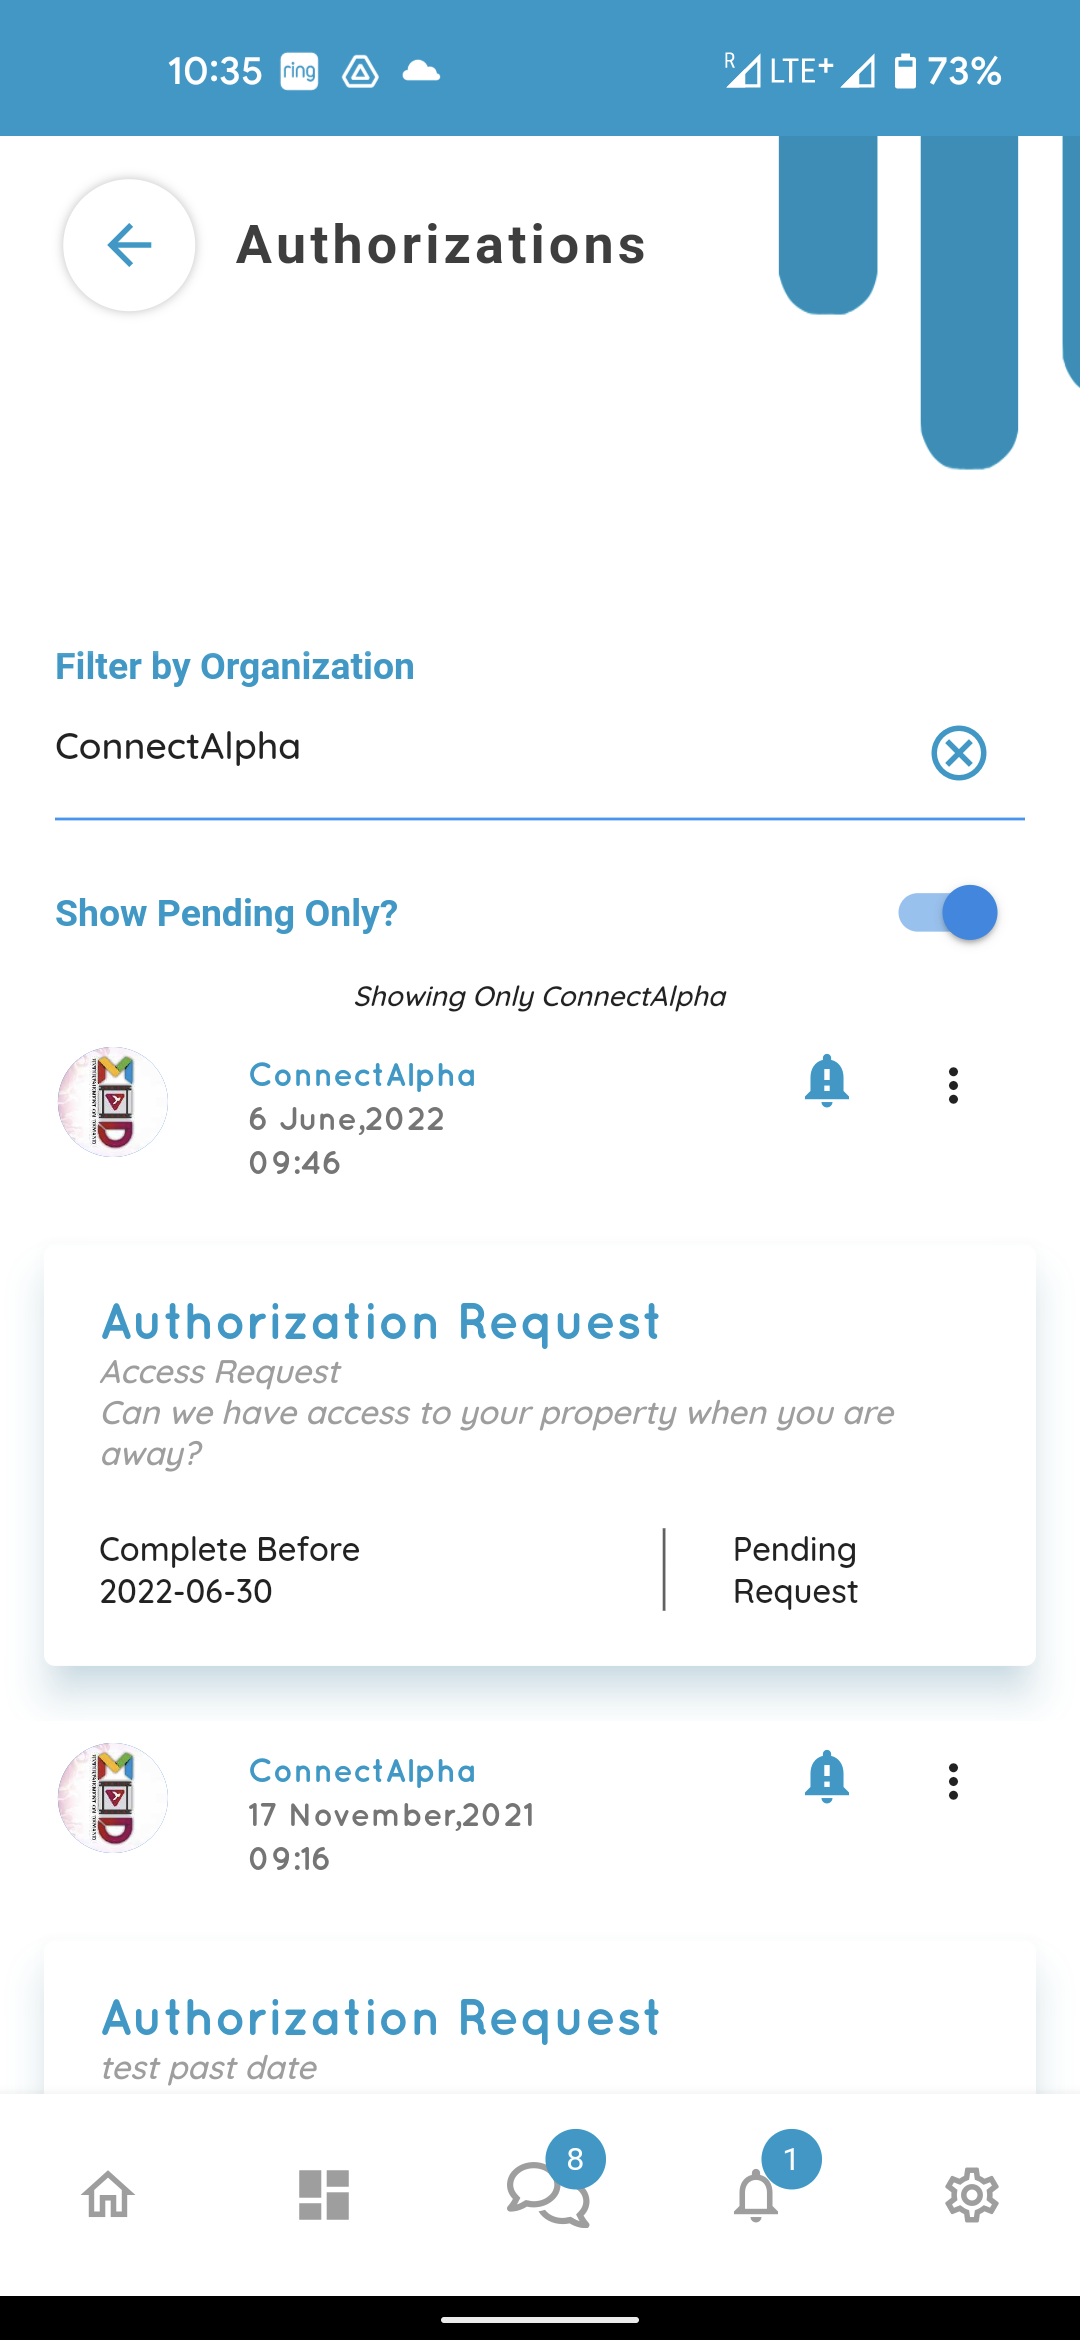
Selecting the pending only button will show you the pending requests waiting for your attention. You can also filter the requests by organisations by clicking on the down arrow in front of the organisation name.
Clicking back and home will take you to the home feed again.

Clicking the three dots on the top right of the feed card from your home screen will give you two options.
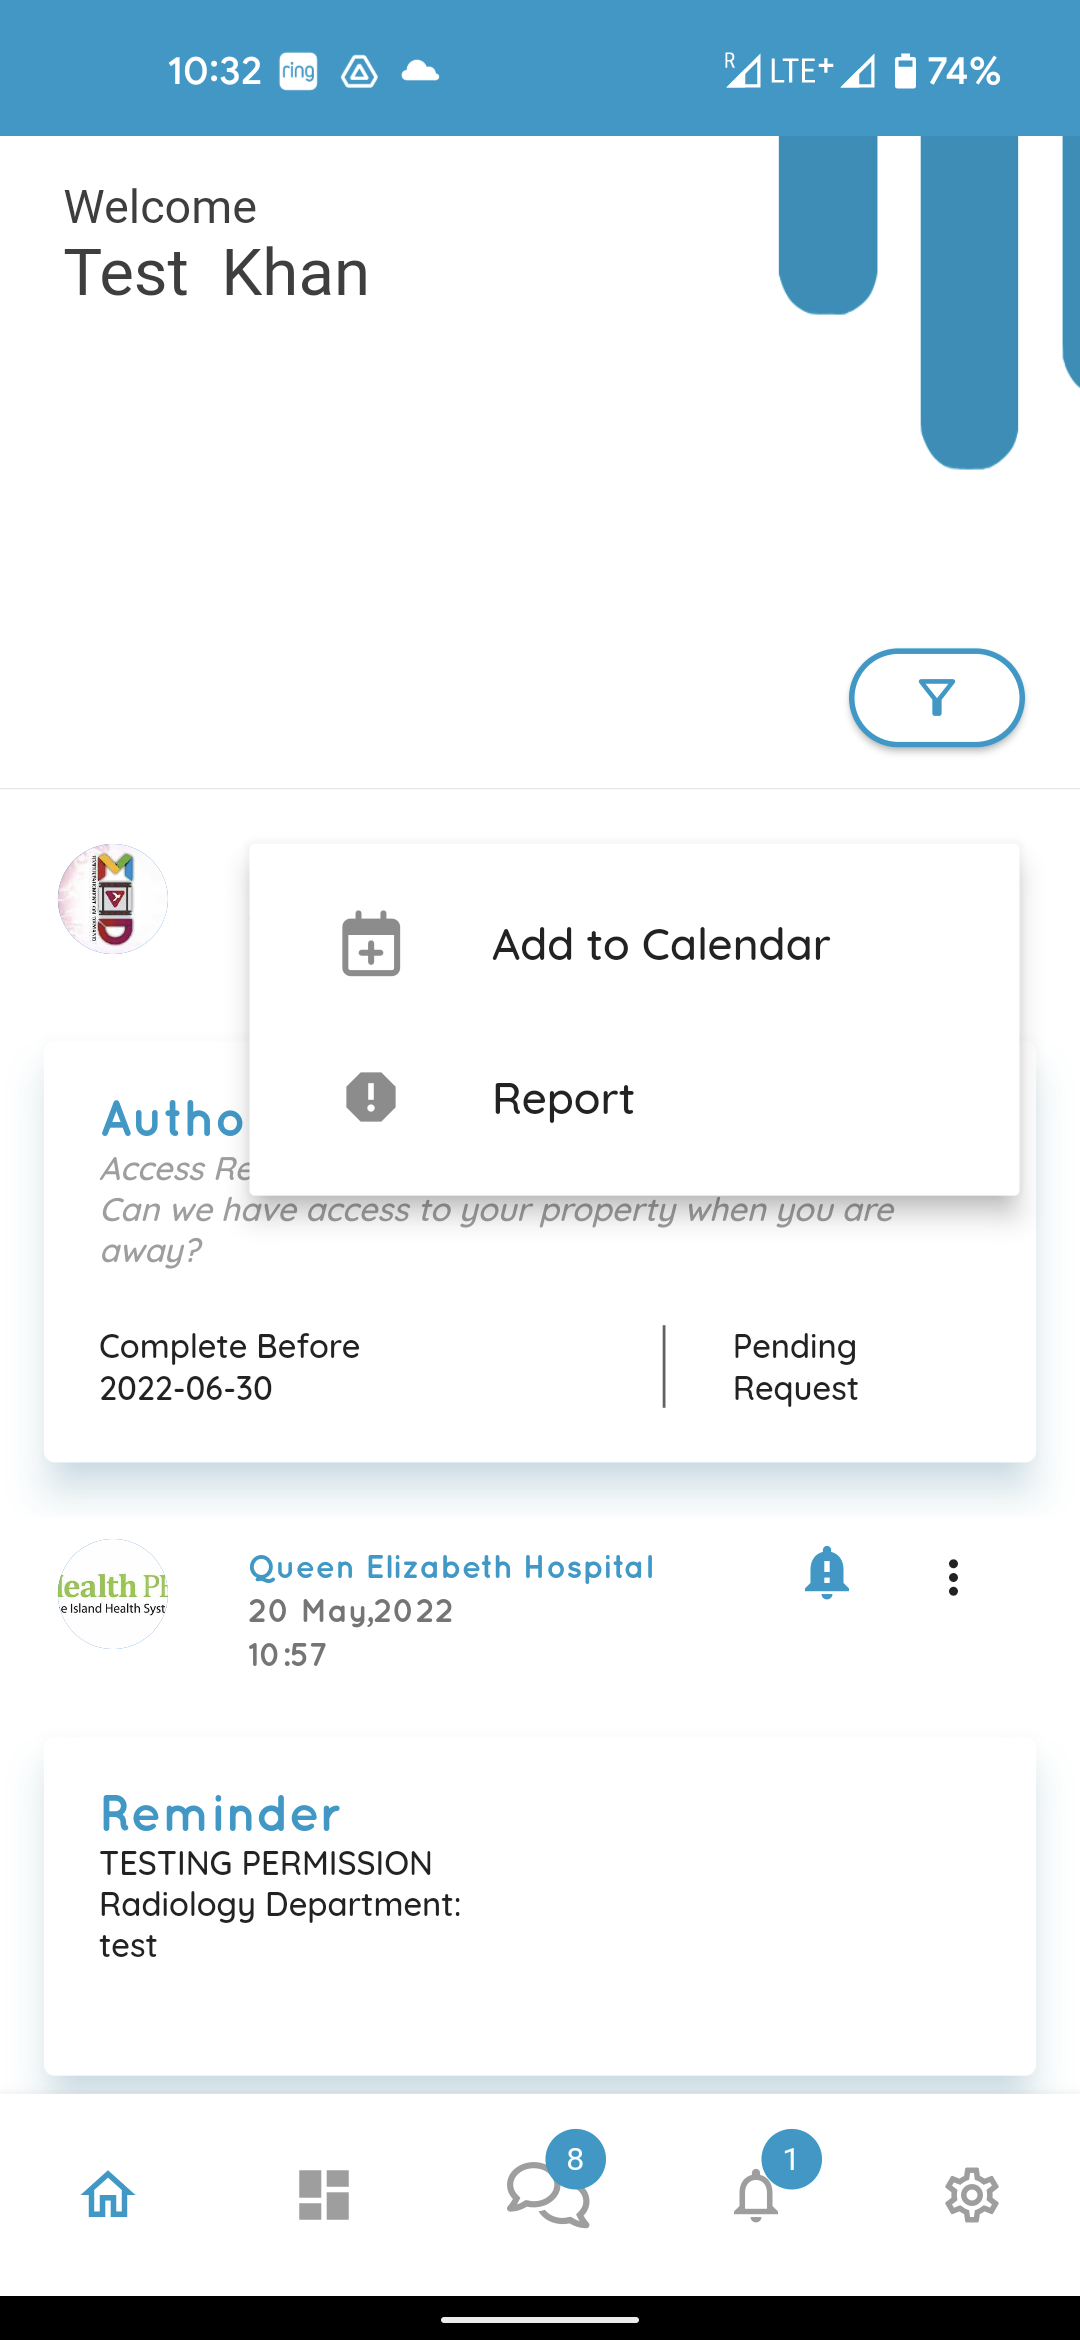
Add to calendar will automatically launch your default calendar on the due date

and you will be able to add the ‘complete before’ date to your calender.
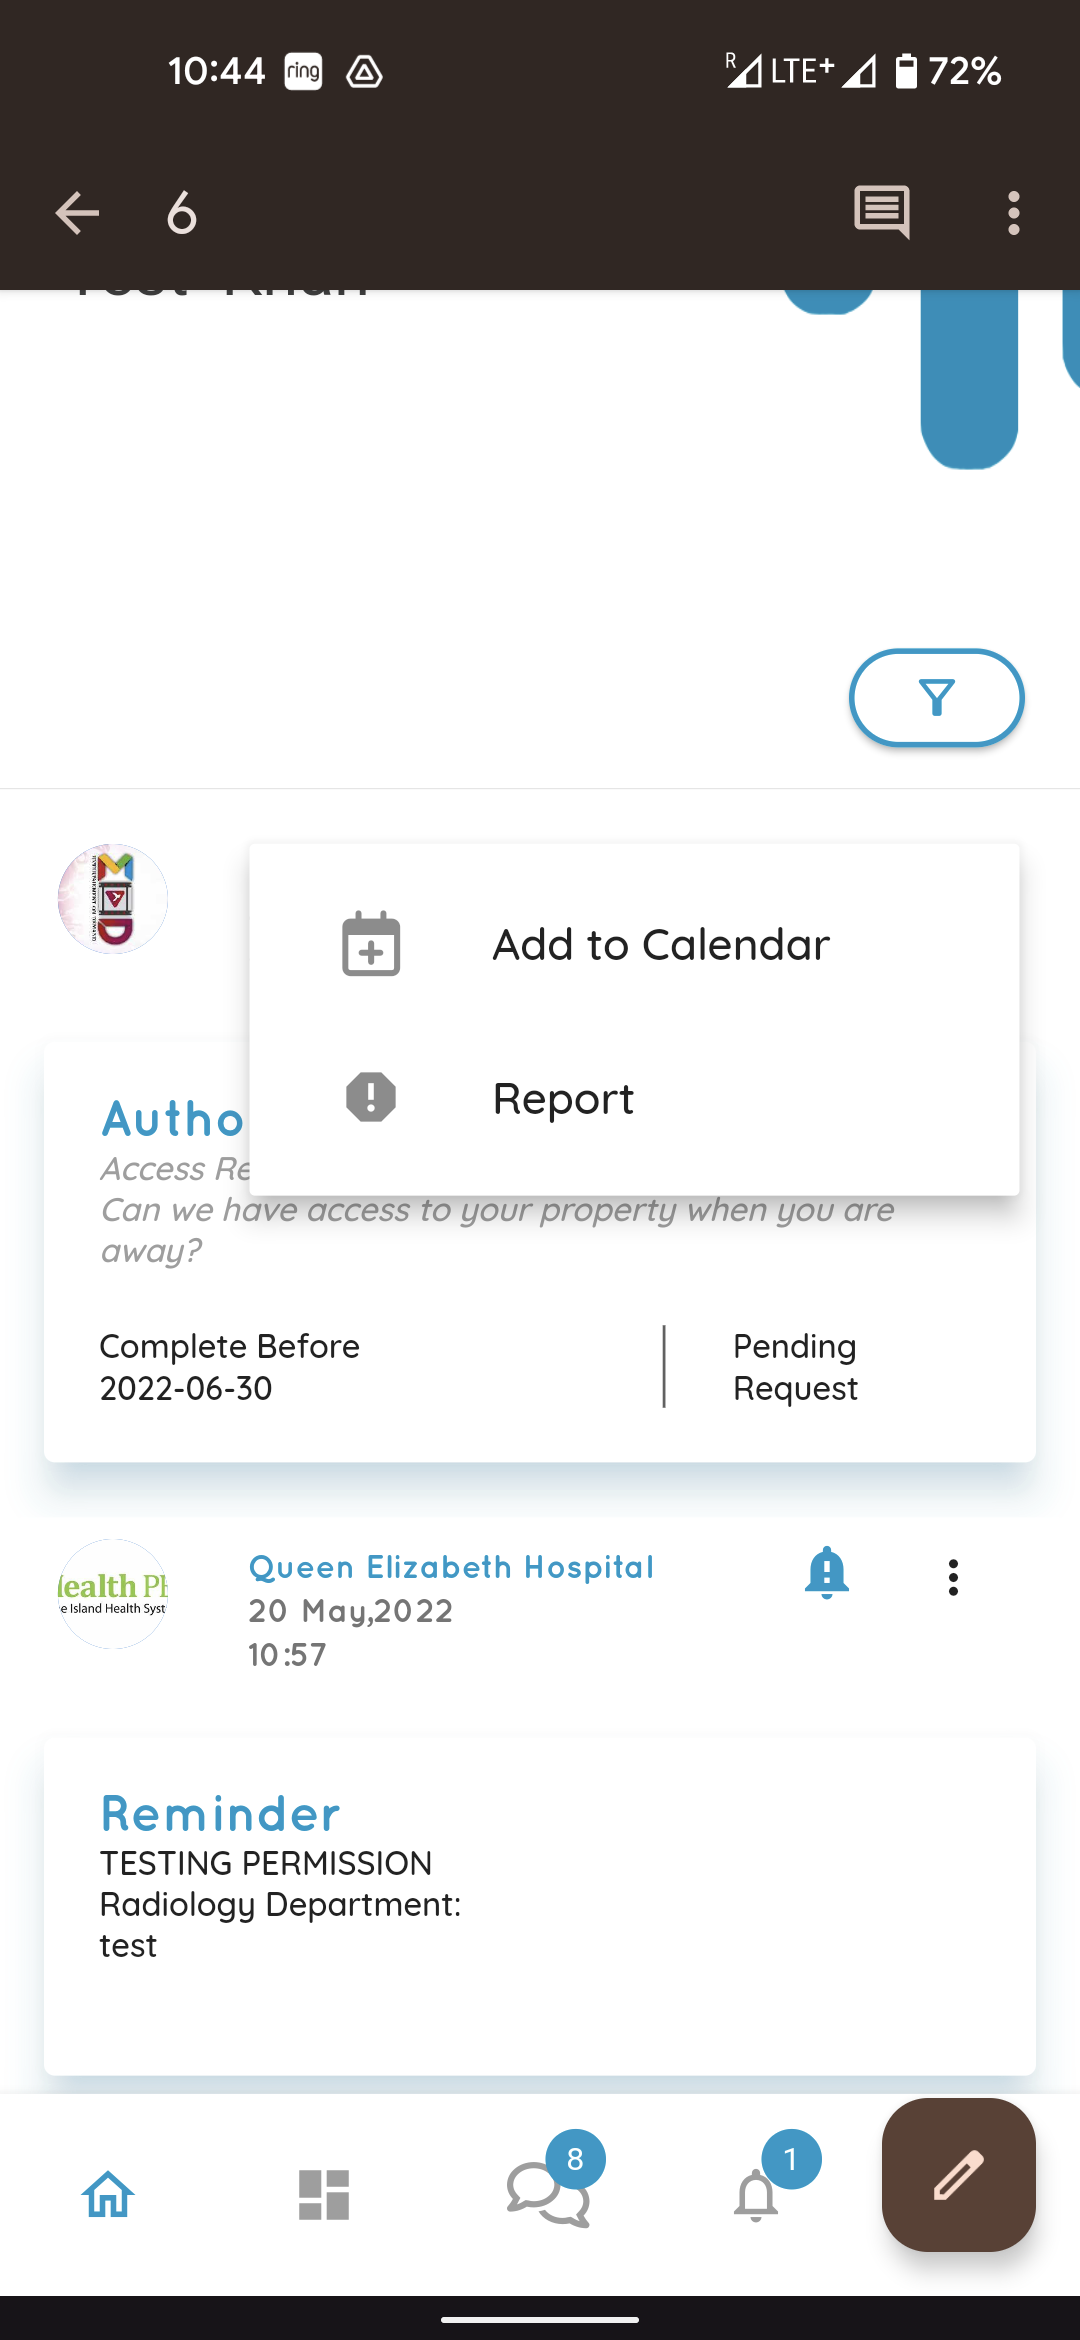
If you suspects it’s a spam, you could select the report field
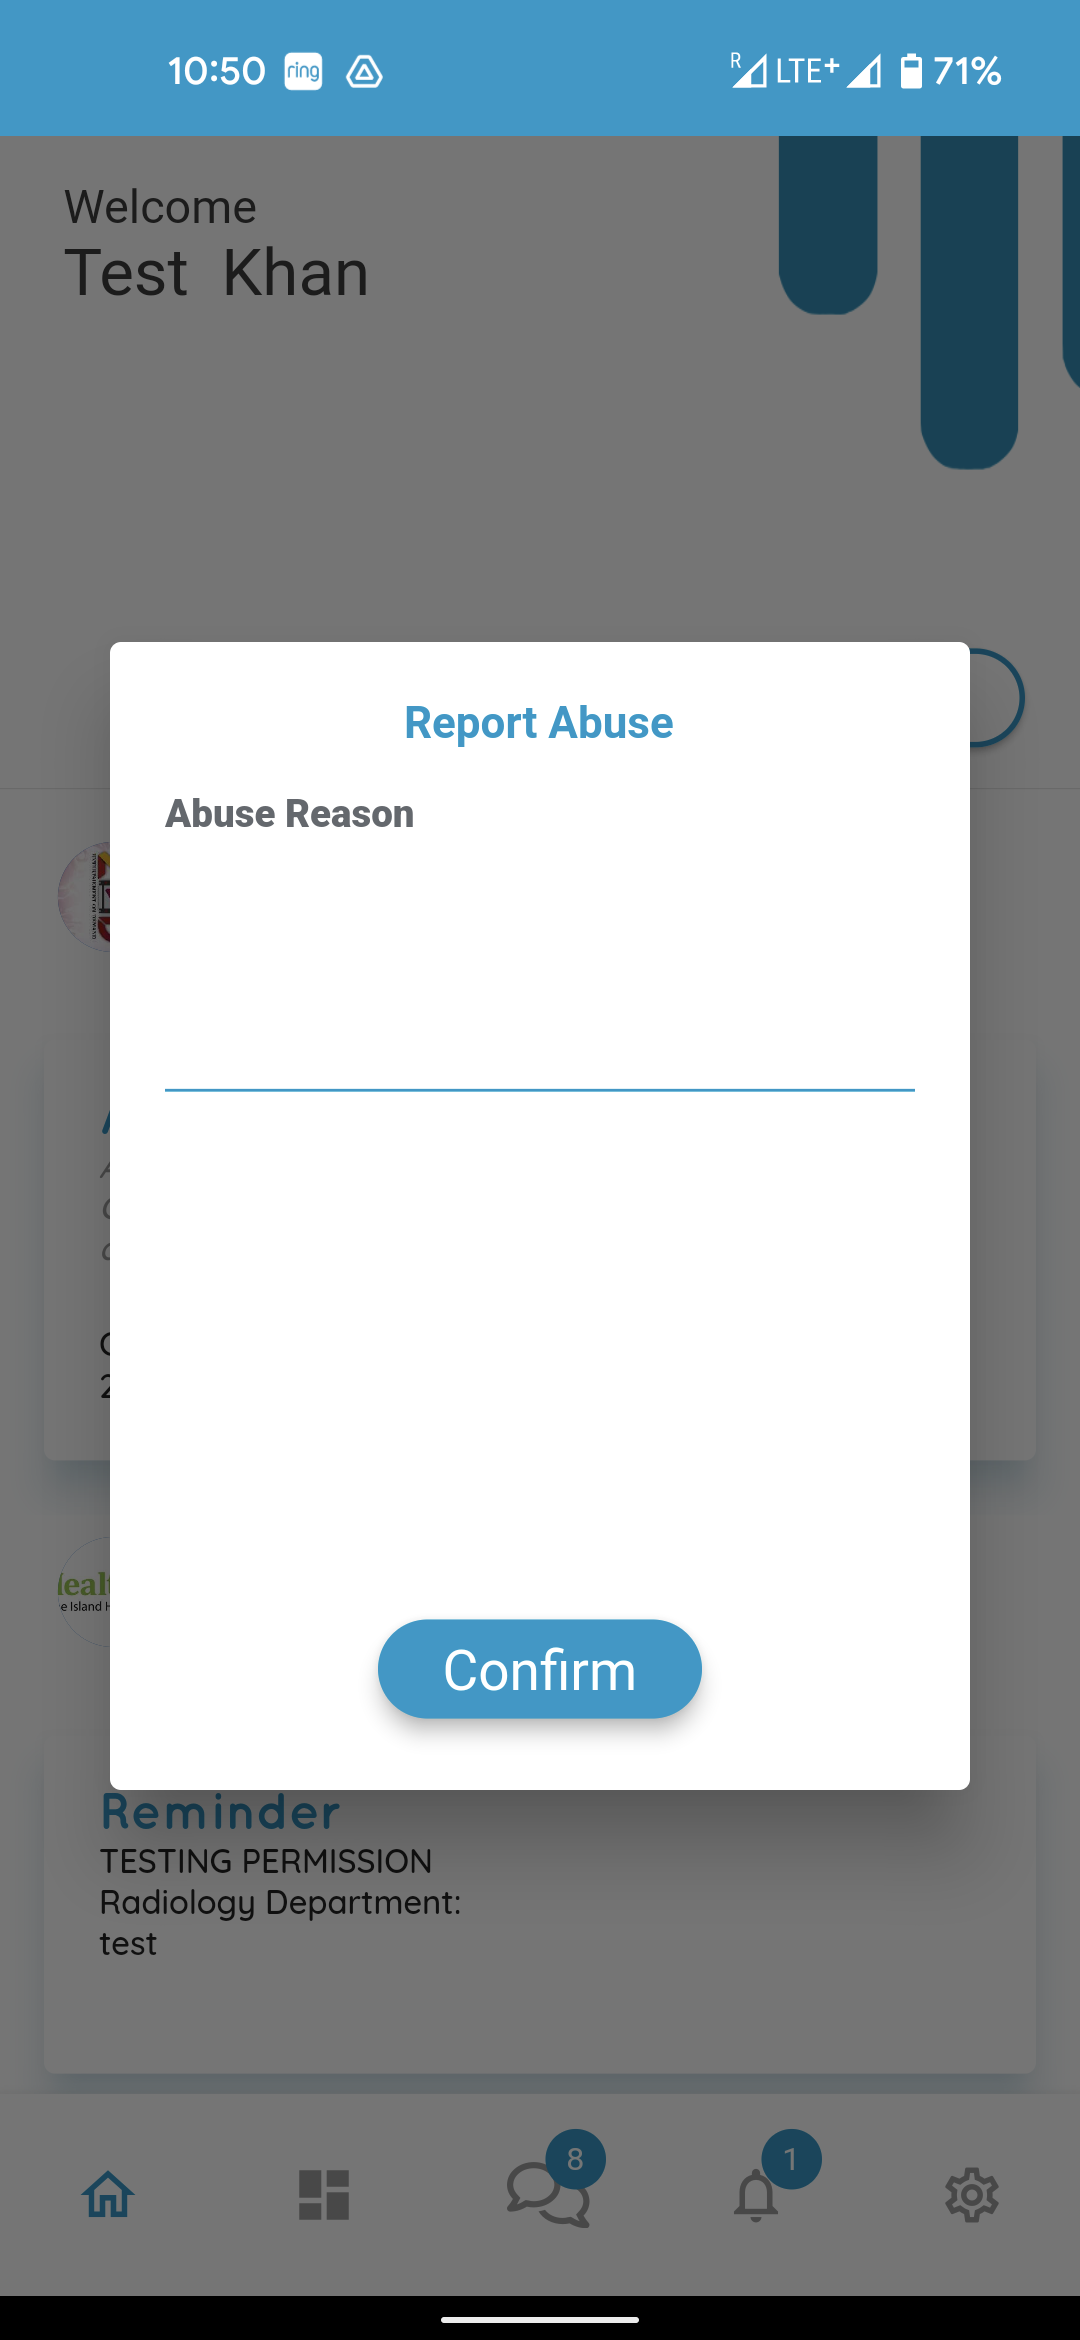
and press confirm after typing the reason. An email will be generated to the Admin team of connect app to investigate this issue further.

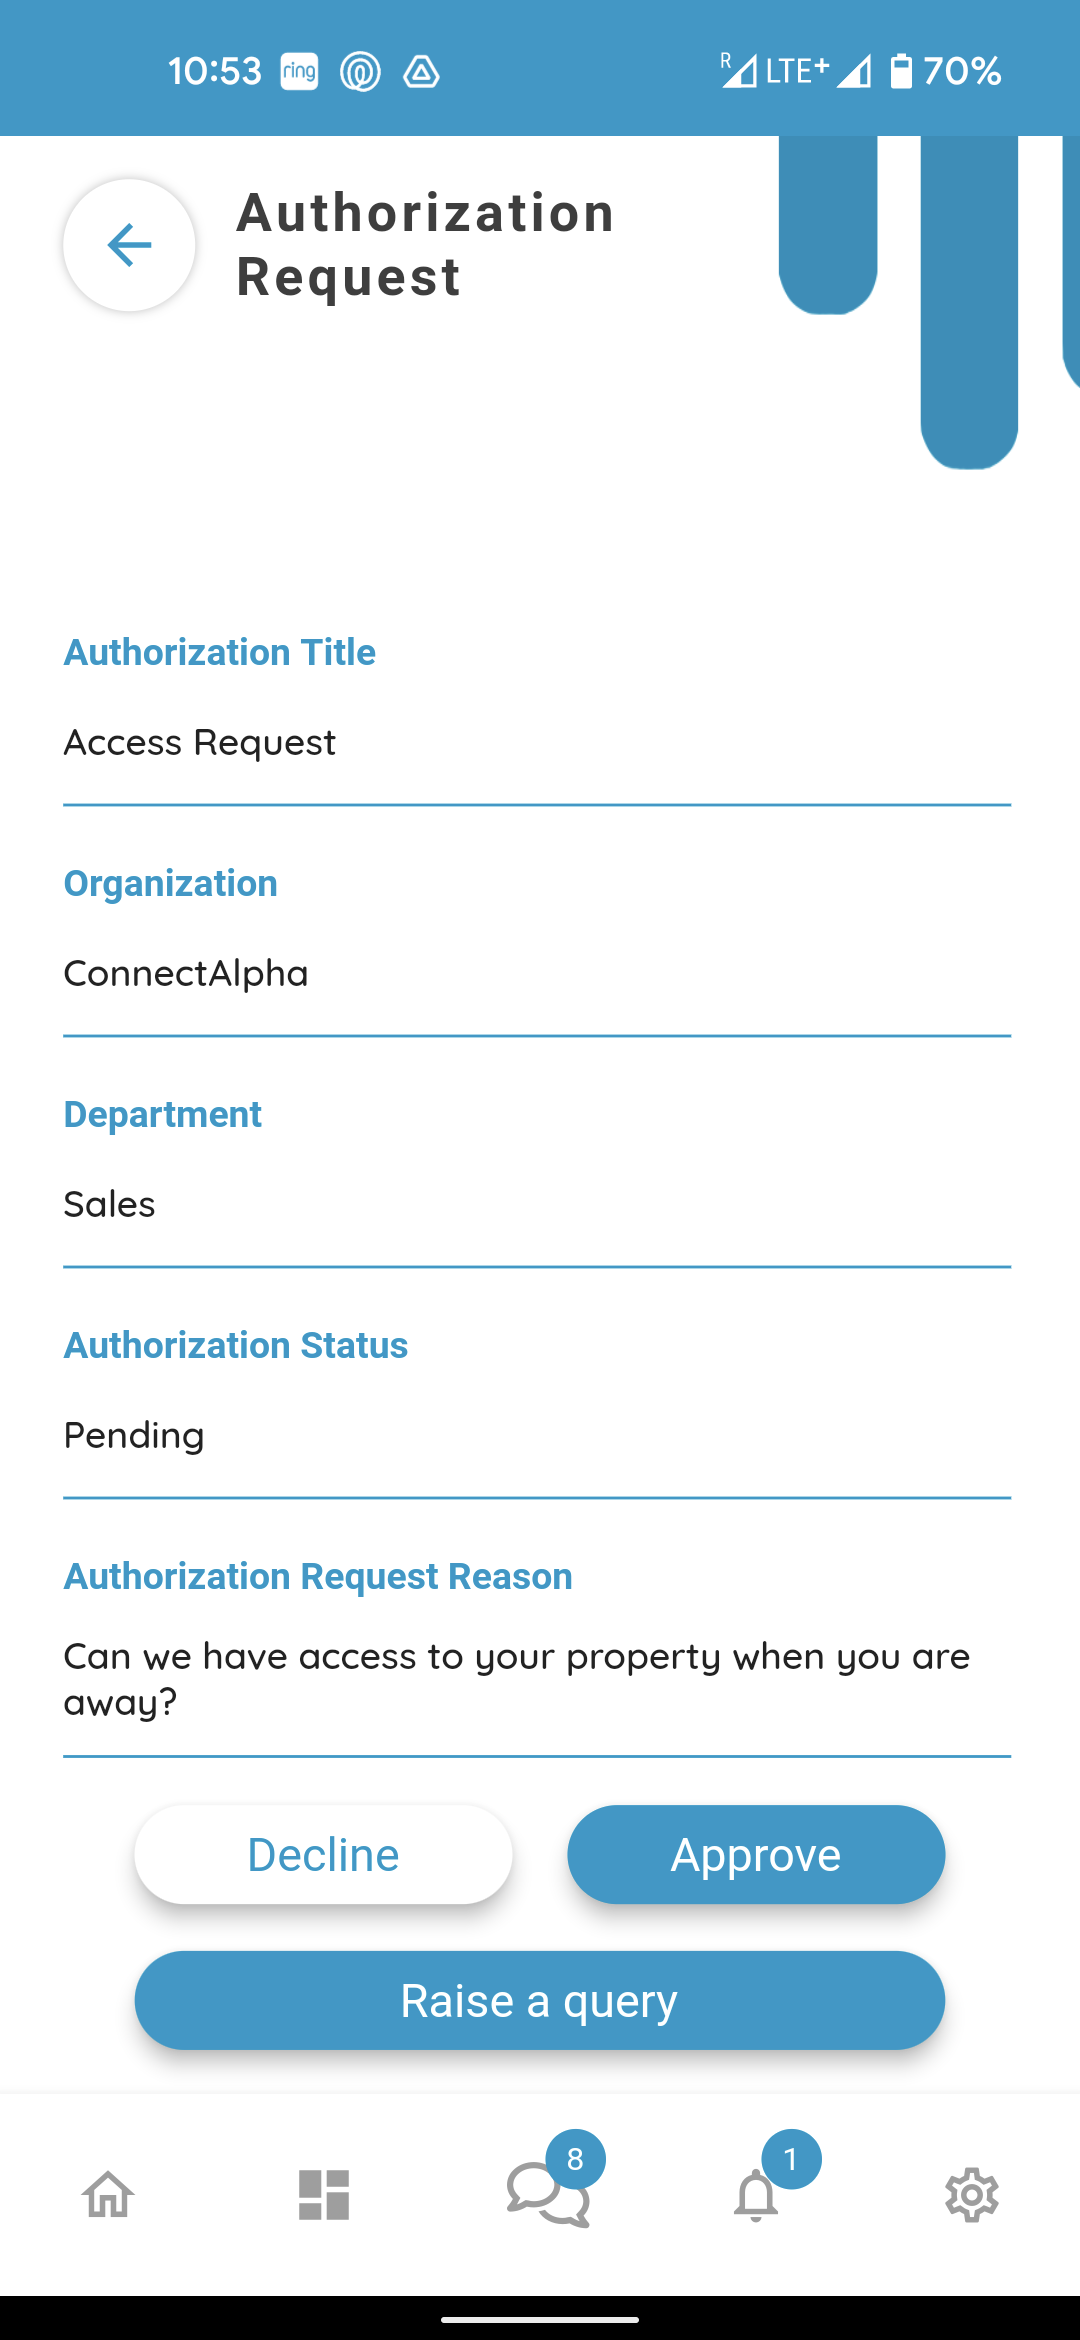
Clicking the authoritarian request feed card from your home feed, will open the request details

On this screen you will have three options, Decline, Approve and Raise a Query.
If you would like to decline select decline

This will bring the pop up Menu where you can record a reason for declining the request and then either sign on screen by selecting signature. This will open up a blank field

Where you can sign using your finger
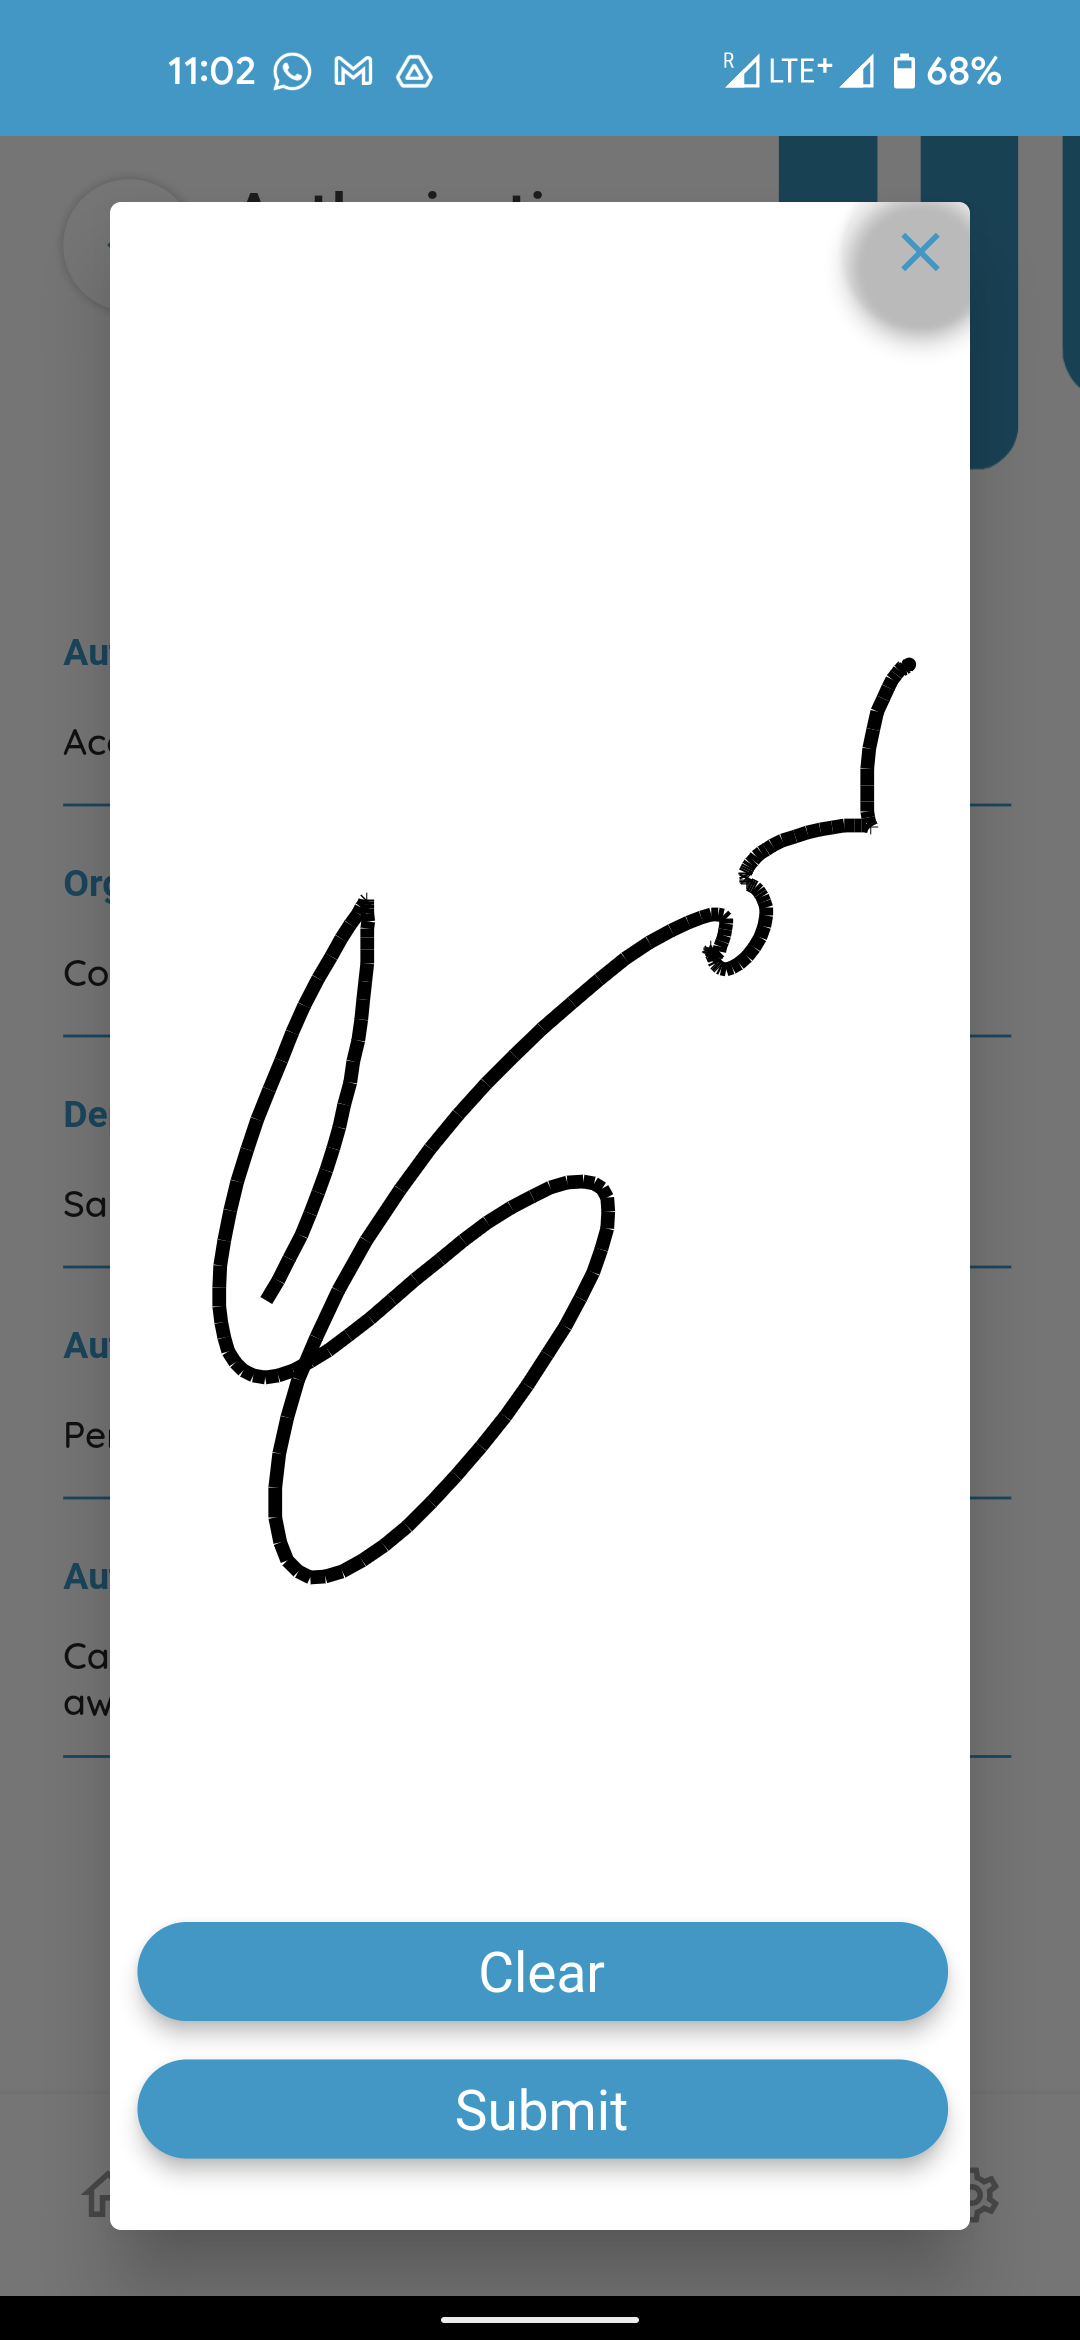
And click clear to clear the field to sign again or submit to record your response.
Selecting Touch ID/Face ID button

will let you record your response using the biometrics set on your phone as your security feature.
Selecting approve from the authorisation request screen will let you approve the request in the steps similar to declining the request, as described earlier.
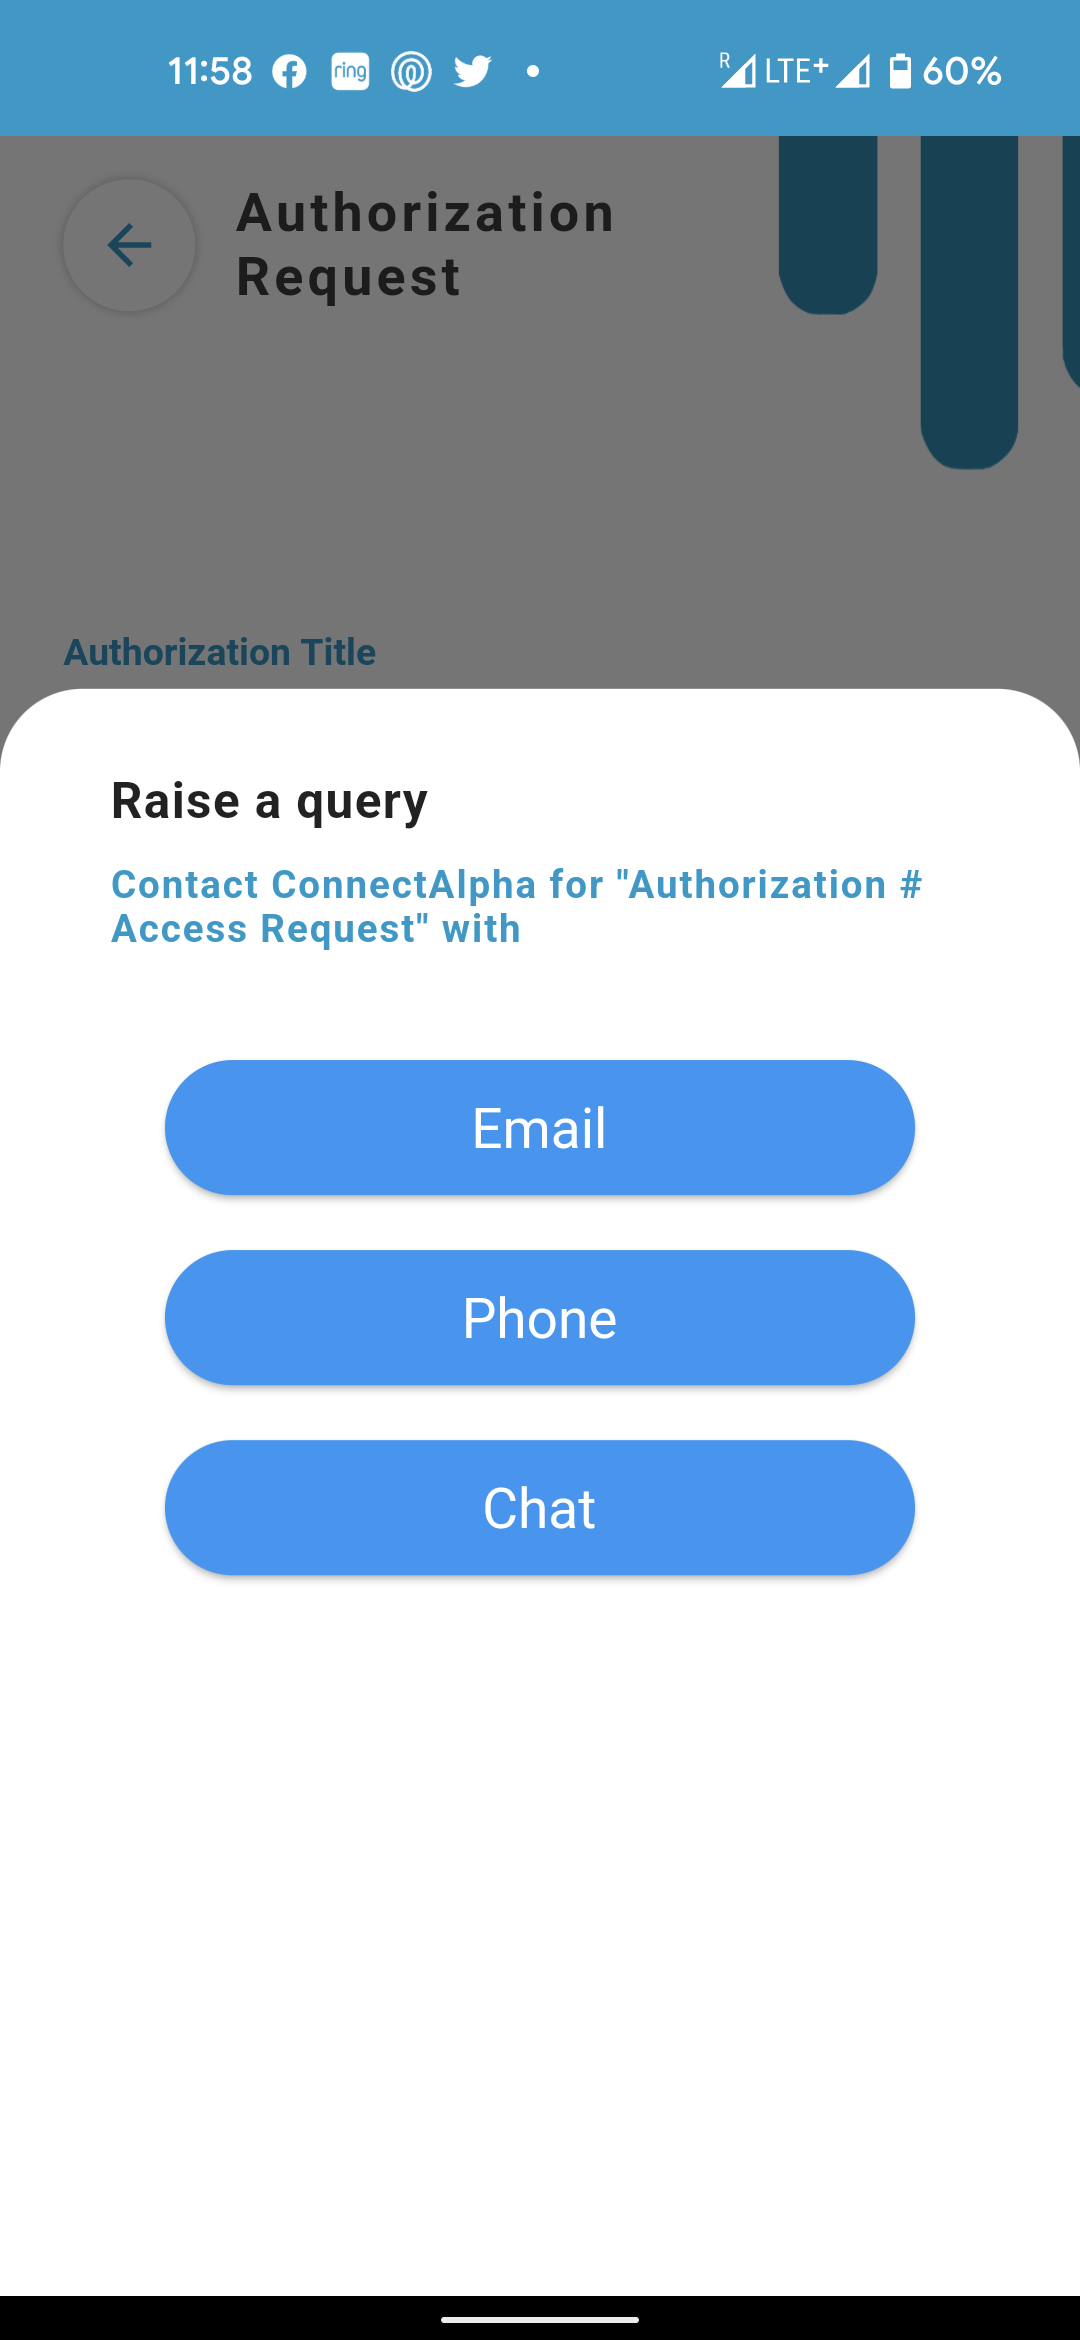
If you are unsure about the Authorization request or want to get more information from the respective business or organisation you can select raise a query button.

This will present you with the options to contact the business or the organisation sending you the request. Please note the number of these options will depend upon the settings of the organisation. Here you could see all three, phone, email and chat. We expect that at least one of these options will be available to you to contact the vendor.
Choosing phone will launch the default dialer on your phone with the organization’s contact number pre-populated in the number field.
Selecting email
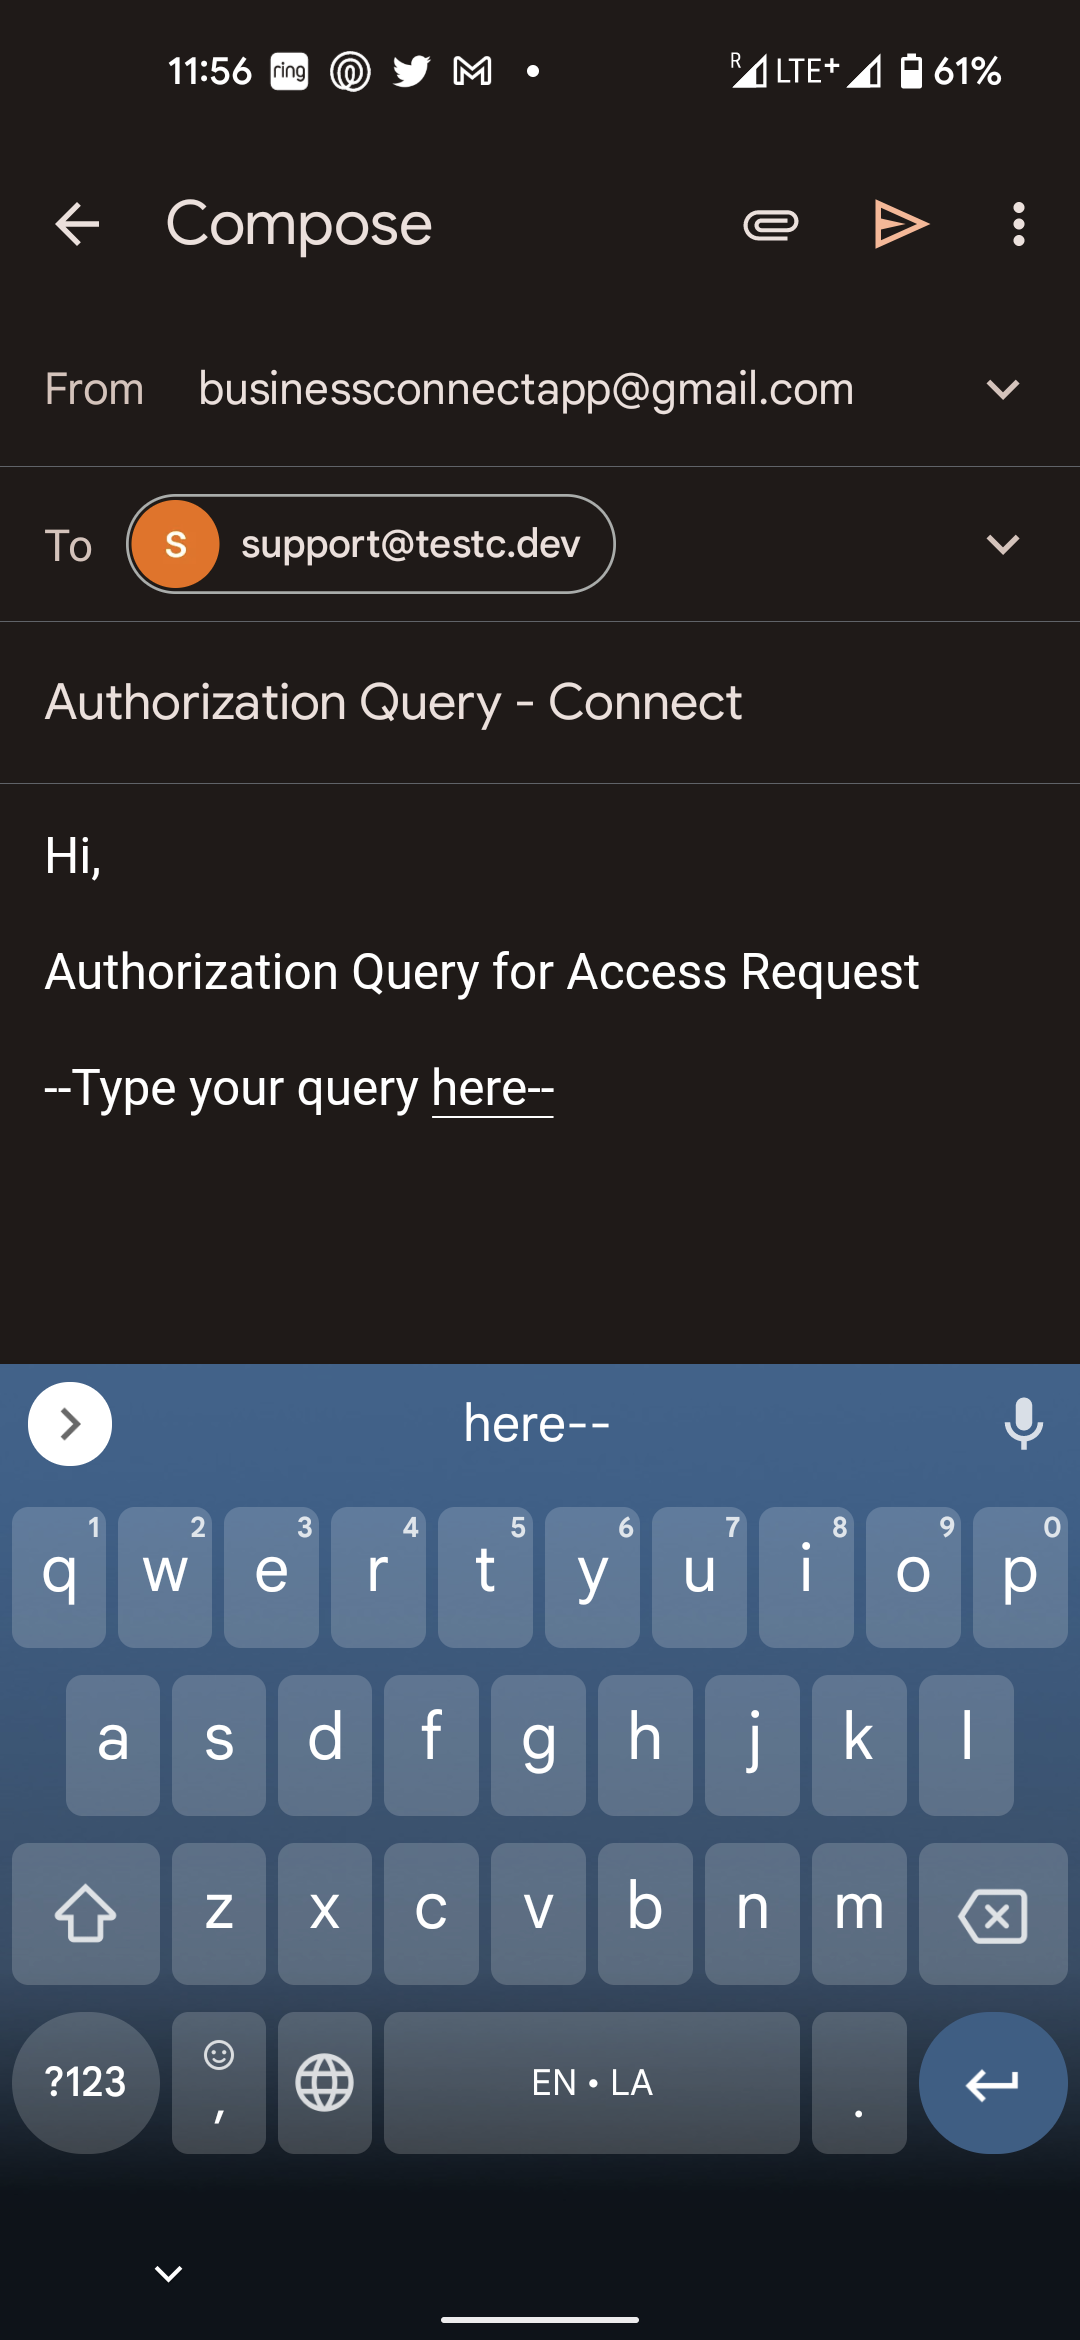
will launch your default email client with the basic details pre-populated.
Selecting Chat will launch the communications module of the connect app.
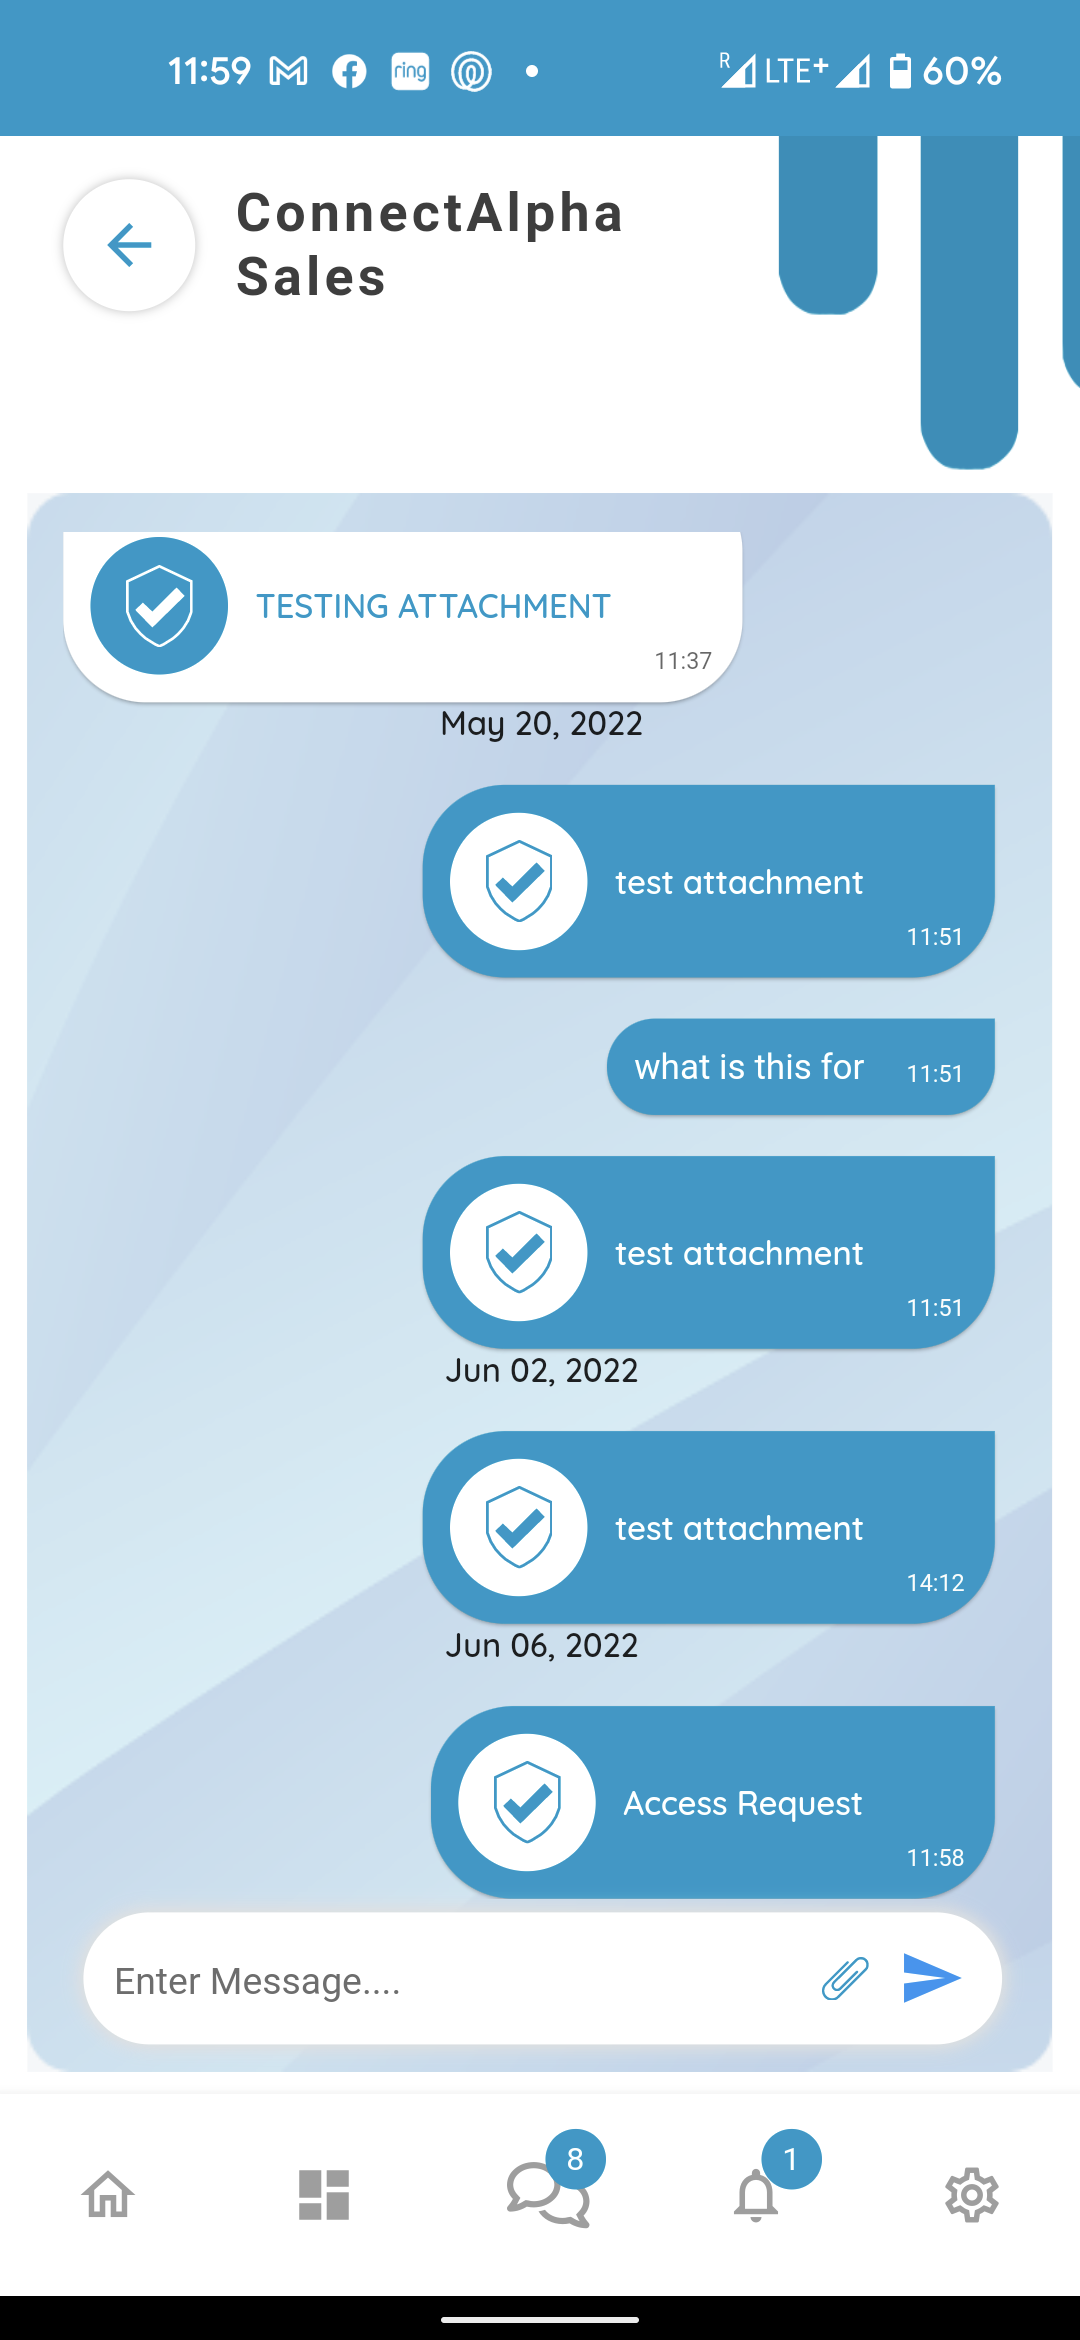
This will initiate a chat automatically with the department which sent you the authorisation request, in this case the sales department. You will also notice the request is automatically attached in the chat window for reference.
You could start a chat here. Your message will be delivered to all employees in the sales department and anybody will be able to respond to your question.