Department settings

To configure and edit your organisation’s departments settings, press the settings button at the bottom right of your screen.
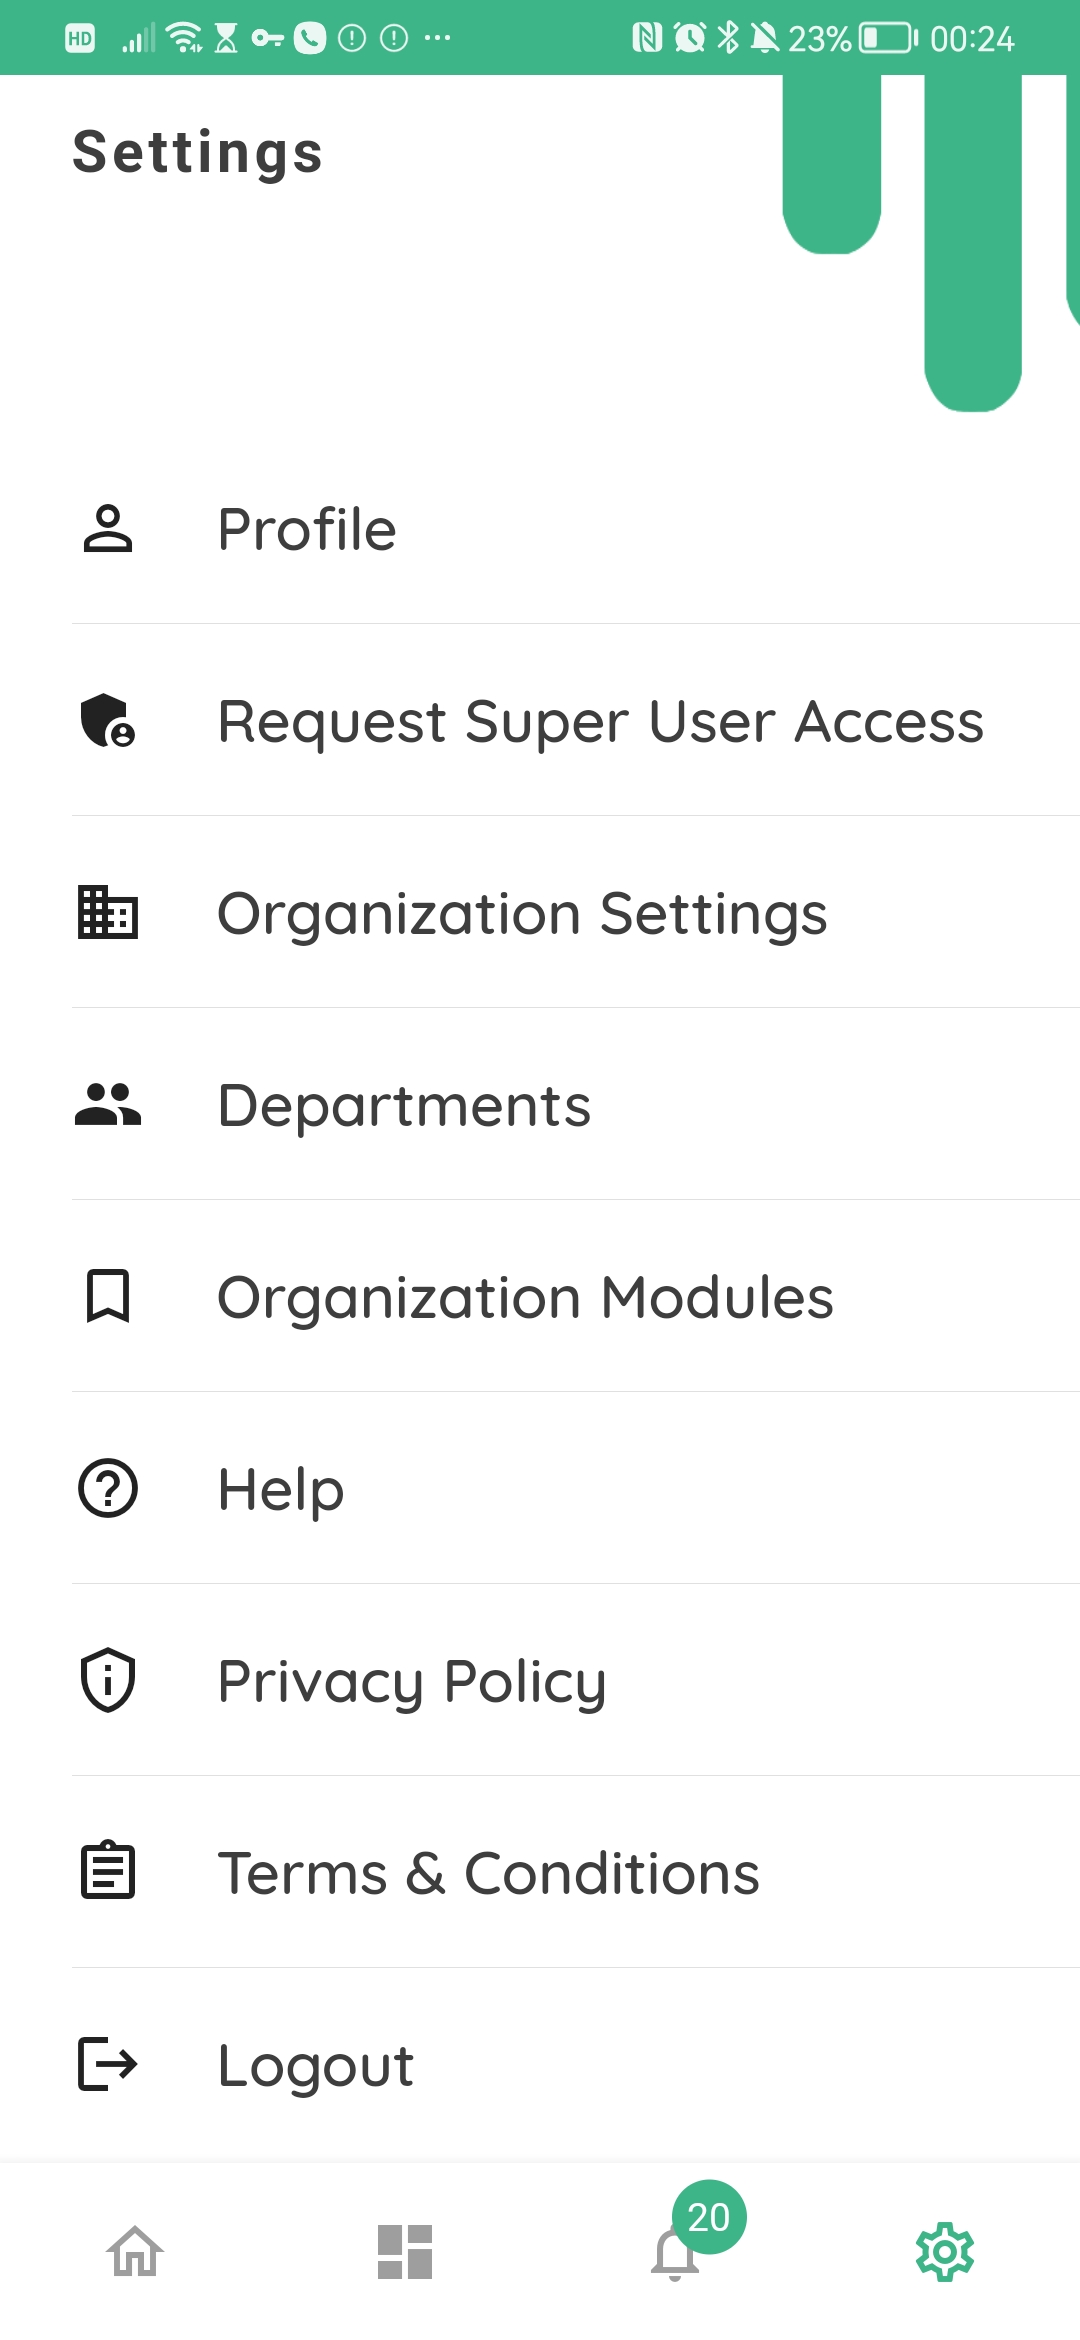
Press the “departments” button on your screen.

Here you can see all of the departments in your organization.
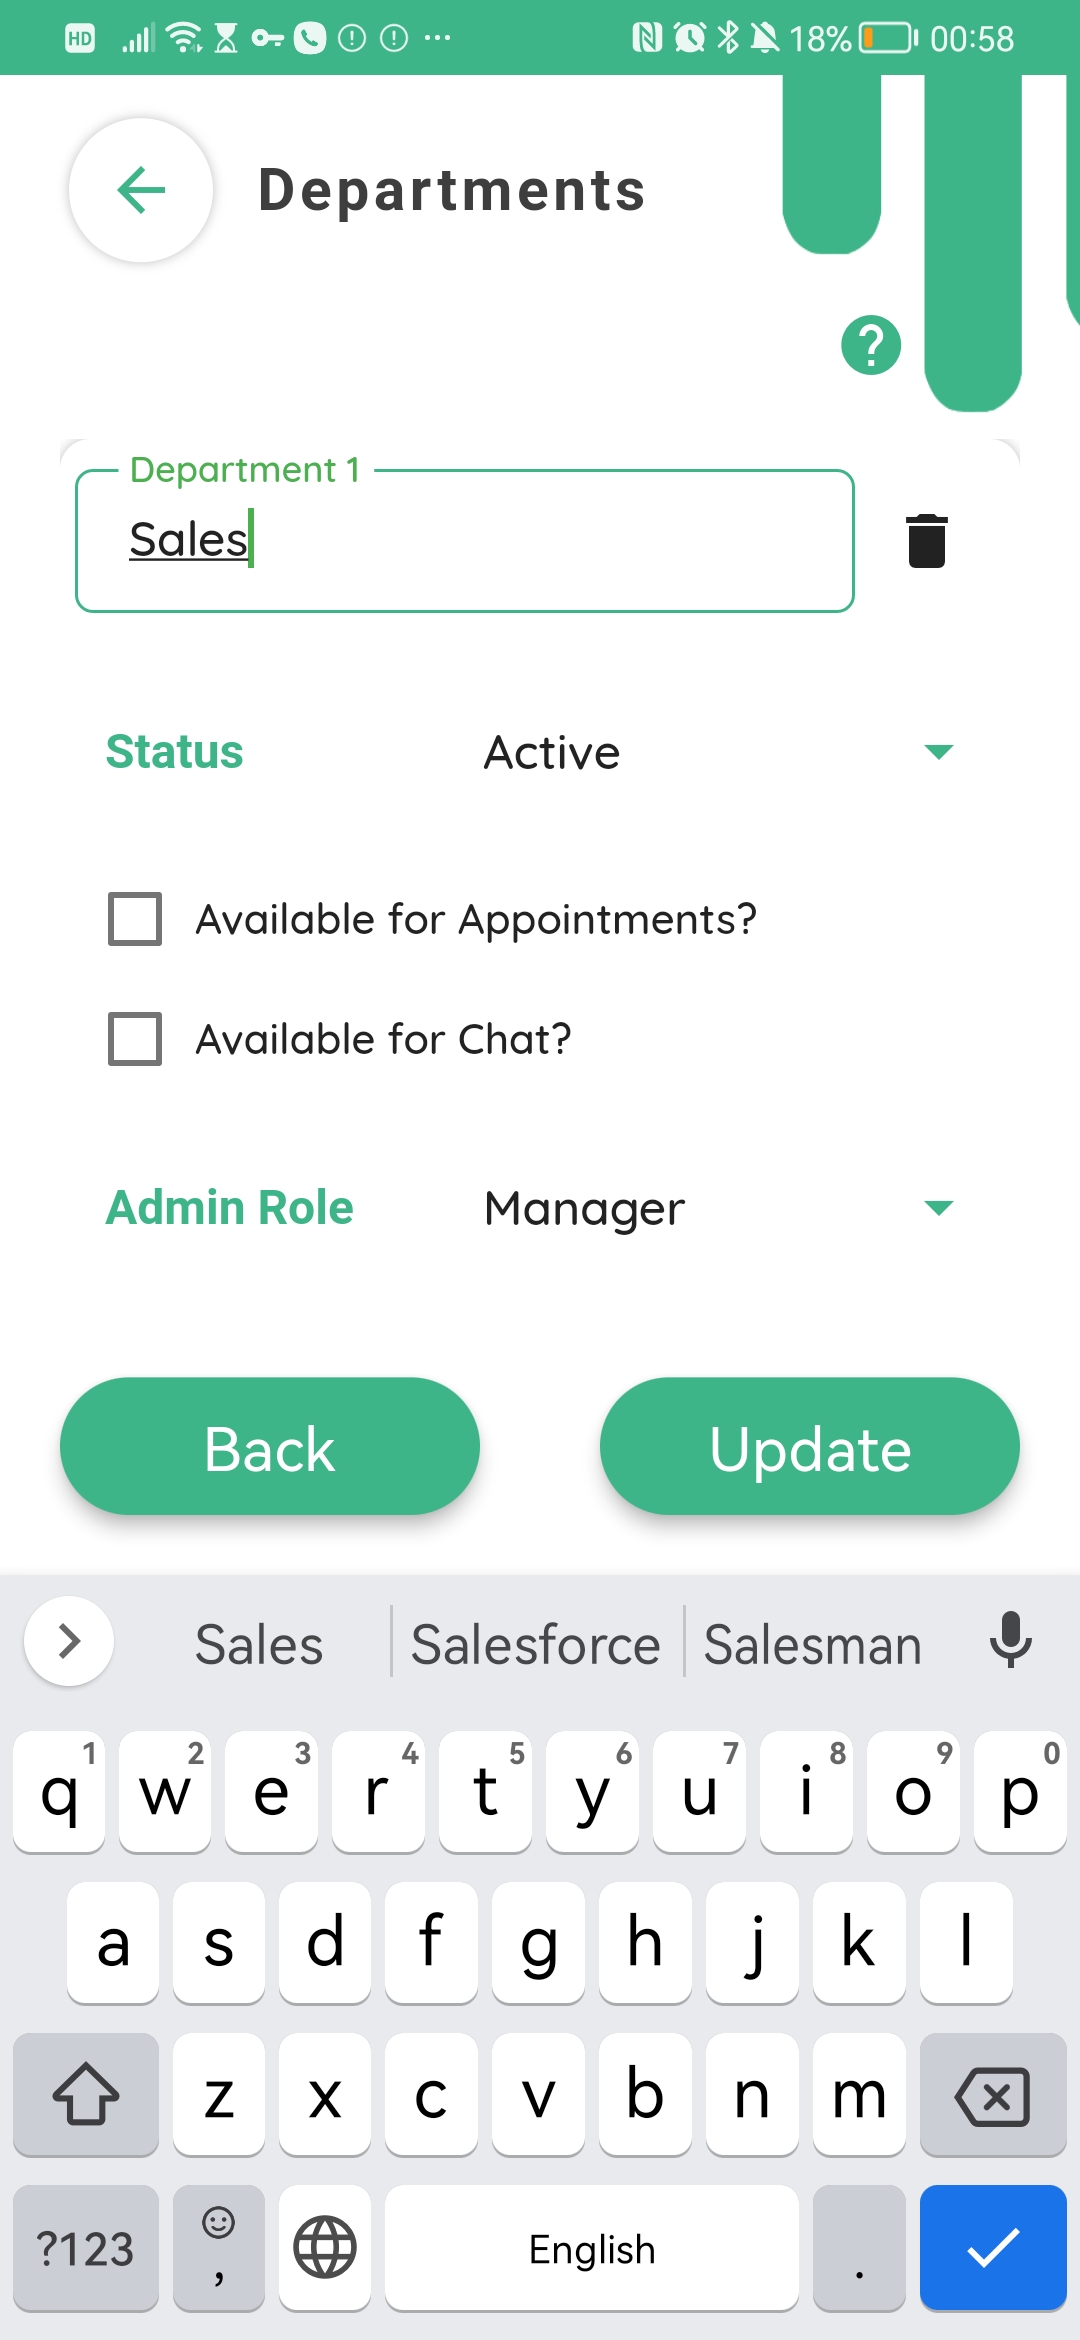
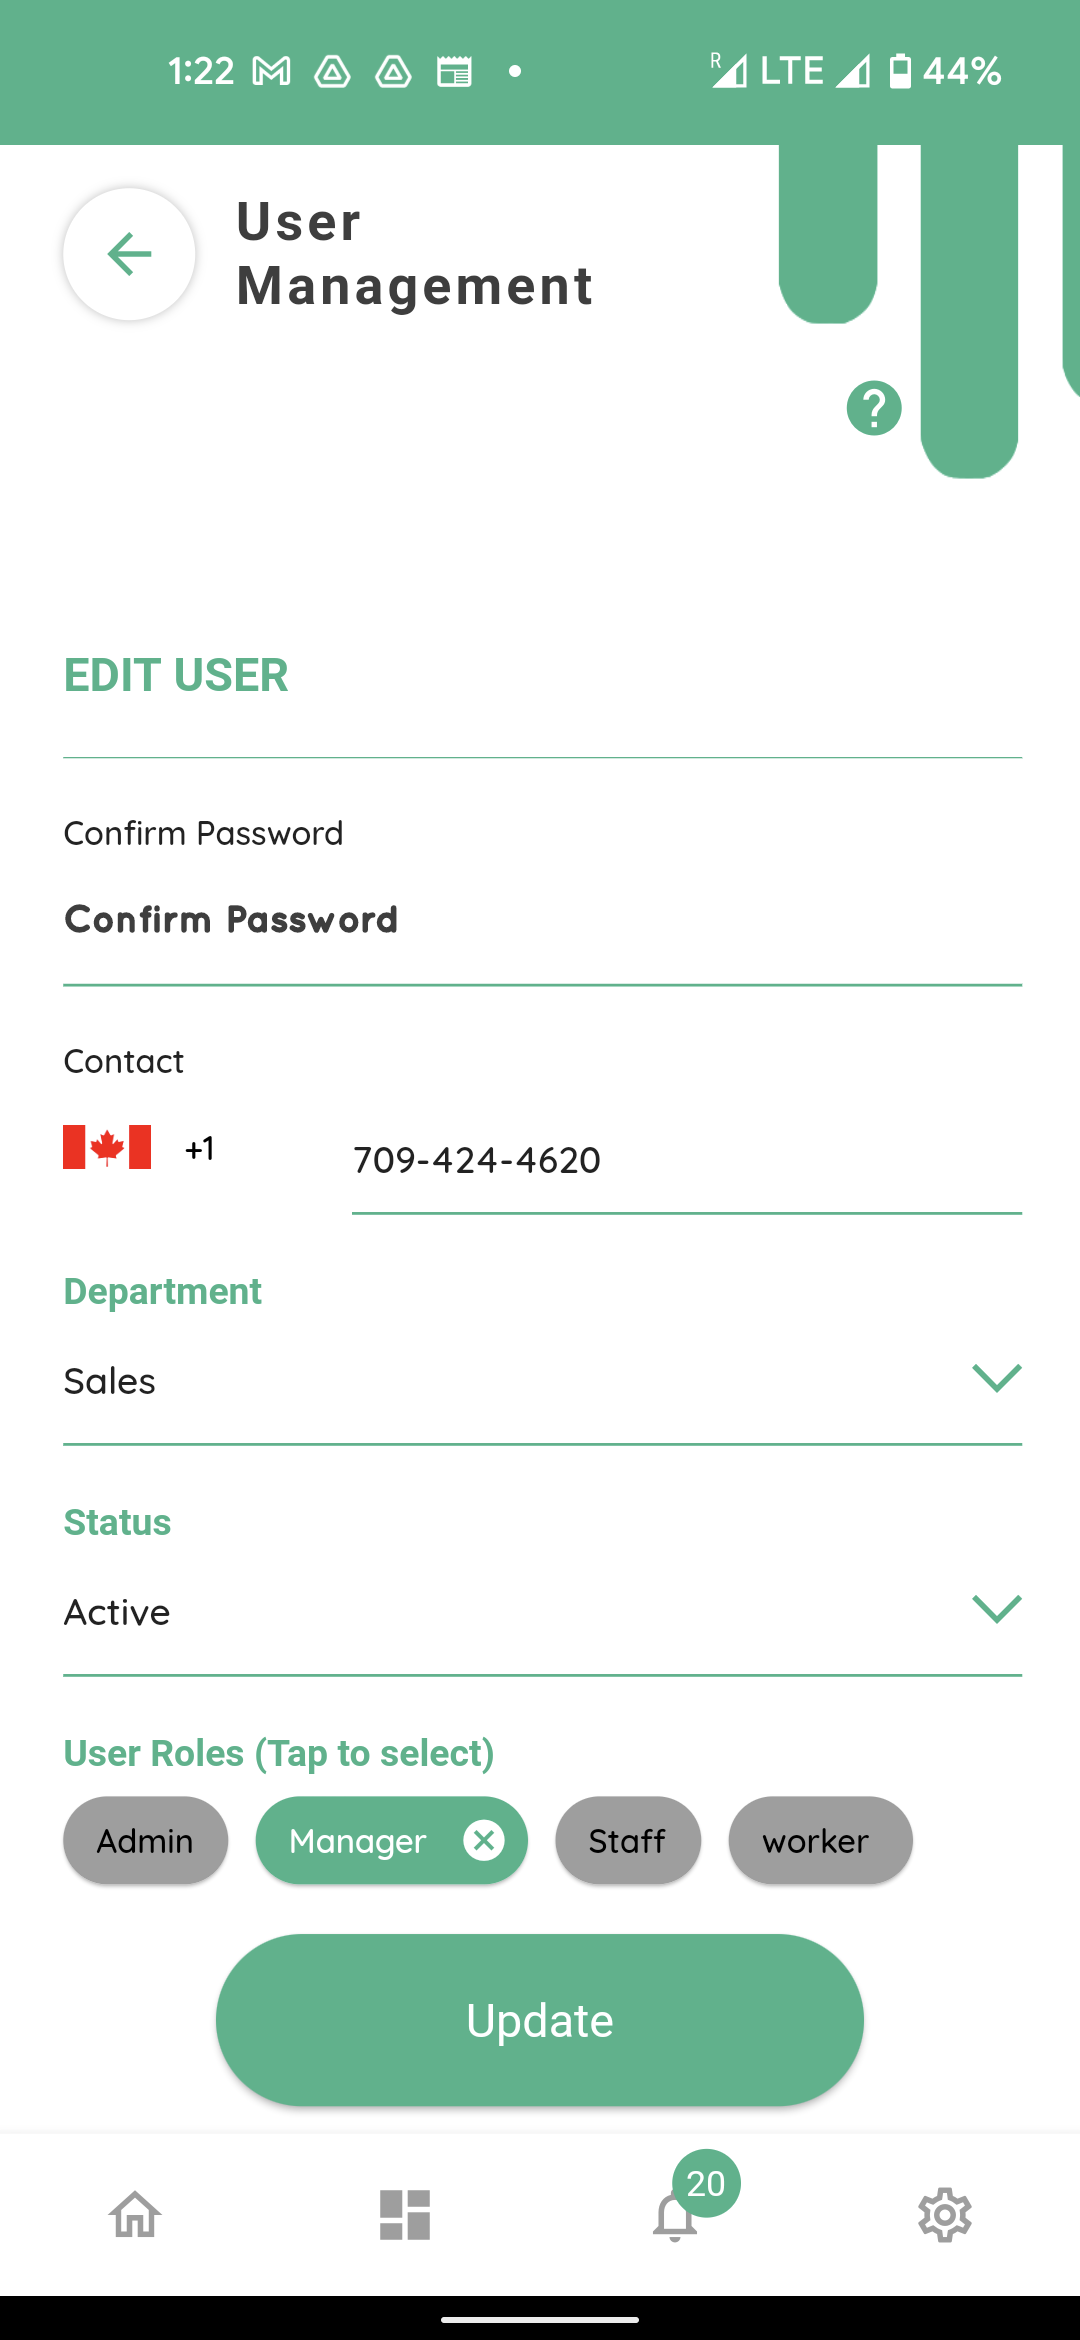
If you choose you may edit the pre existing department’s name by clicking on the textbox. In this case, we will leave the name untouched.
To change Status of the department, click the status dropdown box and select your desired option between Active and Inactive. This setting will come handy if a department or a team was created for a project temporarily and at the completion of the project you want the department to be made inactive.
You have two tick box items here.
1st option ‘available for appointments’ allows the department to create appointment slots in the connect app and those will be visible to the end users through the user connect app and they will be able to book online appointments. If this box is un-ticked the said department will still be able to create appointment slots but these will not be visible to the end users or customers through the user connect app, but the department would still be able to send out an appointment to the individual clients through the connect app’s appointments module.
The second tick box item ‘available for chat’, when selected will allow your clients or customers to create chats with the department using their user connect app. When this option is un-ticked your clients or customers will not be able to start chats with the said department but the staff in the department will still be able to use the communications module to chat with other departments or colleagues within their own department.
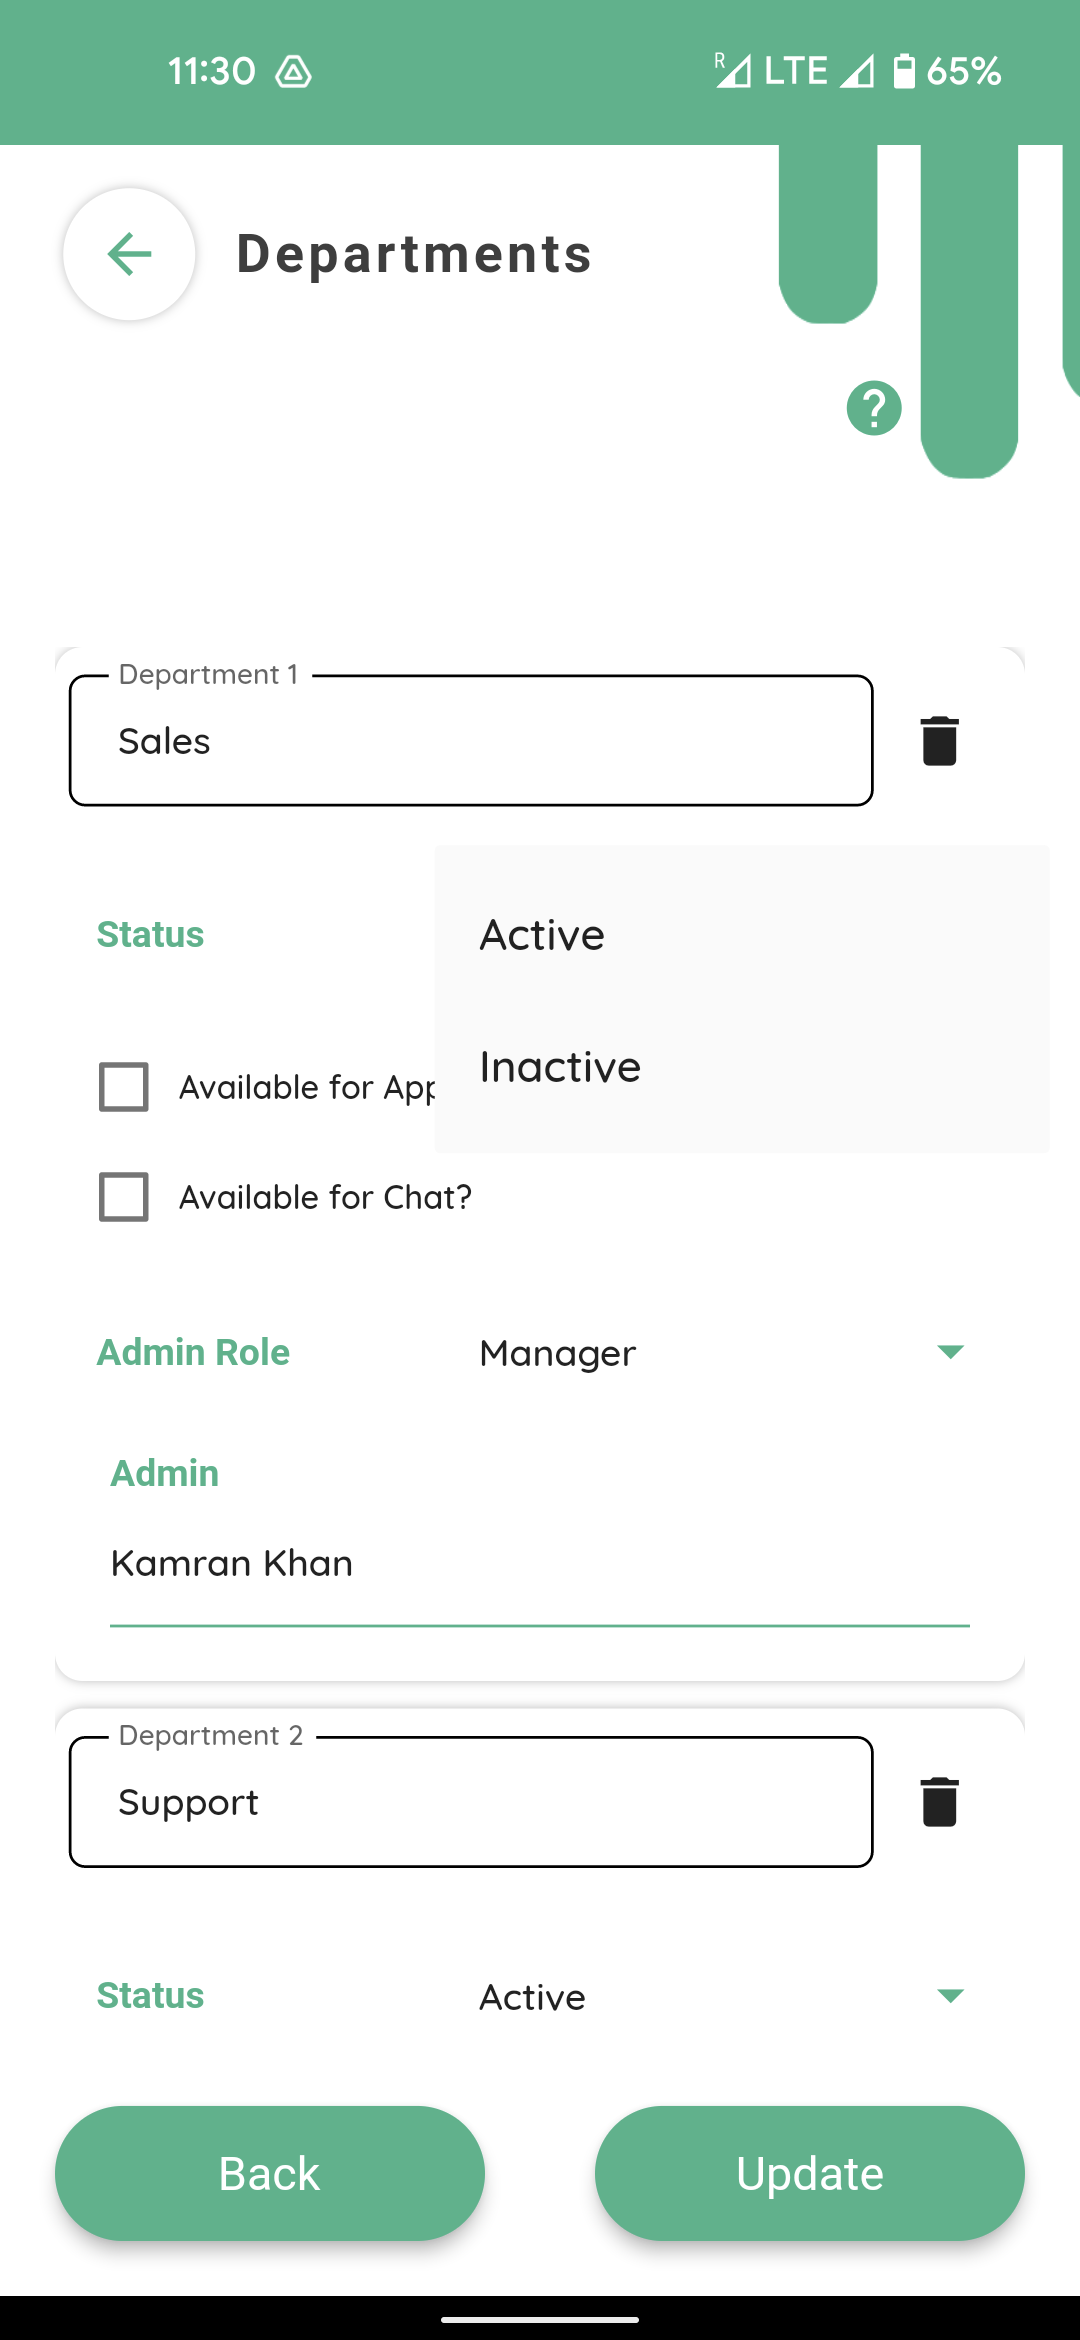
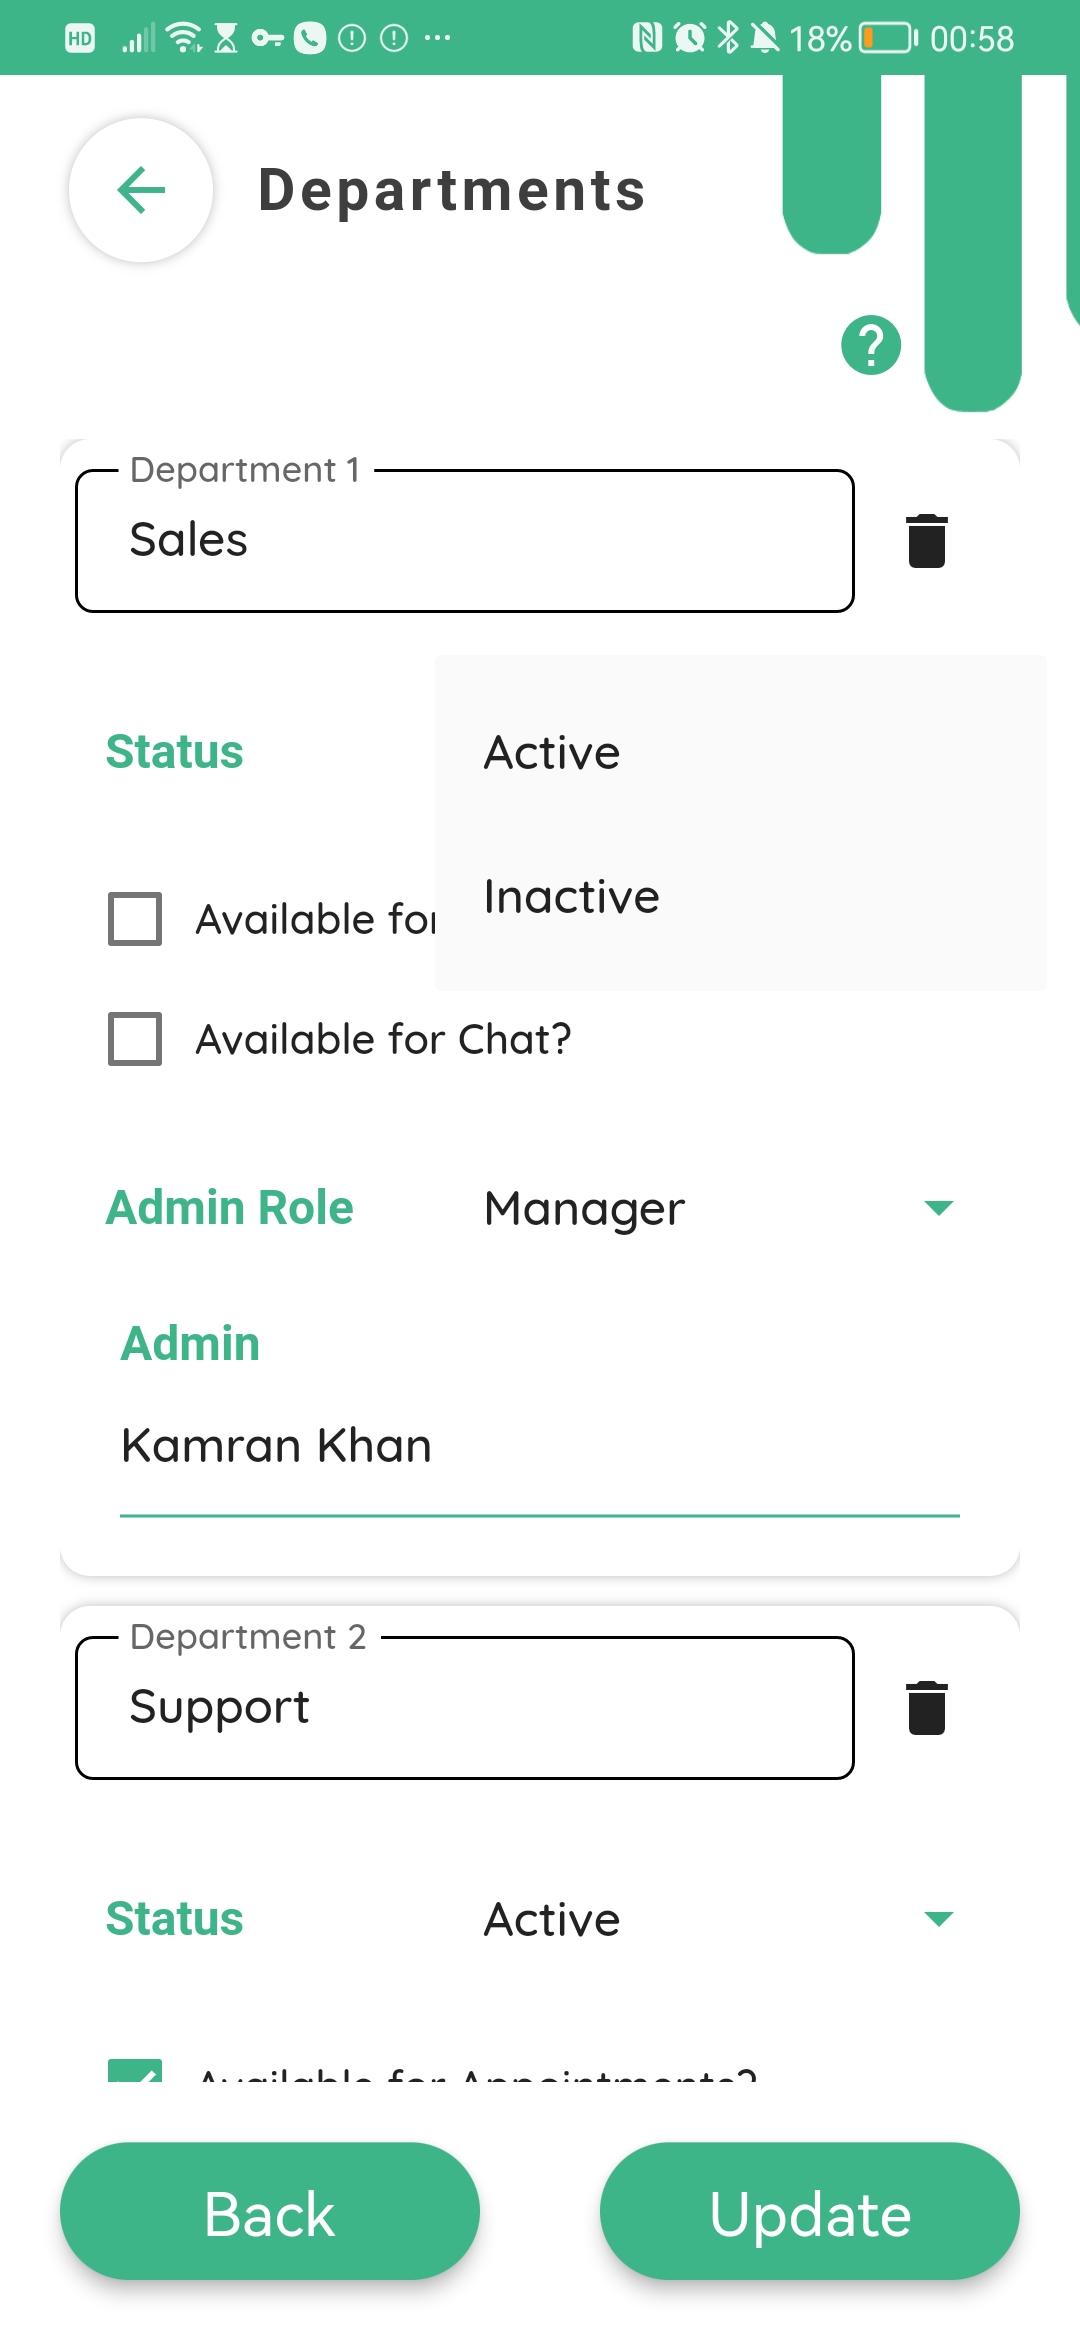
Selecting the next field “admin role”.

You have two tick box items here.

Opens up a drop down menu and allows you to choose between the existing roles created in your organisation. Once you choose the role here the next field Admin (name) will show you the staff who have the same role assigned to them with the corresponding permissions.
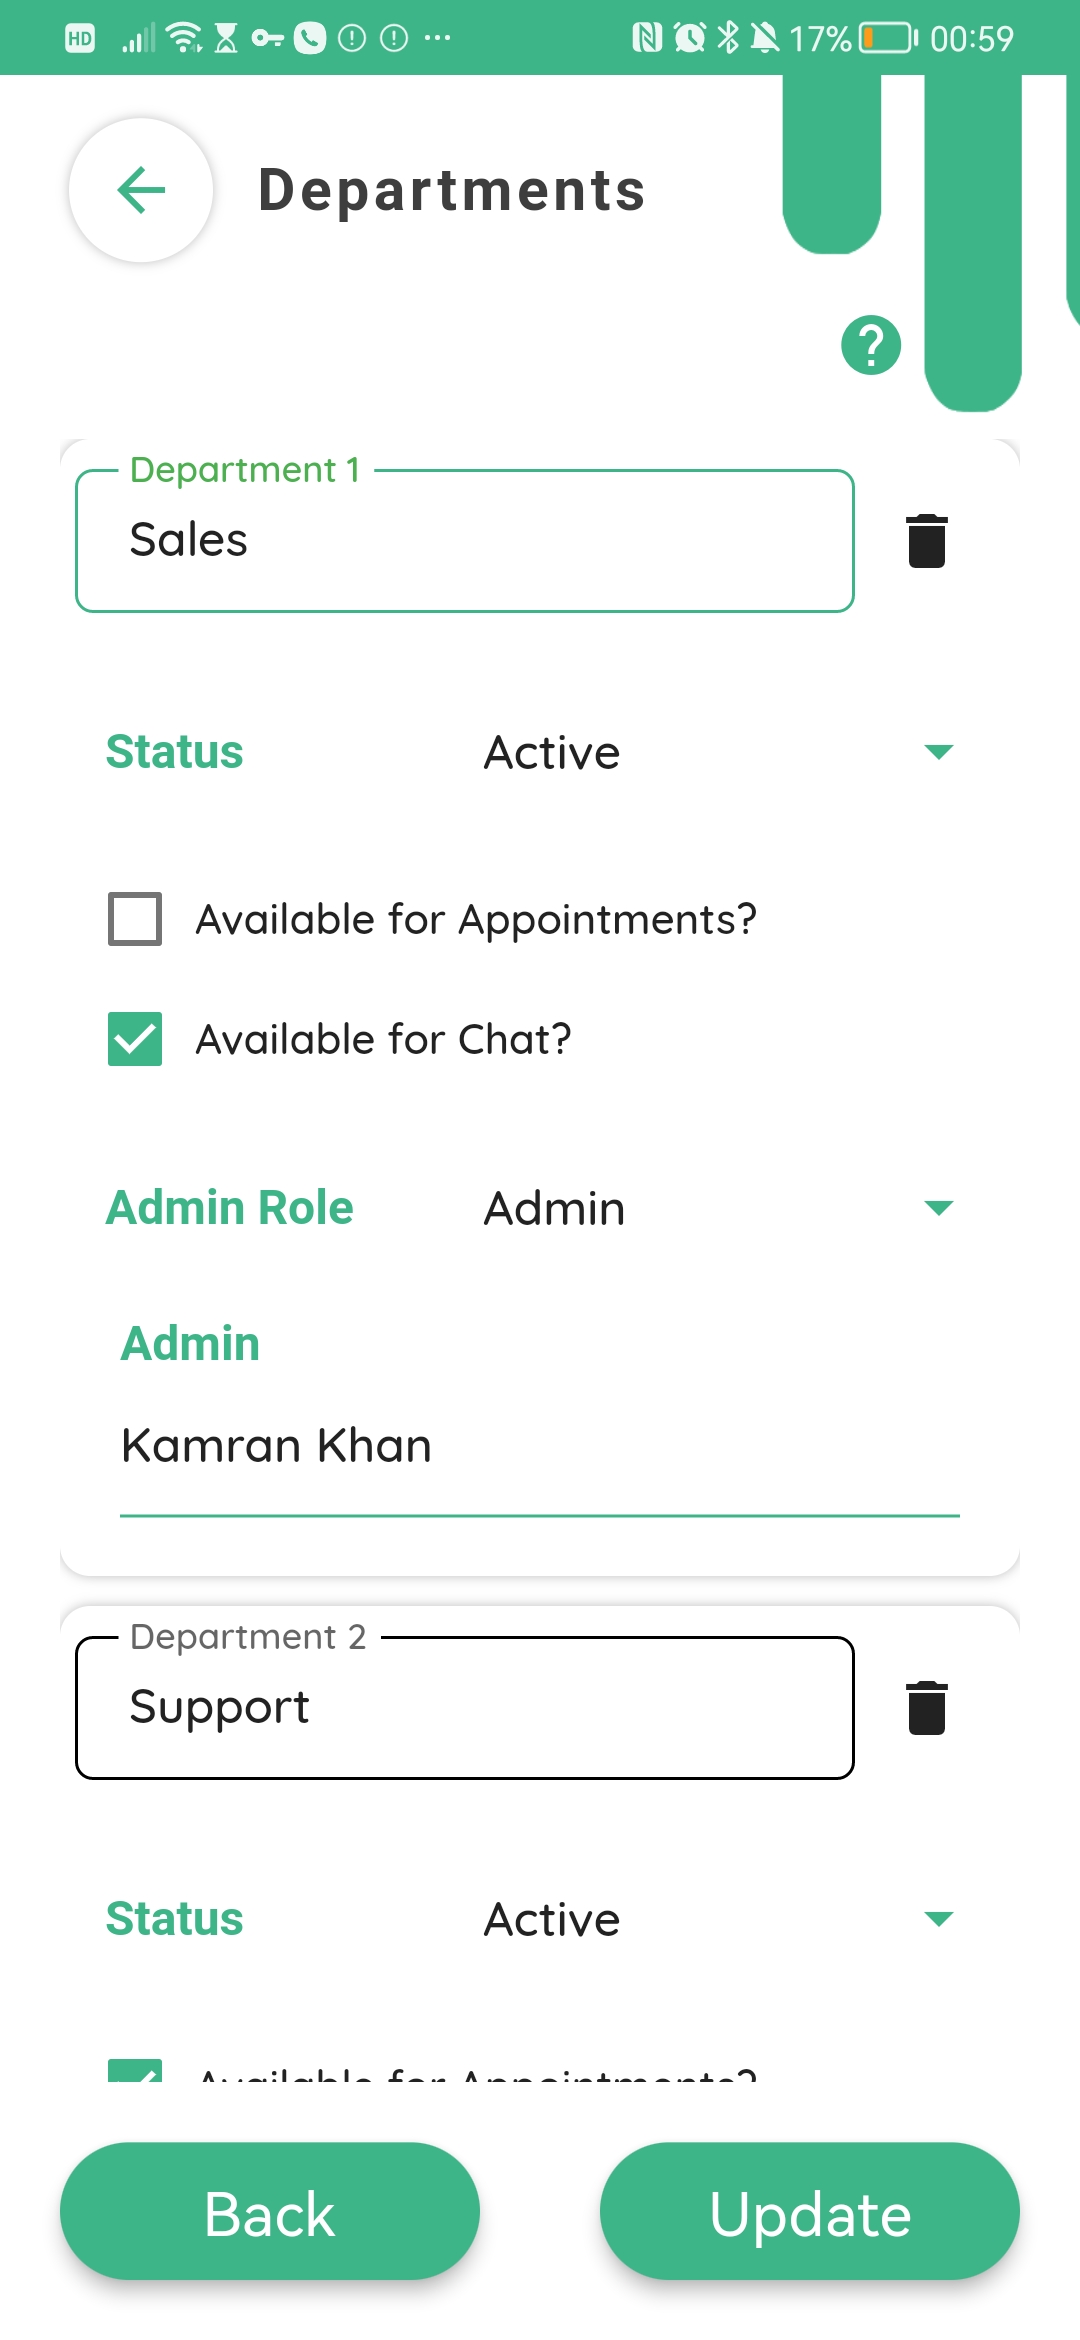
The Admins of any department will receive relevant notifications for new signups (personel) to their departments.
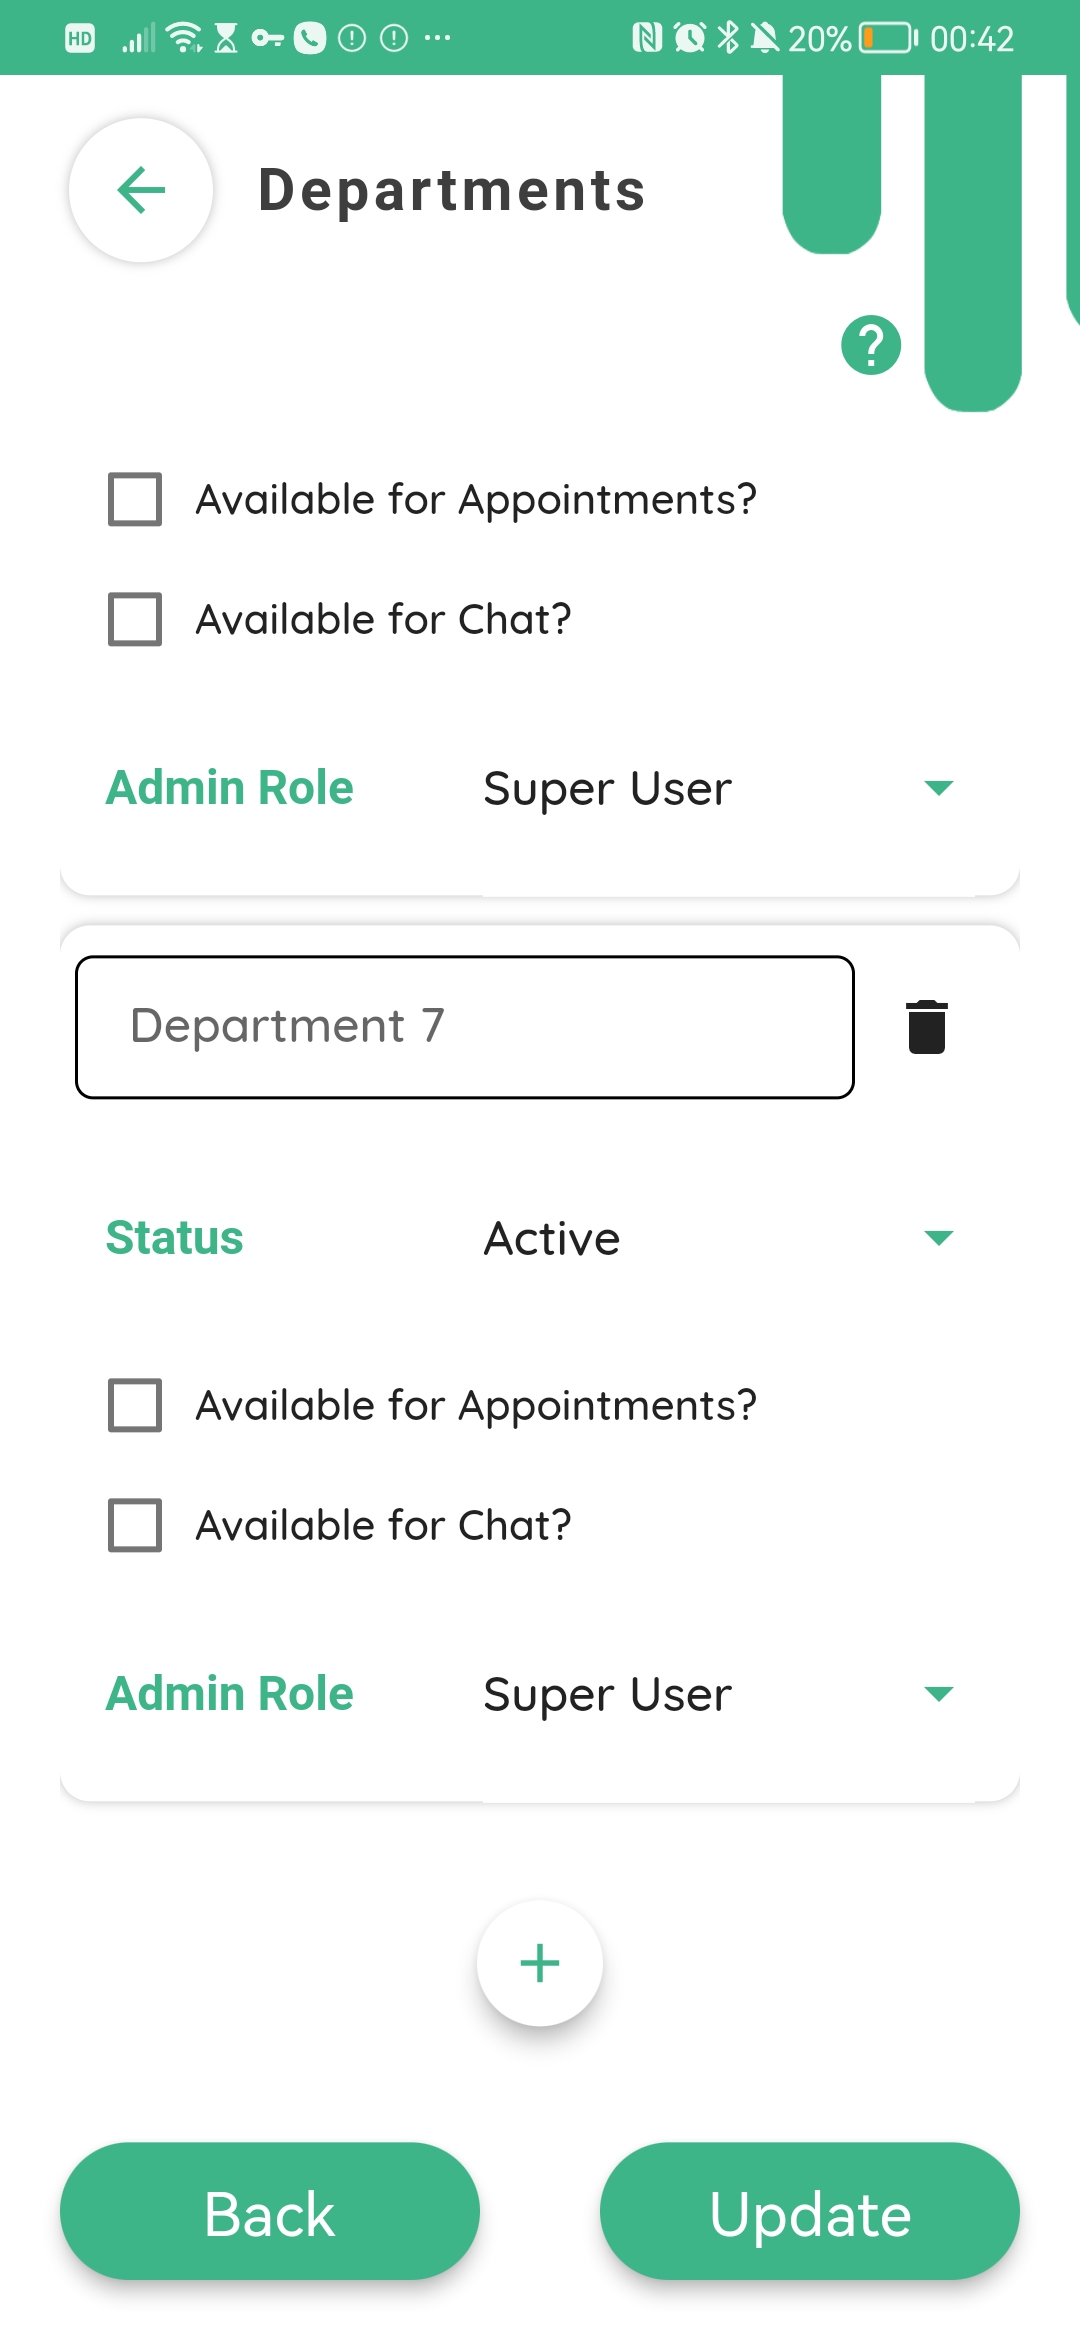
To create a new department, scroll down and press the add button at the bottom of the screen.
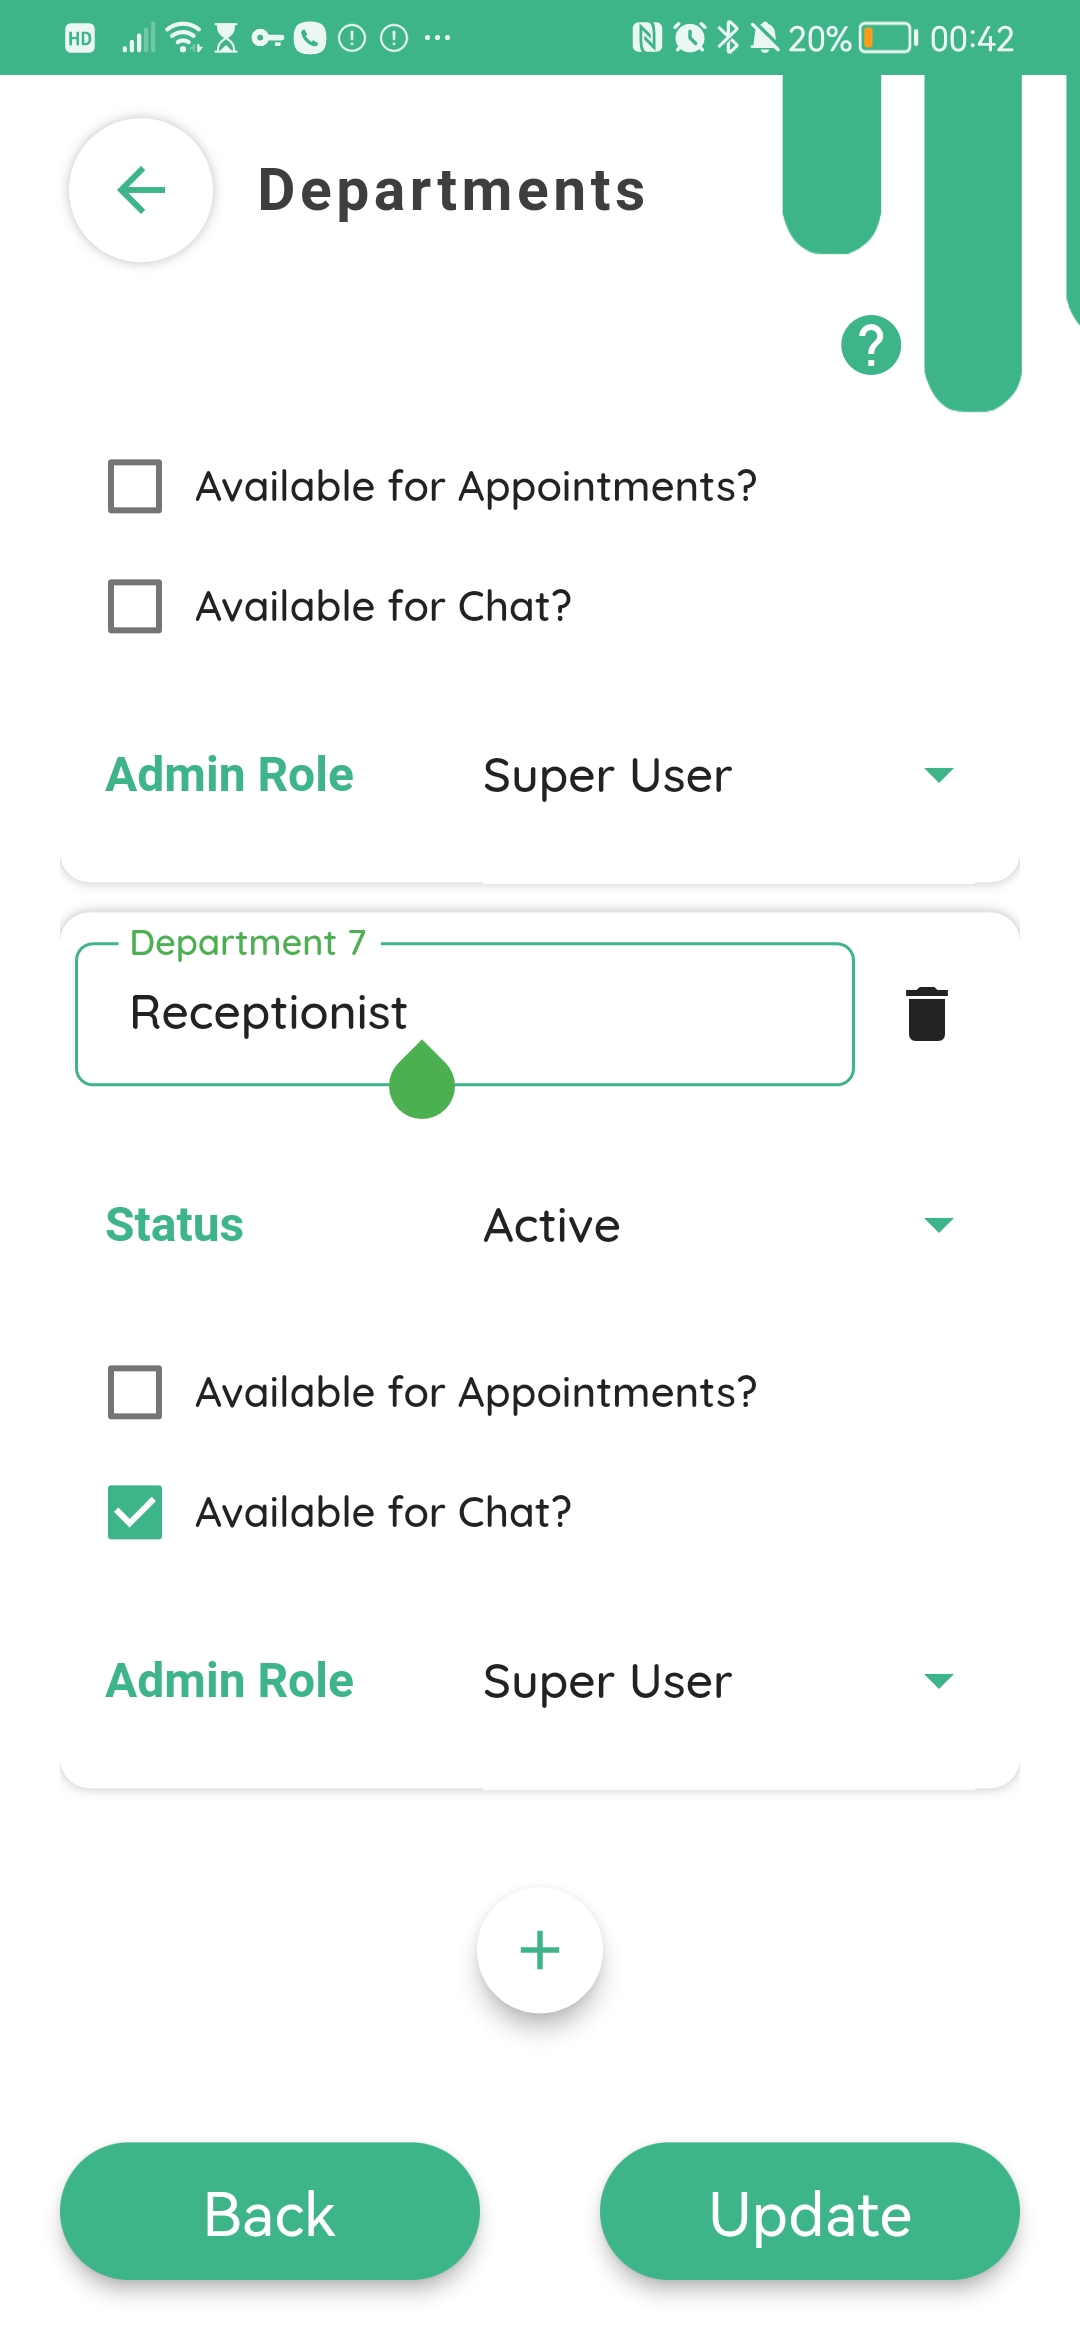
Here enter the name of your new department. Set the status to active, tick or untick available for appointments and available for chat options.
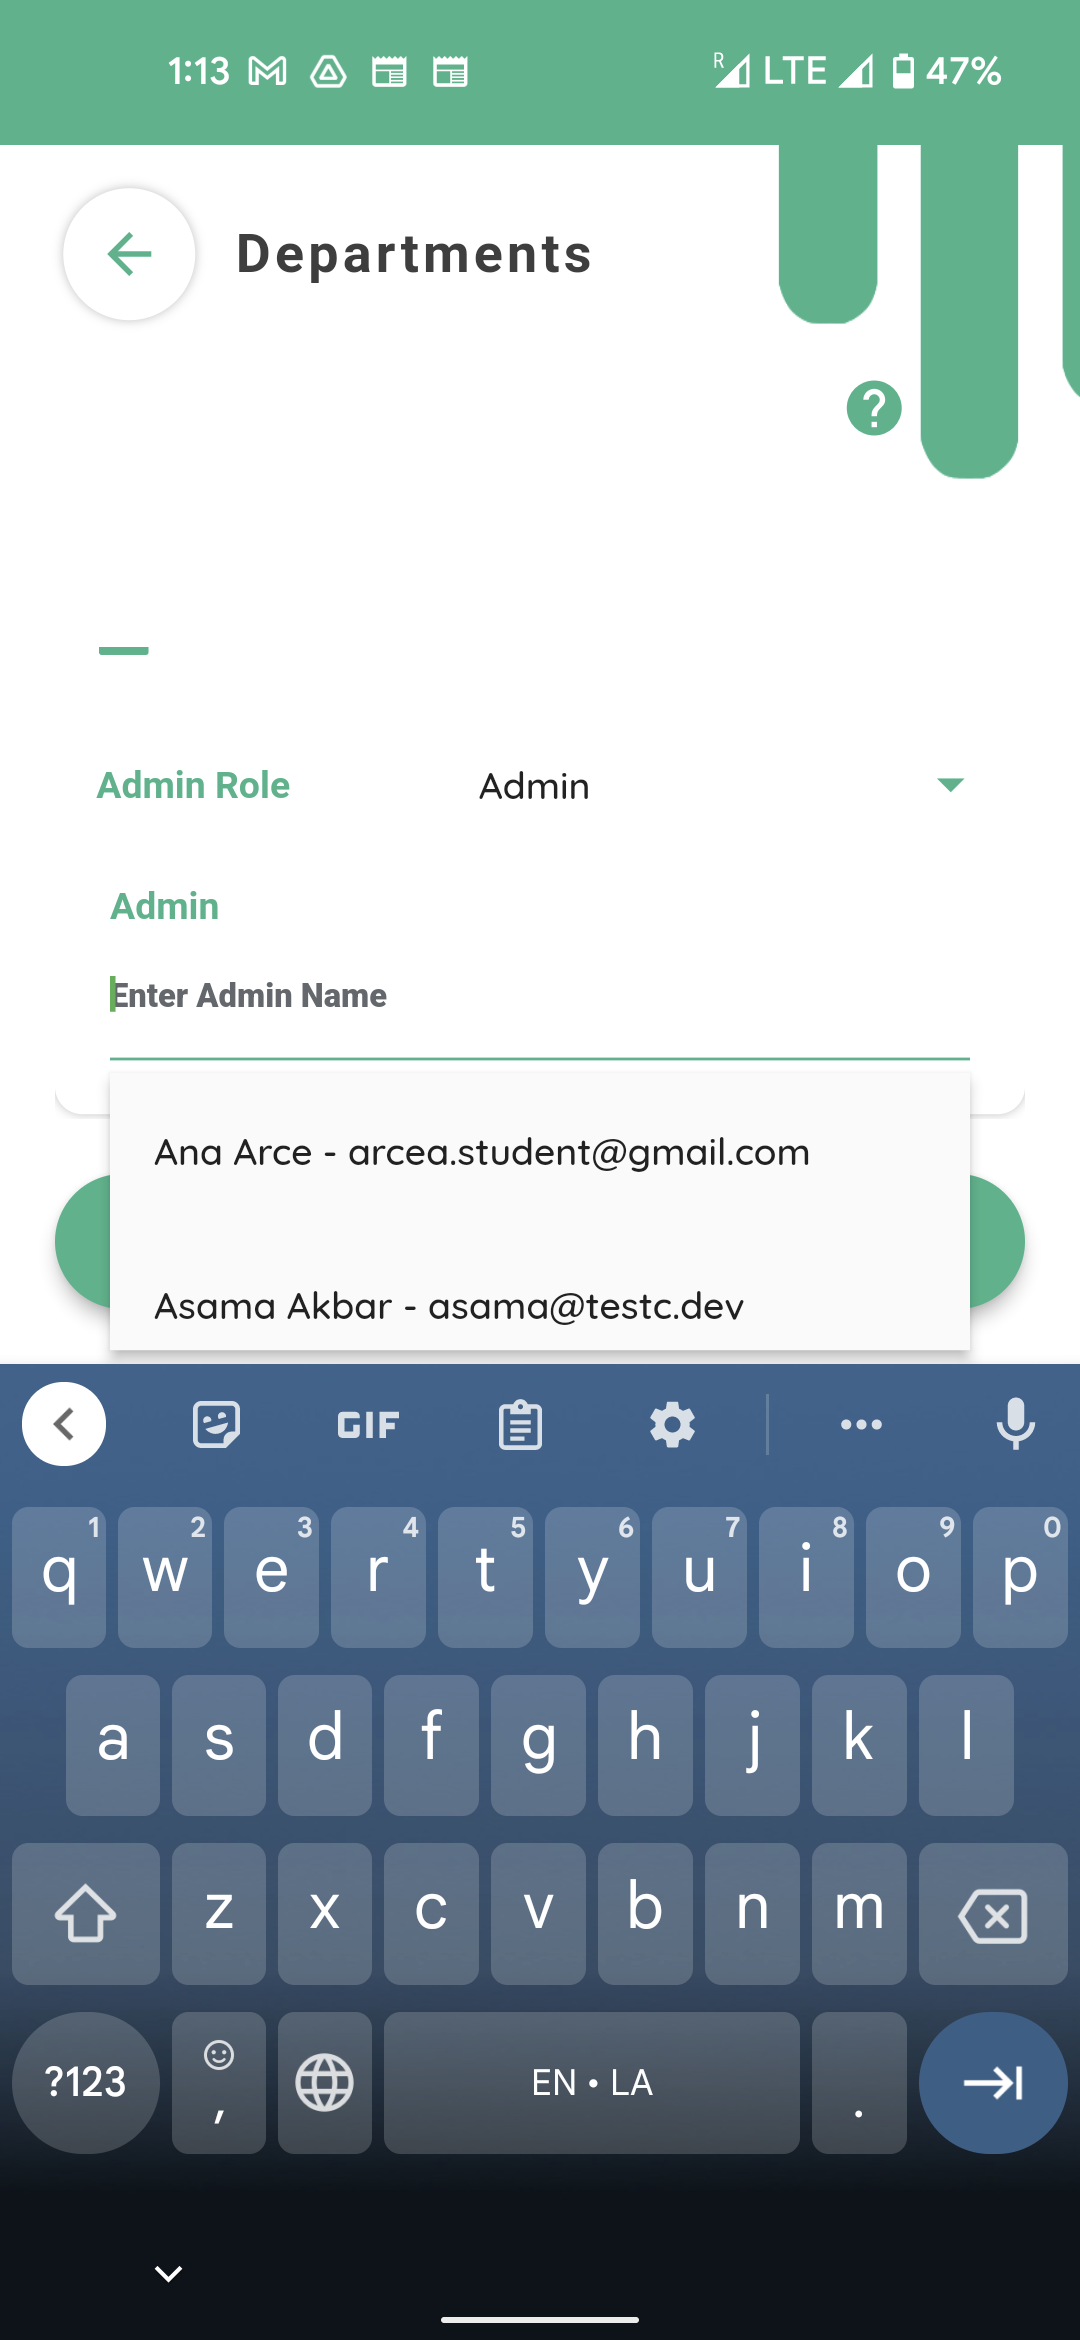
Then select the Role for the admin of this department and choose the name of the administrator from the drop down menu.
The department will be created and your new staff will be able to choose it when they sign up to the app. And you will also be able to assign this department to existing staff under the users tab from home screen.

And then selecting the user name. This will open user profile
Please select the department field.
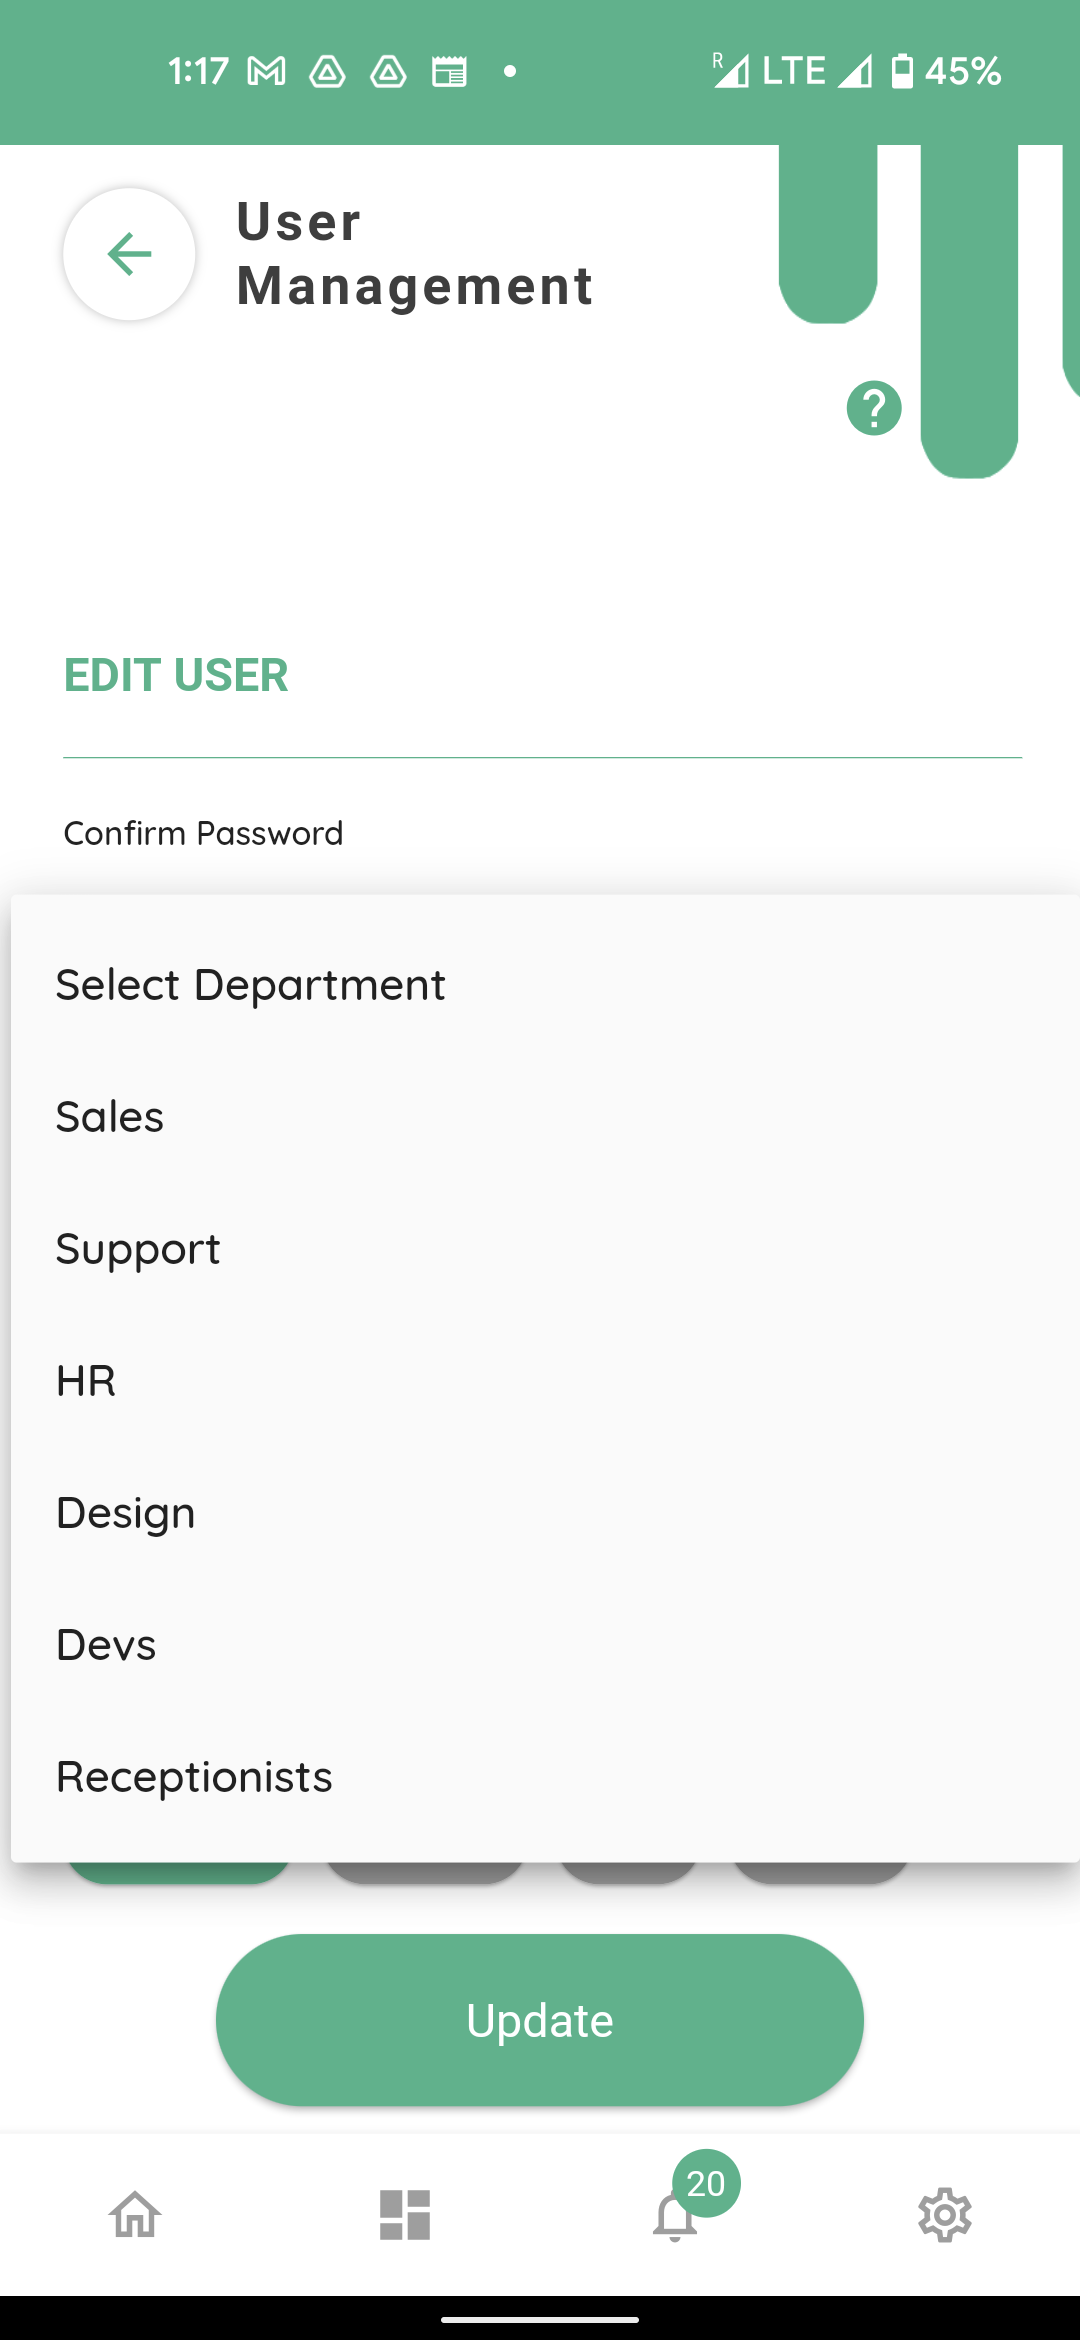
The new Receptionist department will be visible here for selection.
Please note that one staff can only be assigned to one department only.