First Registration as an Organisation
If your Organisation is new to ‘Connect’ please install the ‘Connect Organisation App’ from the Google play store.
(We don’t have it yet but will be displayed later) screen should show the app in the play store.
Once installed, start the app and the following screen will show
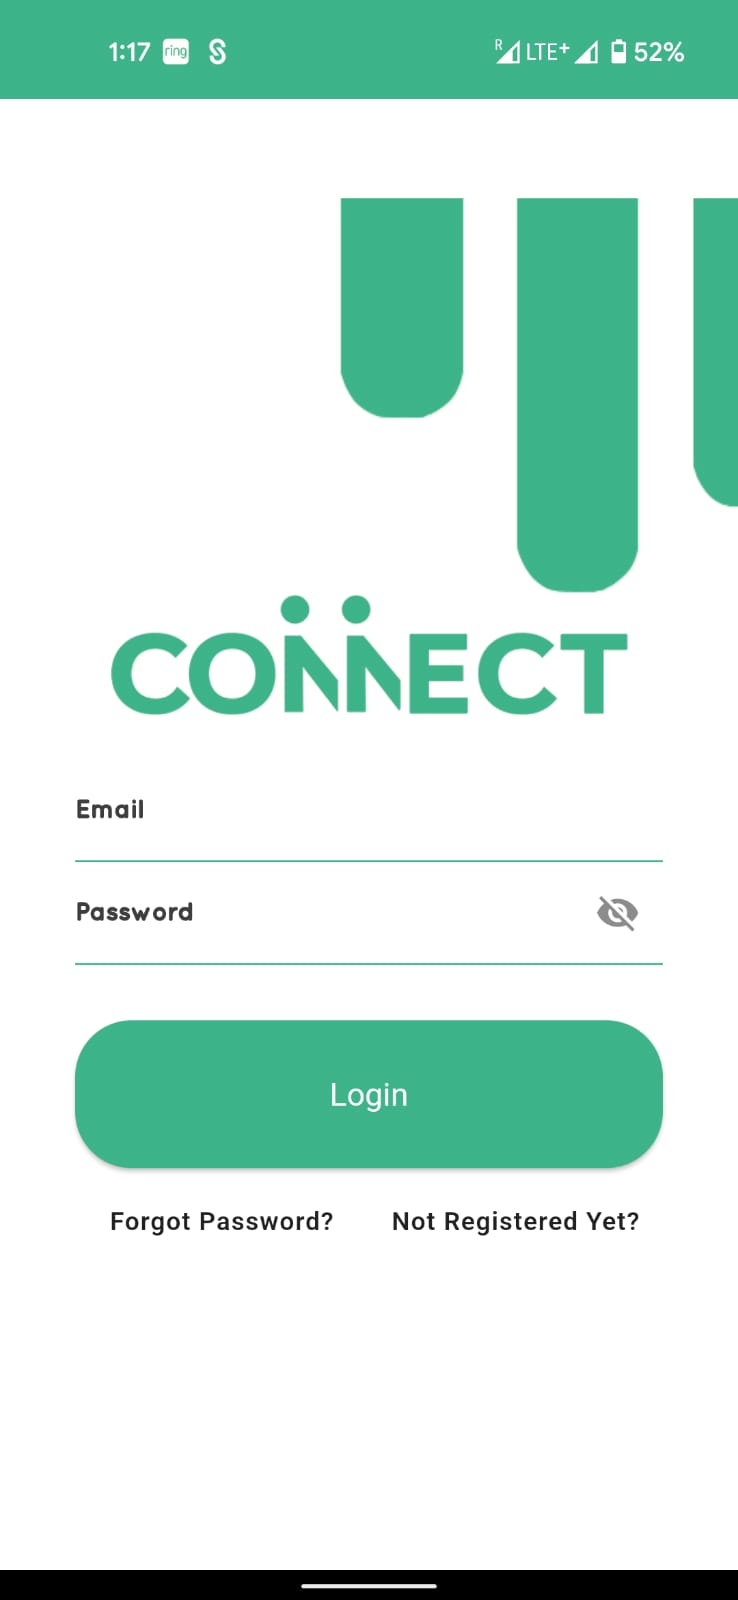
(Show with arrows on screen when a field had to be clicked)
Click on ‘not registered yet’ at the bottom of the screen

On this pop up menu select organisation

Fill in the fields with the details about your Organisation, select the correct country and the time zone, then click ‘register’ at the bottom of the page.

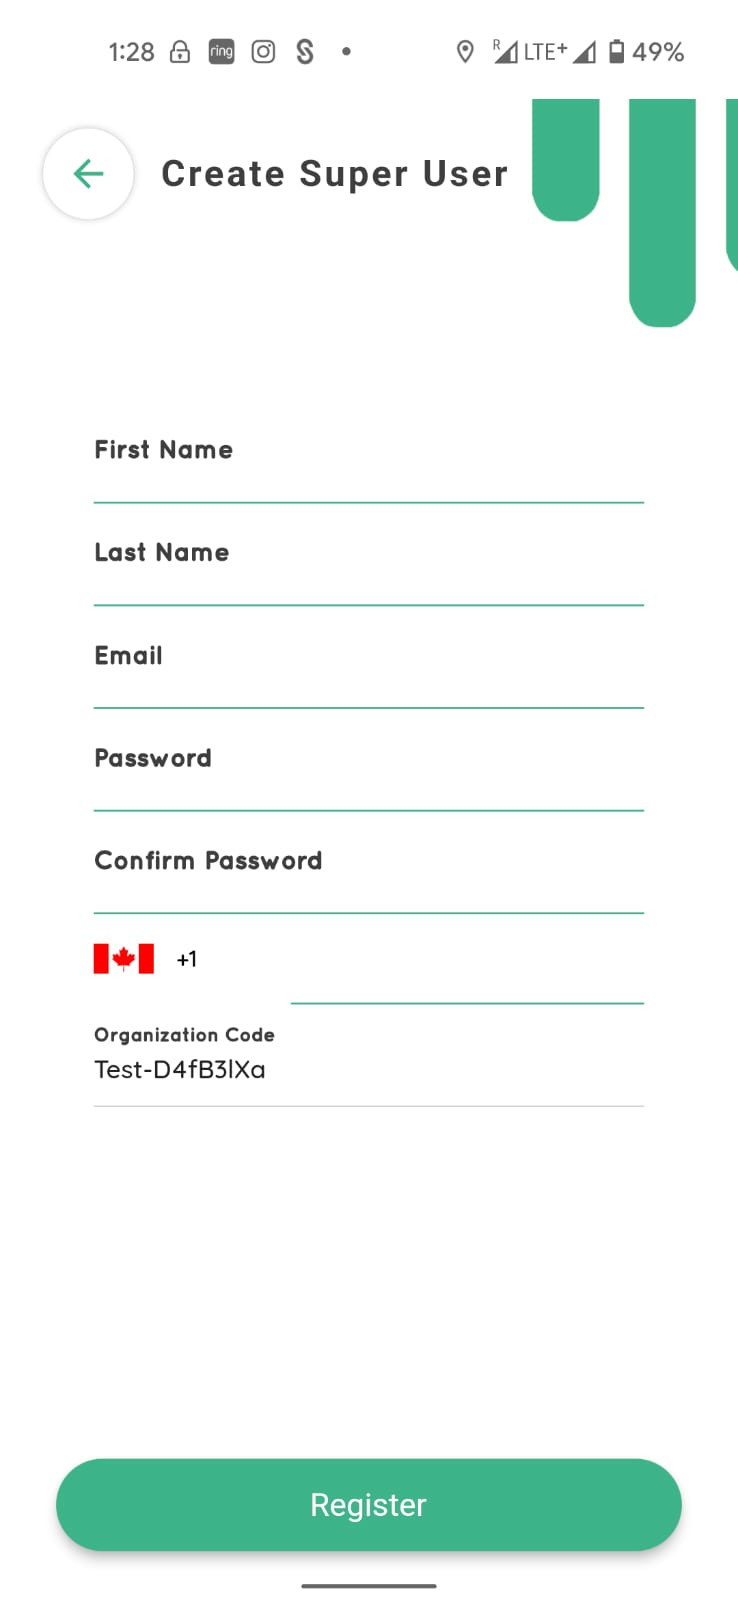
Please fill in with your personal details on this page. The person named on this page will have the super user permissions. Please note there can only be one superuser for any organisation. This superuser access can be changed in the future by requesting through the app.
Unique organisation code will be allocated to your organisation at this point. This will be used in future when customers or staff will sign up or connect to your organisation.
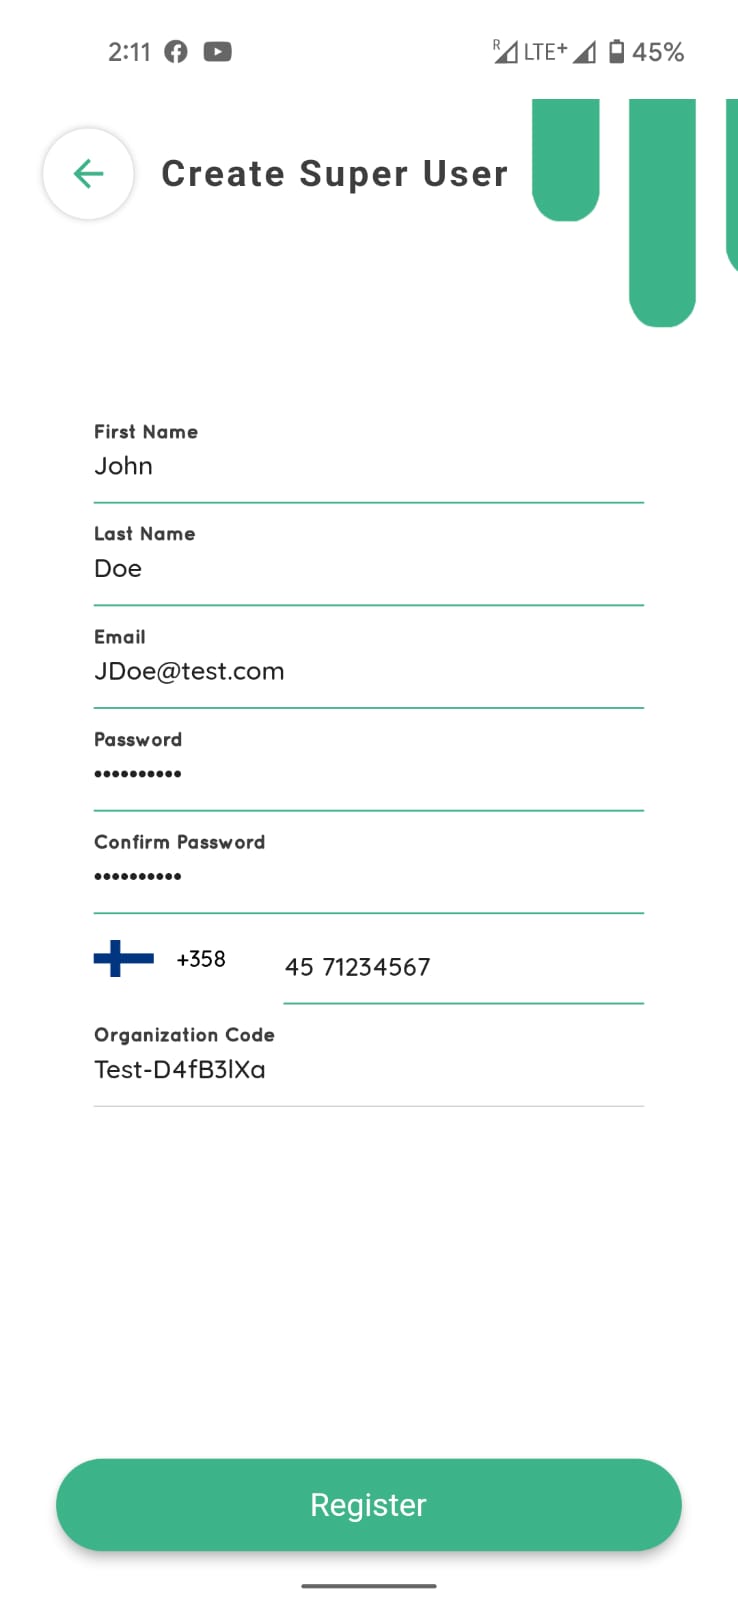
The password needs to be alpha numeric with minimum 12 characters with at least one uppercase letter.
Press ‘Register’ at the bottom of the screen
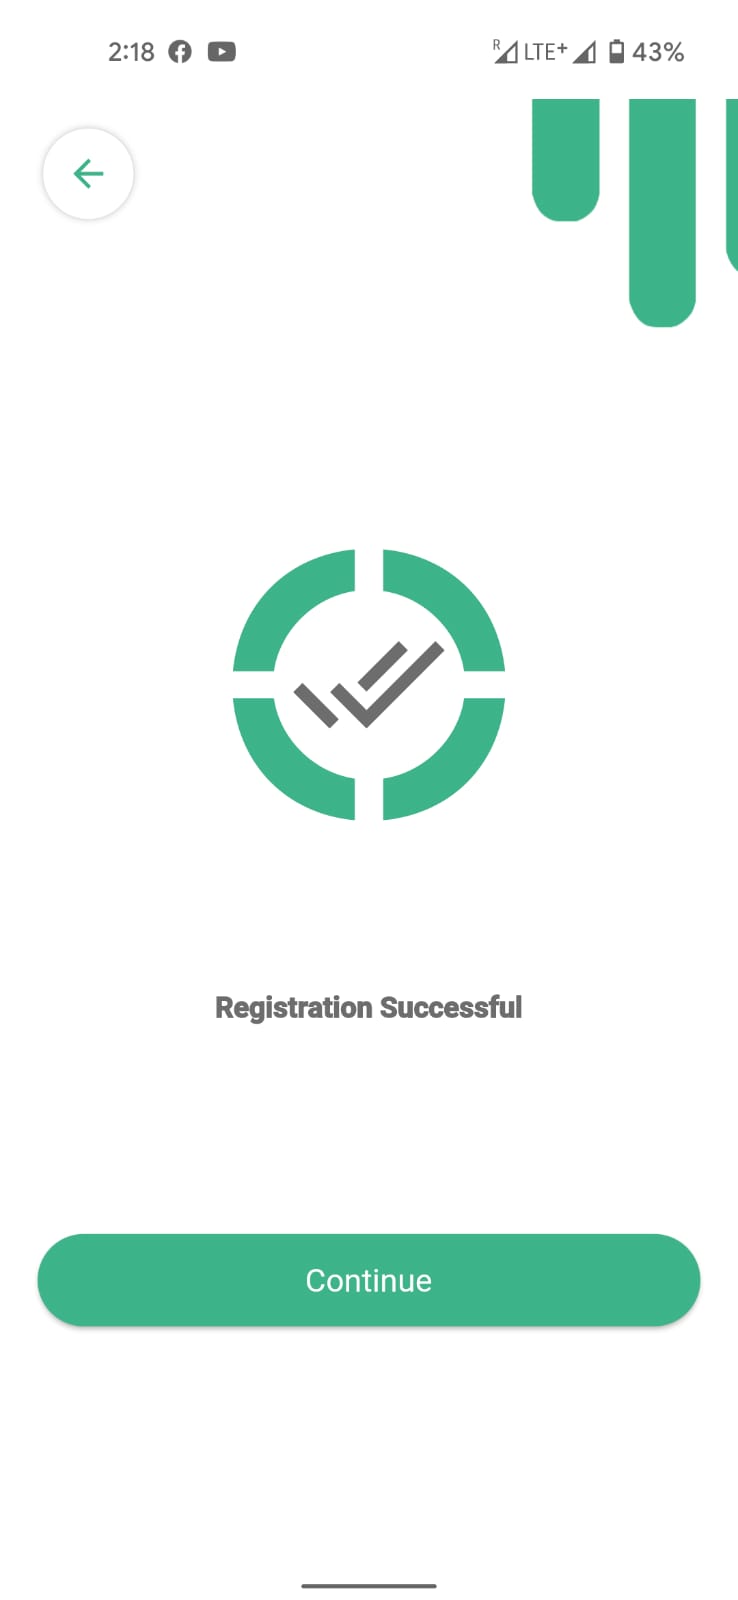
Congratulations, the first step of registering your Organisation is complete.
Pressing ‘continue’ at the bottom of your screen will take you back to the login page.
The next steps will take you through a few more initial settings relating to structure and personnel of your organisation.
Please login with the credentials you have just created.
Pressing the login button will take you to this screen
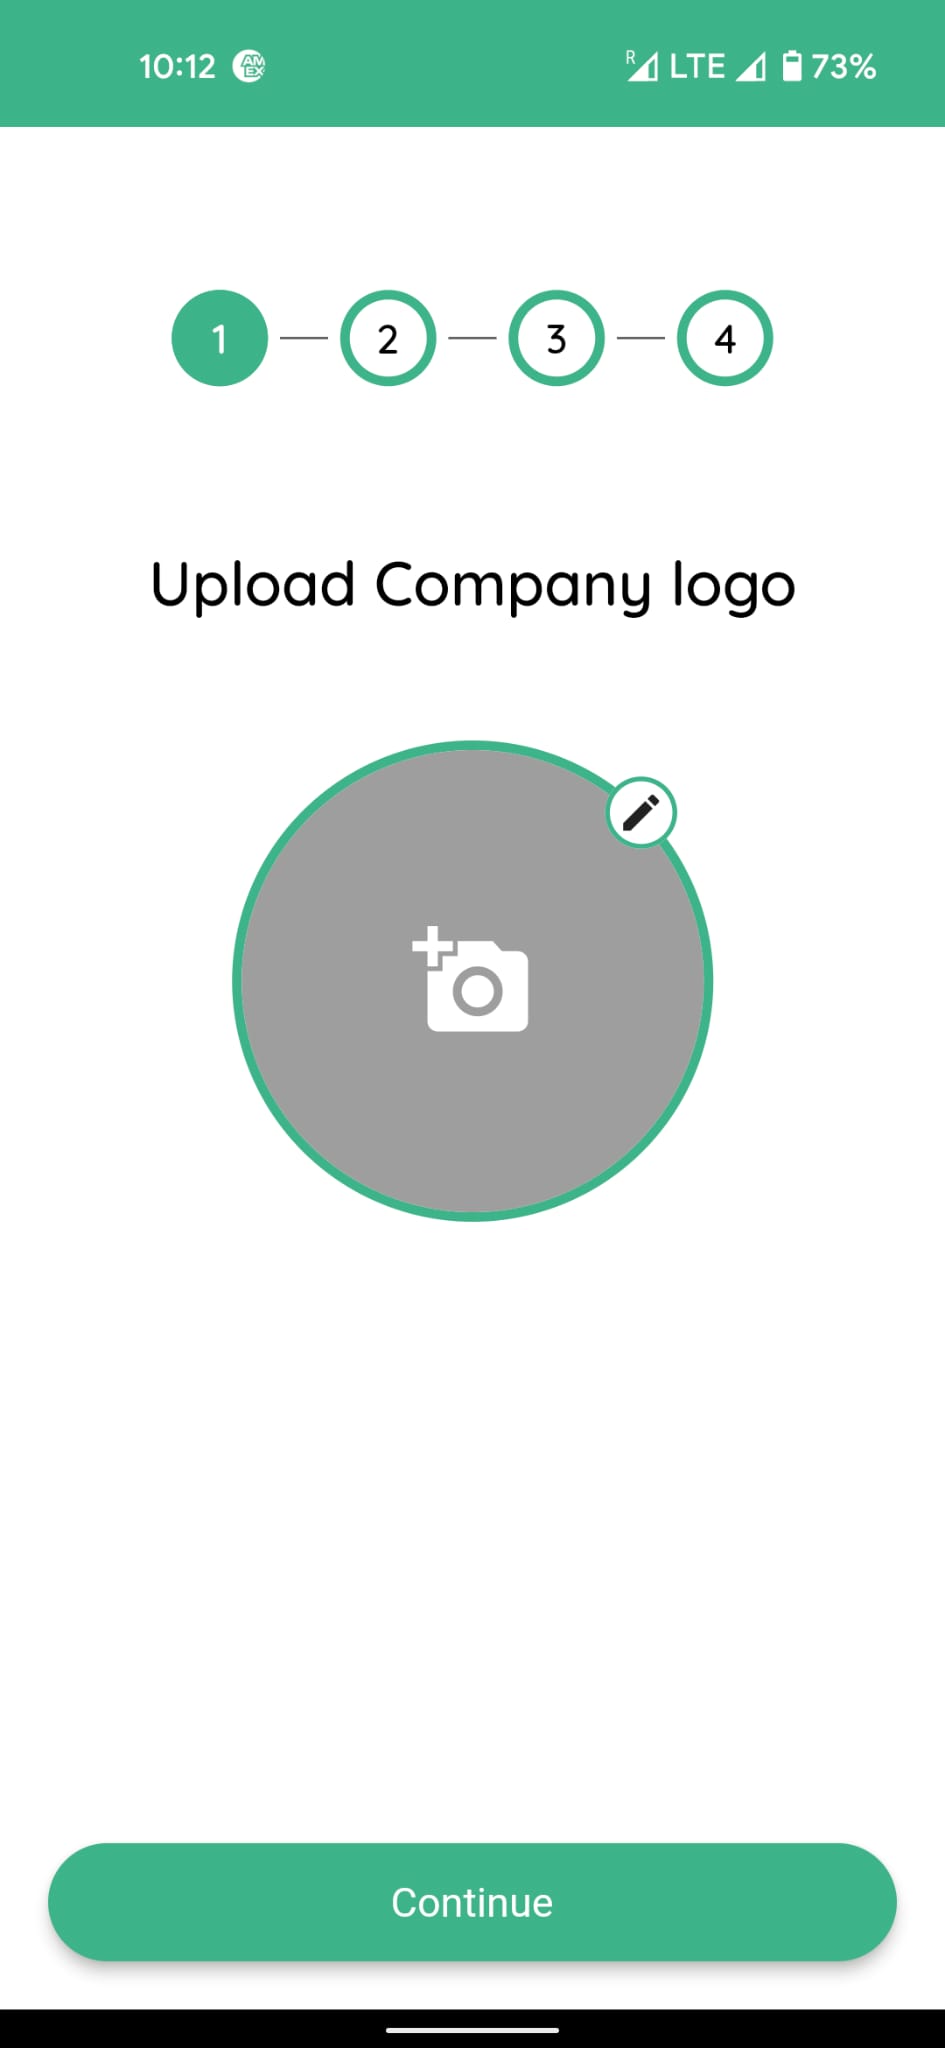
Upload your company logo by clicking on the Camera button and attach the logo picture from your device.
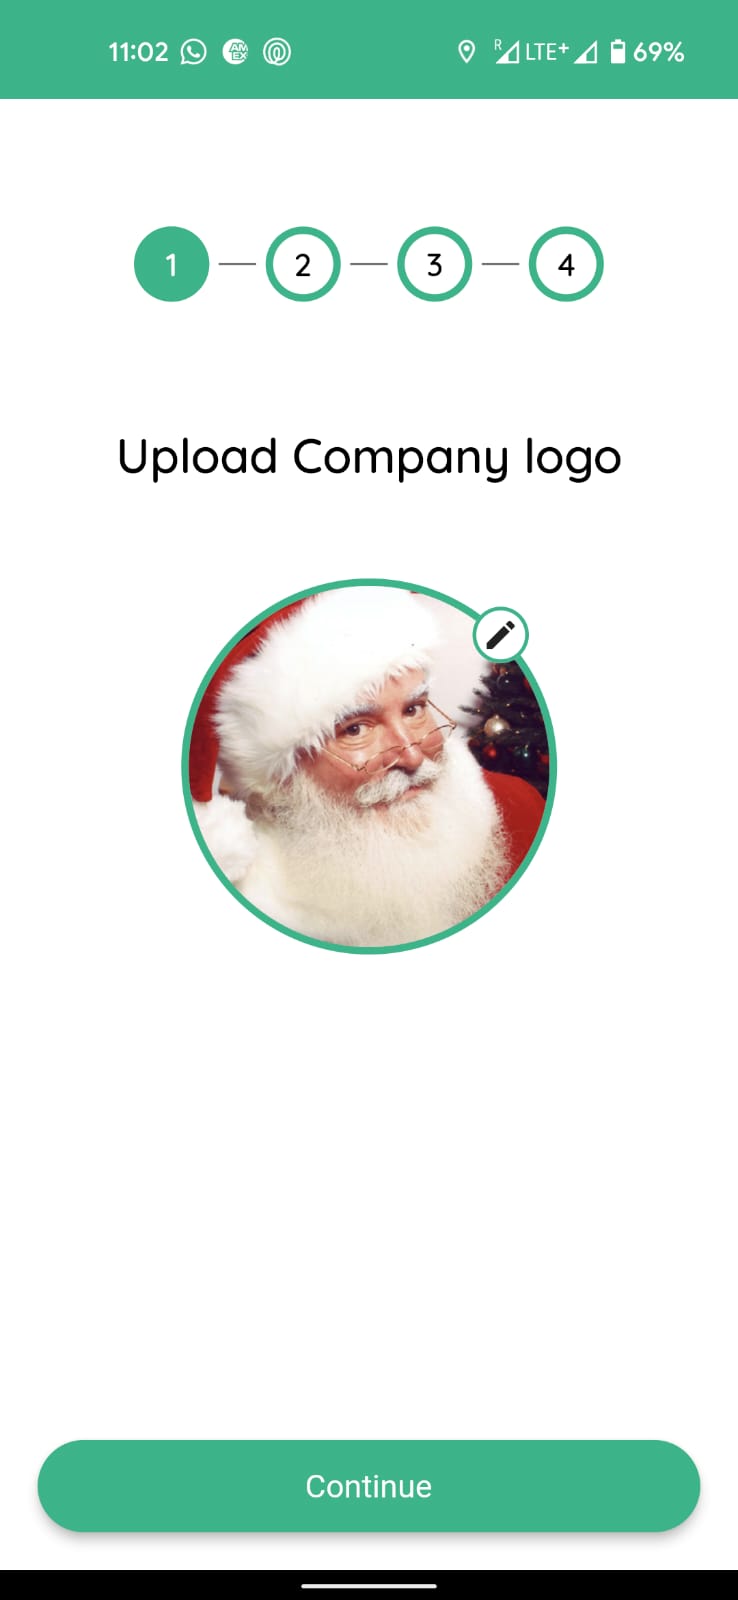
If you leave it blank at this stage a logo can also be uploaded through your connect app in the future.
Press continue to move to the next step
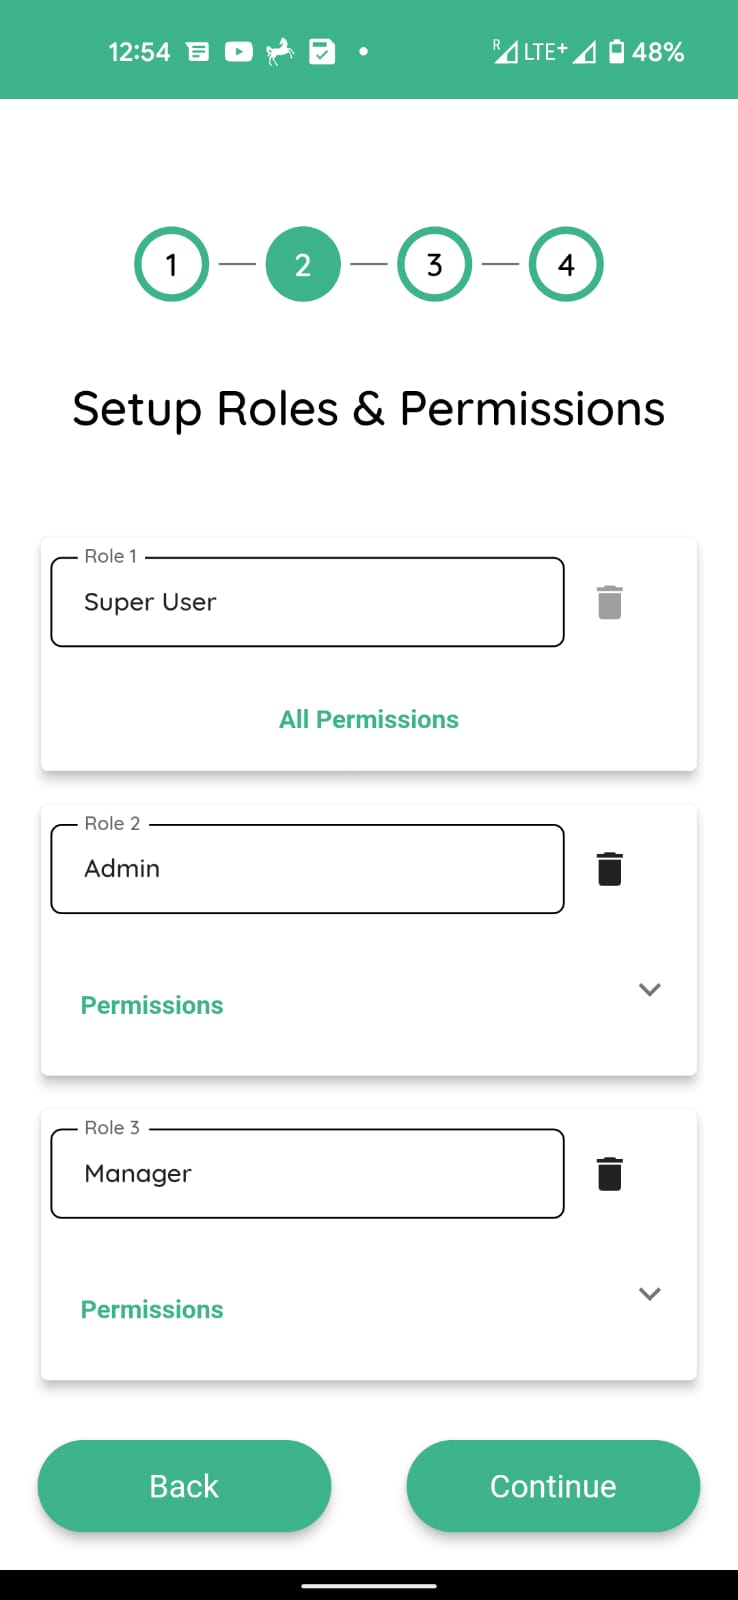
This screen allows you to set up roles and respective permissions for the staff in your Organisation.
You will most probably be the ‘superuser’ with all permissions as a person setting this app up for the first time, unless you have nominated a different ‘superuser’ during the registration process earlier.
We have set up three default Roles
Admin
Manager and
Staff
With default permissions for each of these, for your ease.
You can modify permissions at this stage or leave them as these stand. In any case these could be modified later at any time through your Connect app.
A separate video tutorial is available through our website ‘Connect app and Permissions’ to help in explaining how the permissions work in relation to each module.

You can choose to create more roles at this stage for your staff and set permissions for each role by clicking add button at the bottom of this screen.
All newly created roles have no permissions by default and at this step you can either assign permissions or leave them for later.
When new staff will signup to your Organisation, they will need to be approved by existing staff through the connect app who have the permission to ‘create and edit’ under users permissions. You can view these permissions at this stage by clicking on the down arrow in front of the permissions under each role. This expanded menu will show as
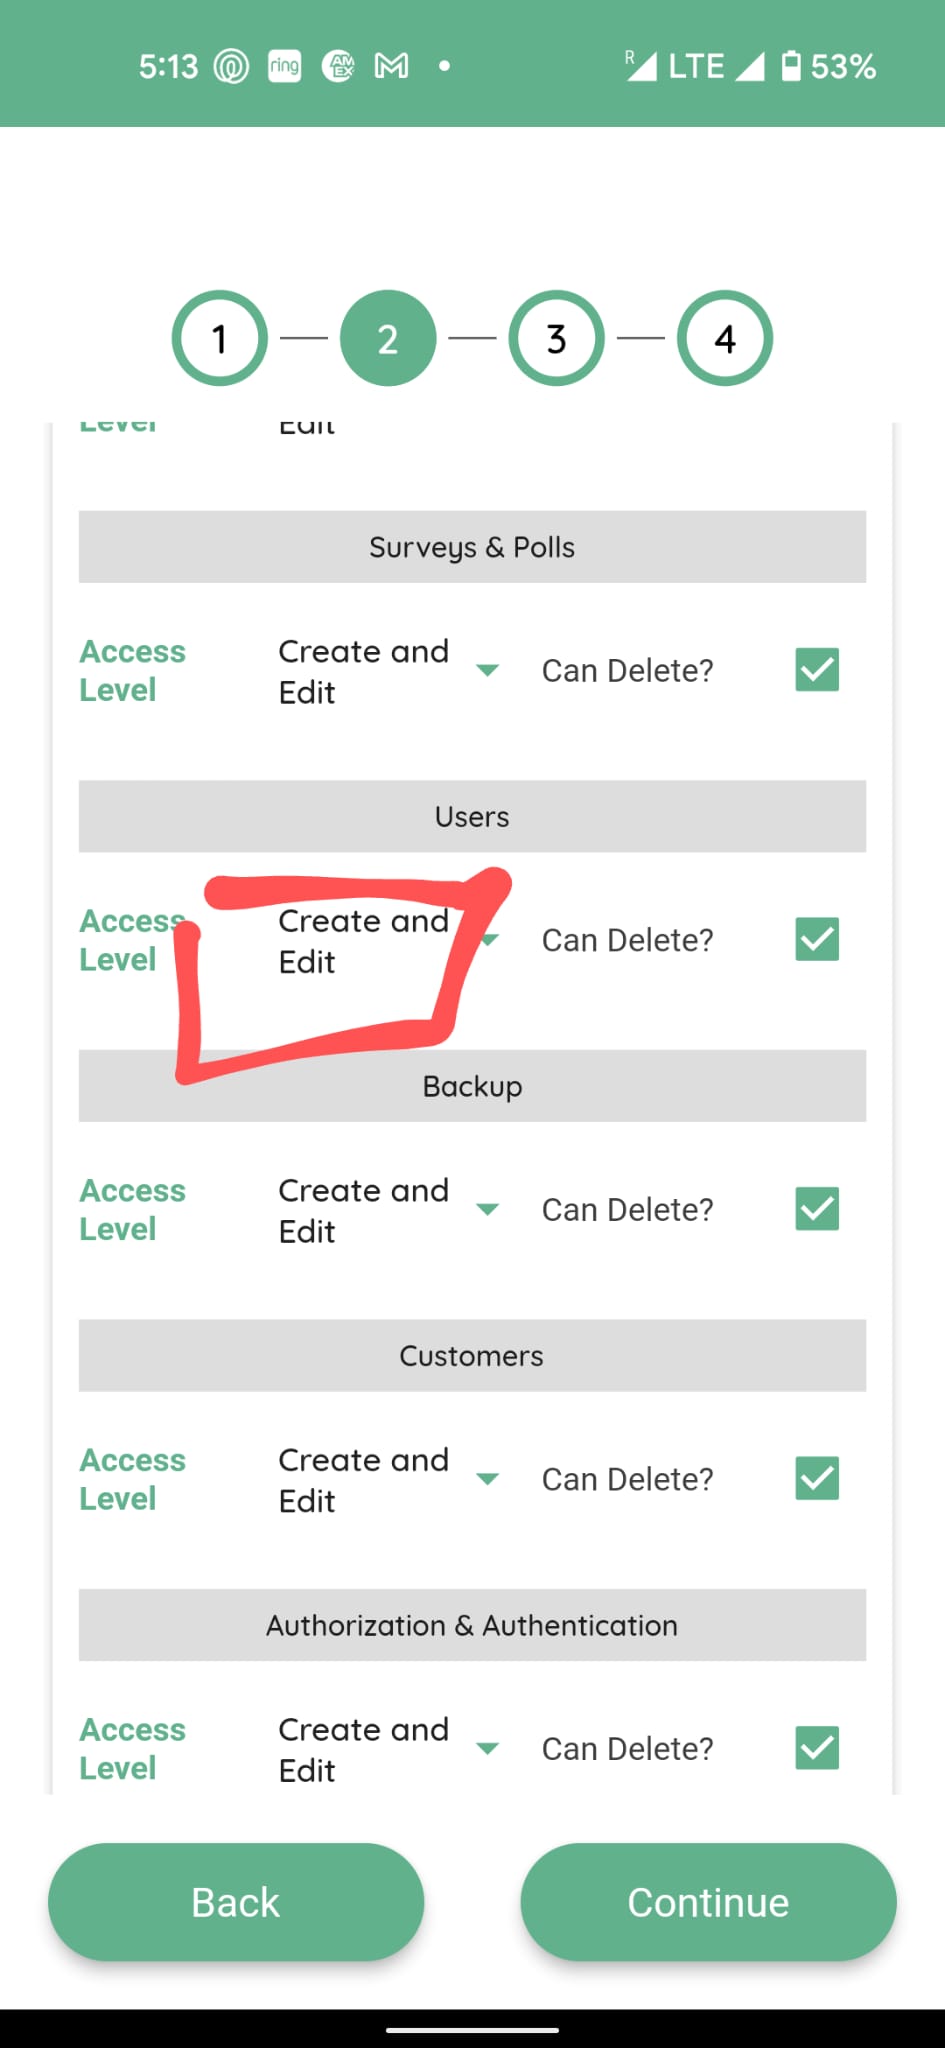
This also allows the existing staff to allocate the roles to the new staff. You will be able to assign or reassign the staff to various departments like ‘sales’ or ‘marketing’ later on using the app, under the ‘users’ tab.
So as an example Joe Blogs can have ‘Admin’ permissions in ‘Sales department’. If you wanted to move him from Sales to Marketing and assign him permissions as a manager that would also be possible through the app under ‘users’ tab, a tutorial will be available on this through your connect app.
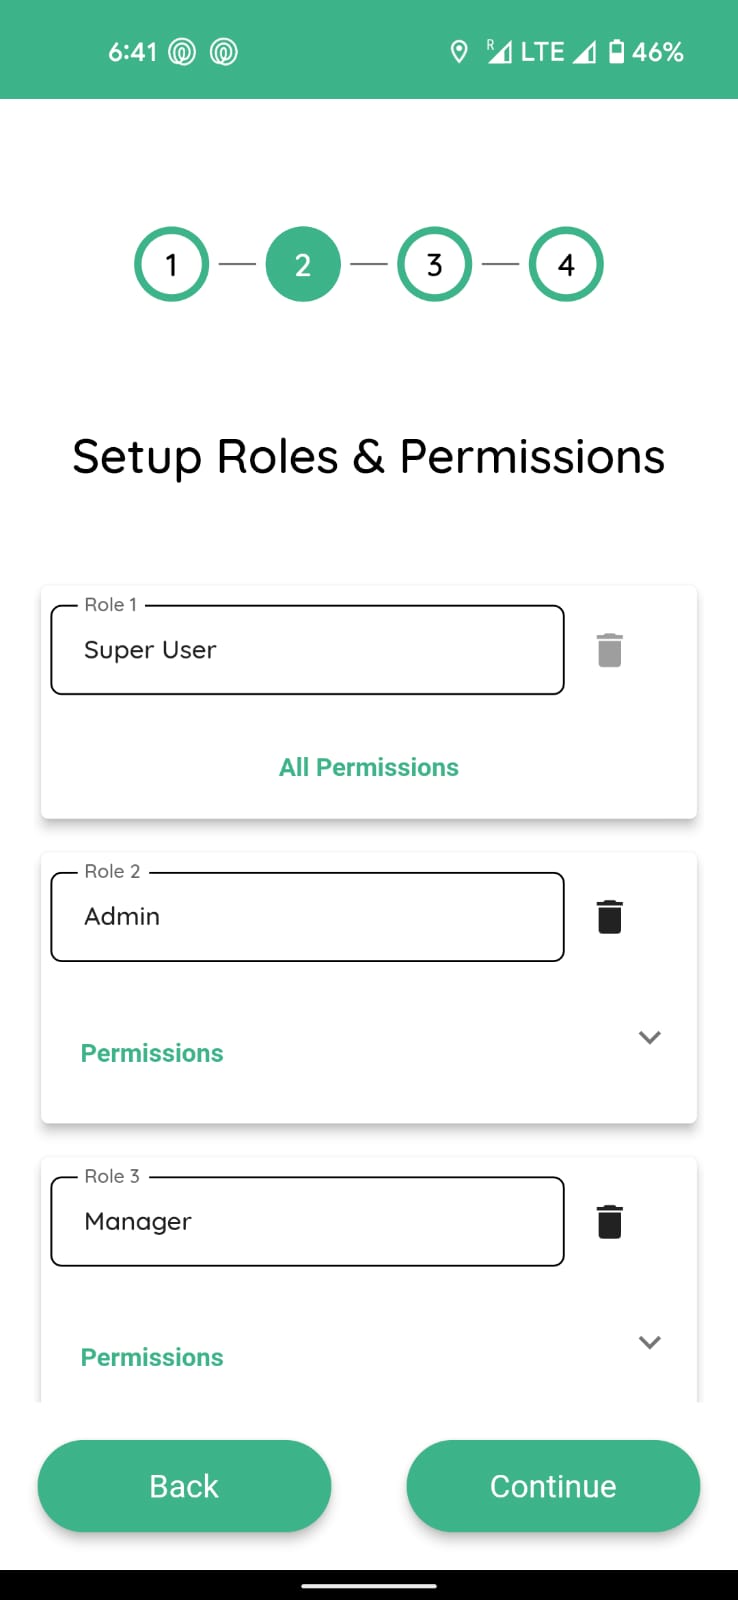
On this screen if any of the roles are not relevant they can be deleted as well.
Admin or Managers irrespective of their departments with ‘create or edit’ permission can assign the roles with respective permissions to the new staff waiting for approval across your organisation.
Pressing continue will take you to the next screen
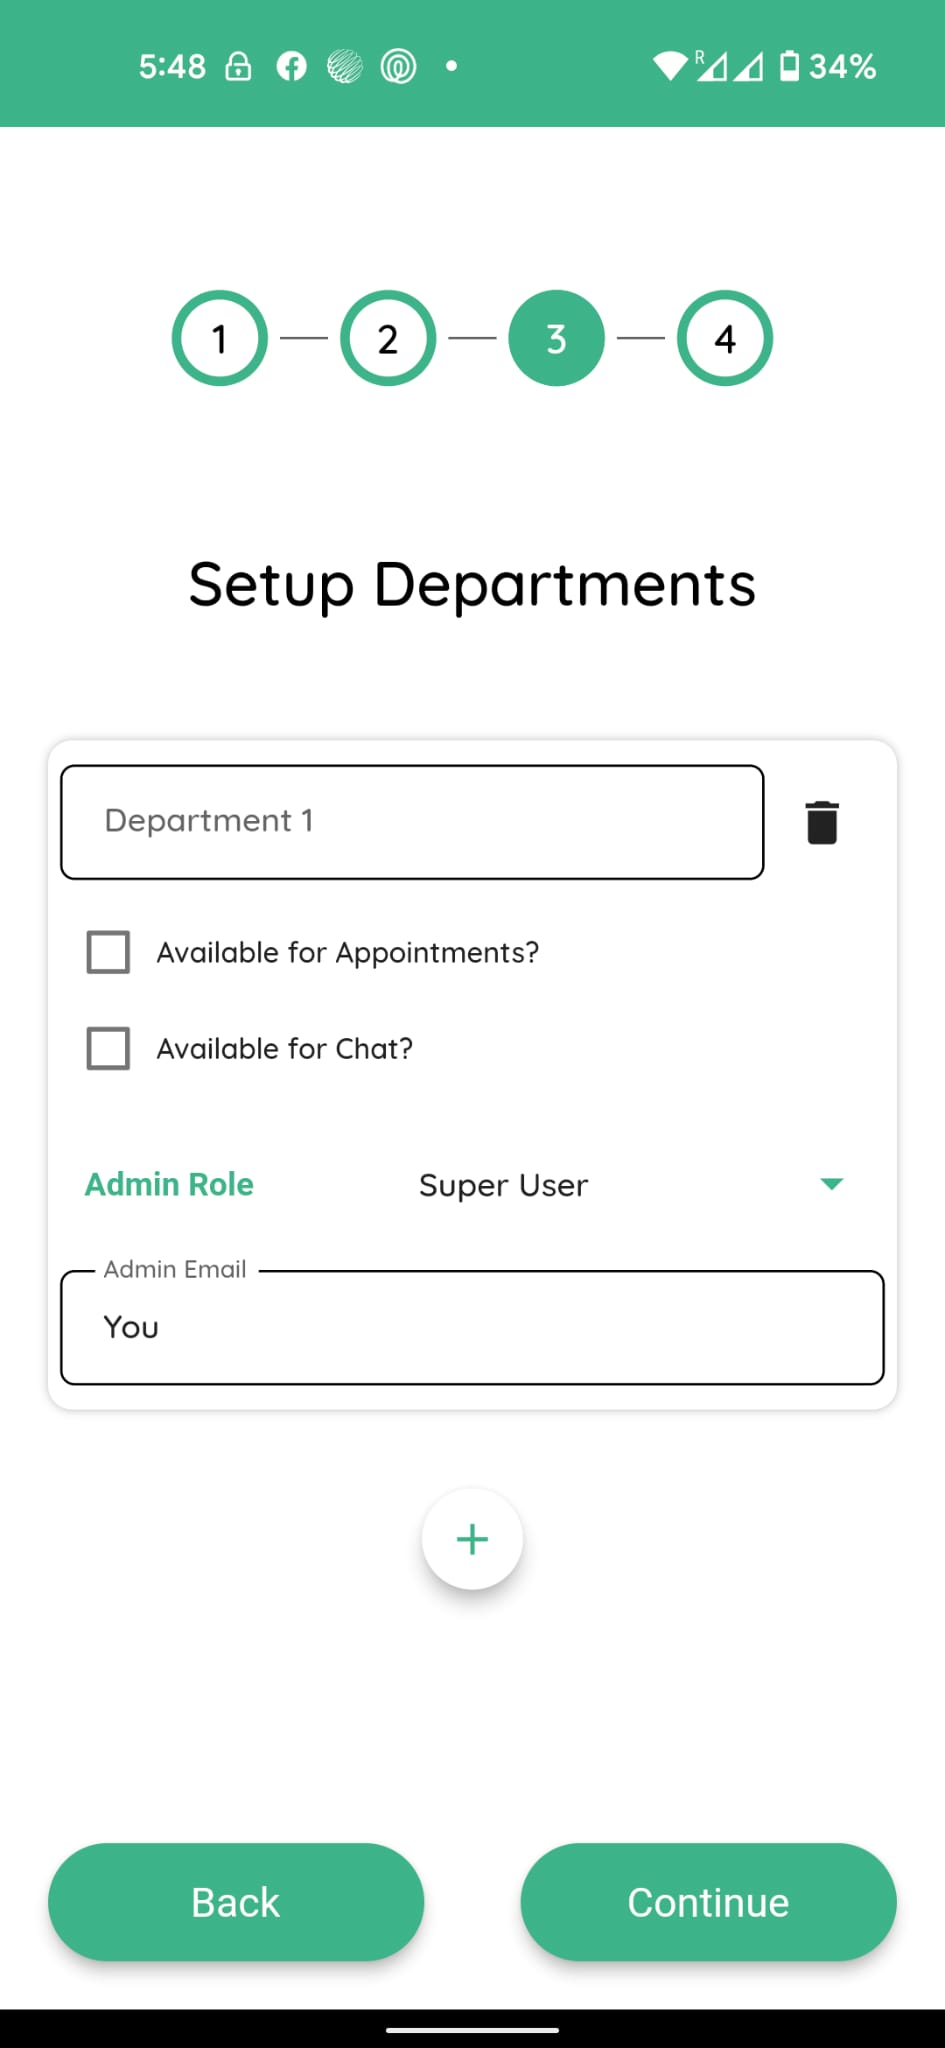
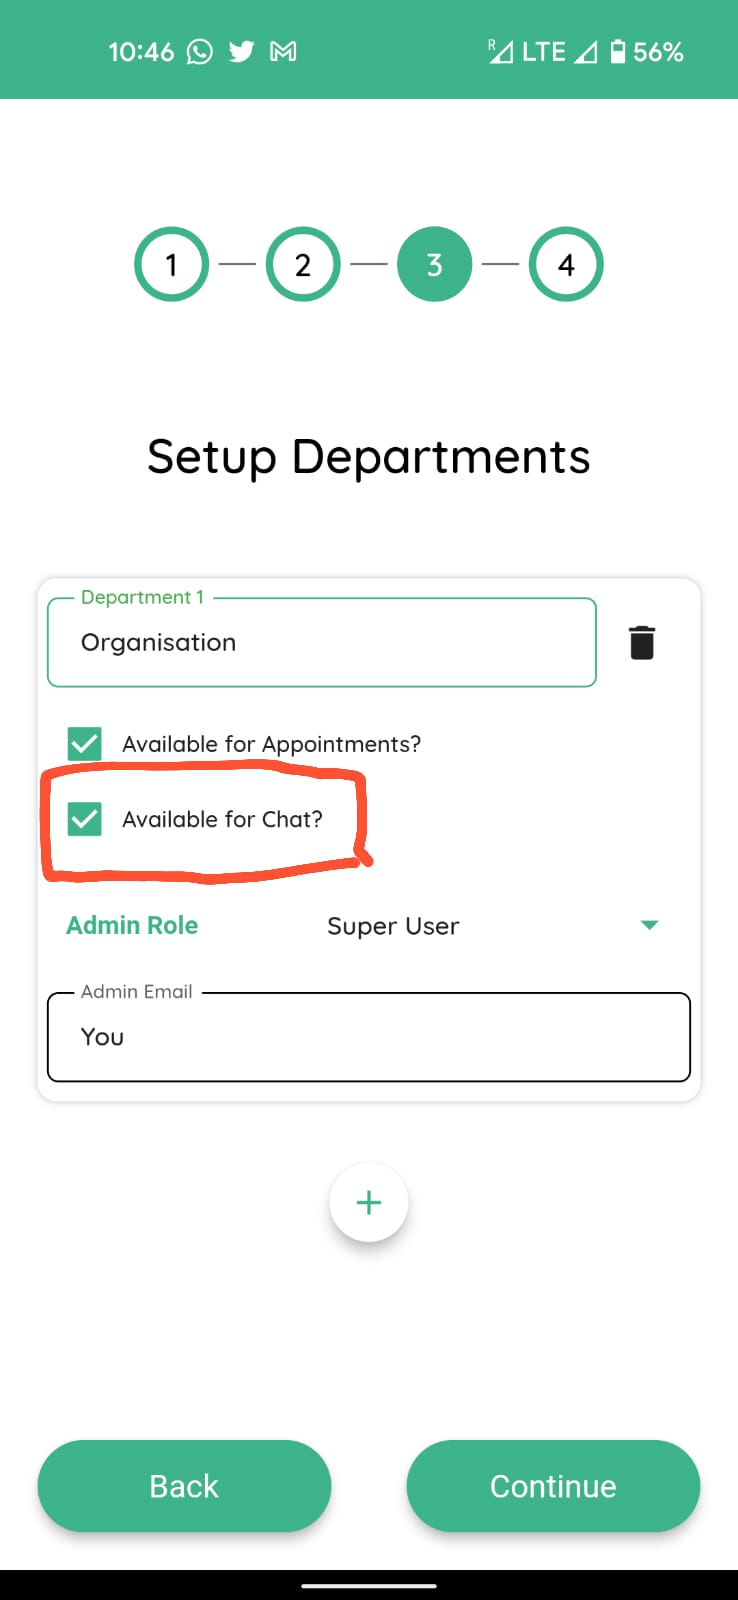
On this screen you can create or delete departments as per your organisational structure, like ‘sales’ and ‘customer services’ etc.
As shown here

Here you can select if any of your departments will be offering appointments and/or be available for Chat with the customers using our built-in appointments and communication modules respectively.
Please bear in mind that the creation of new departments with appointment and chat settings can also be done at a later stage once you have logged into the app.
We would recommend you leave the Admin setting to default ‘Superuser’ at this stage. This can be changed later to different admin personnel through the app once your staff is registered with the app.
Finally, if you do not have any departments in your app you can rename Department one to your organisation’s name or anything else at this stage and proceed with the validation process.
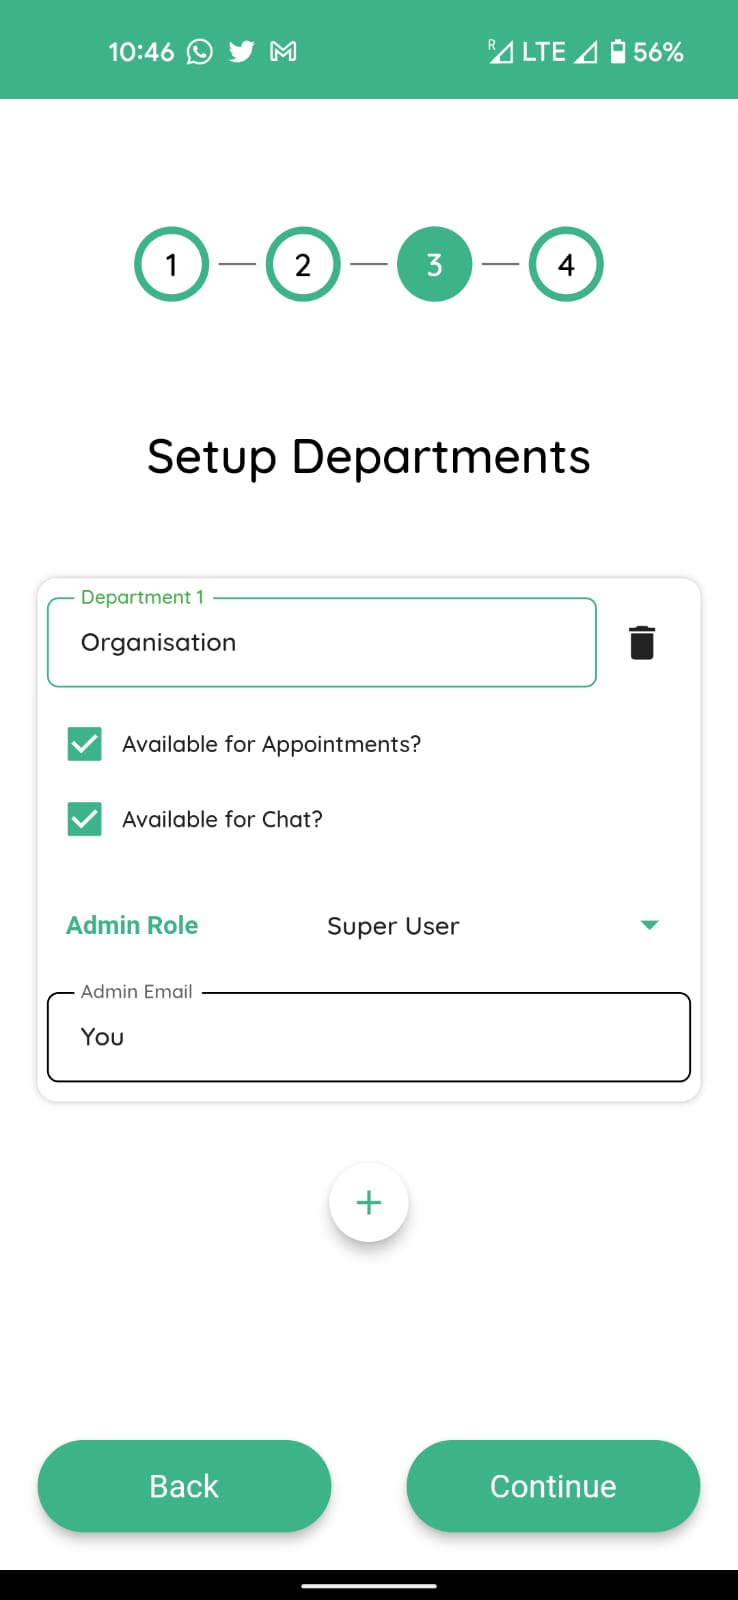
In this example, we will set the Department one as ‘Organisation’. And would not add any other departments at this stage. Pressing continue will take you to the next menu.

First drop down menu (new sign up status) allows you to choose what happens when your staff install and setup their connect apps linked to your organisation.
If the setting is set to ‘pending’, then they will be able to setup and register their apps, but will not be able to sign in till the administrator or HR in your organisation changes their status from ‘pending’ to ‘active’ from your connect app.
If this is set as active, once they register with the app linked to your organisation (using the organisation code) they will be able to login and use the app straight away.
If this setting is chosen as ‘invite only’ your staff will not be able to register their apps, until an invitation is sent to them from your Connect App via email. This feature will be covered in a separate tutorial.
We would recommend leave this setting as Pending at this stage so that new staff are vetted before they join your organisation on the ‘Connect app’
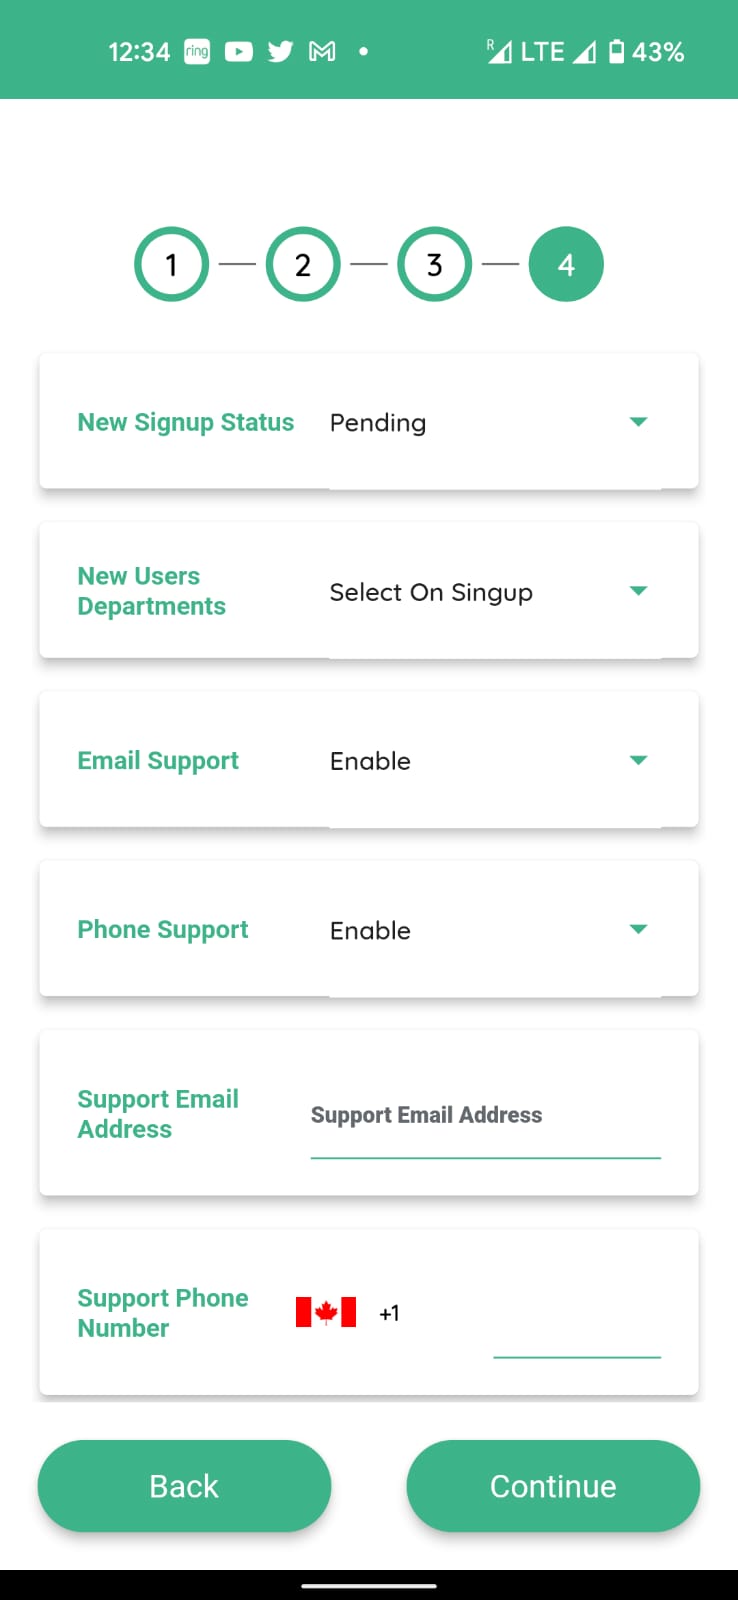
Under the ‘new users’ departments’ option is fixed as default ”select on signup’ indicating that when your staff will register their apps using the organisation code they will be able to choose their departments as ‘sales’ or ‘service’ etc. Provided these departments have been set up in the previous step, or at a later stage prior to the staff joining the app.
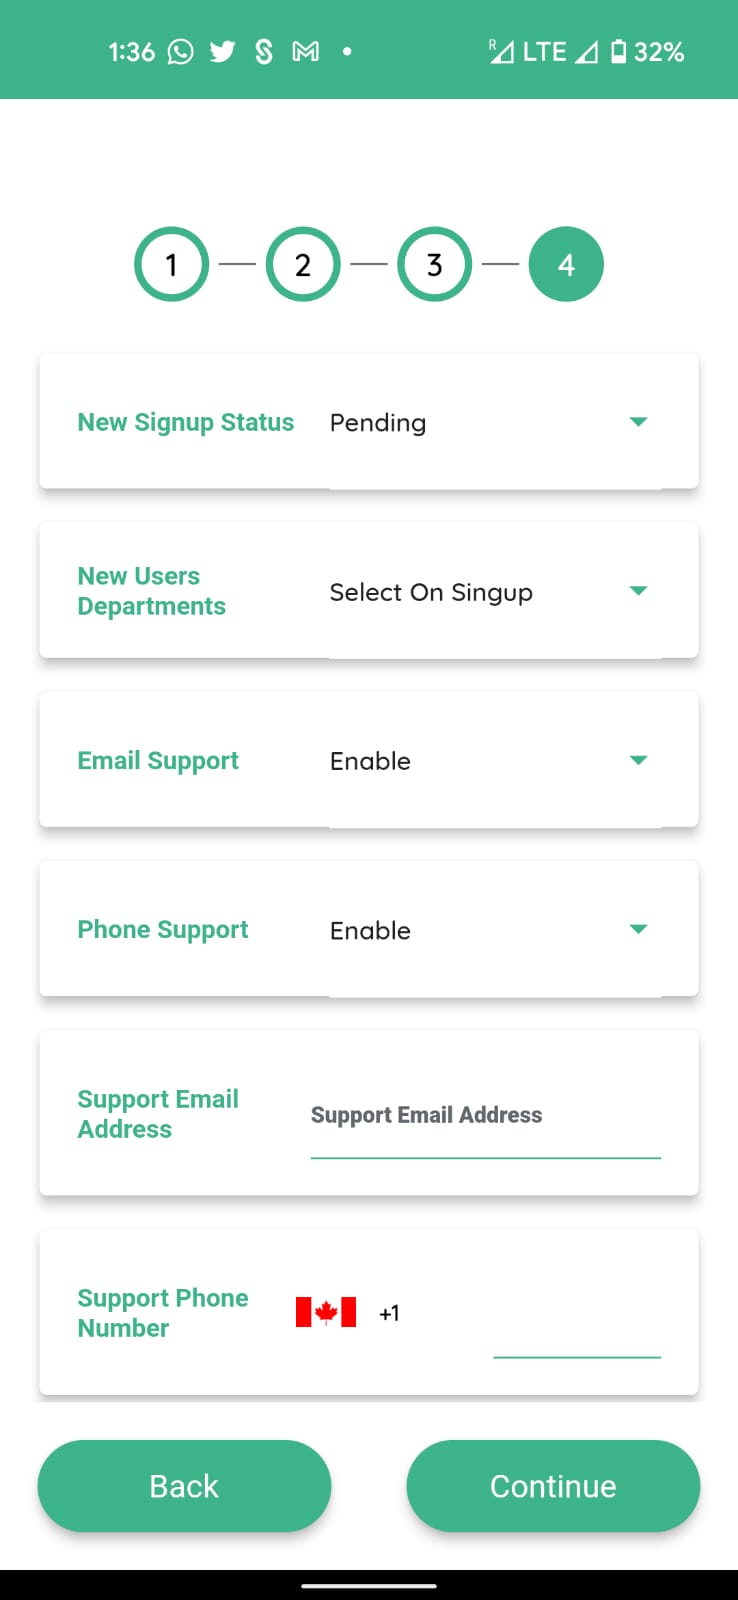
The next four fields allow you to permit your organisation’s customers to contact your Organisation using the email or phone when raising queries about any issues using the ‘customer connect app’.
If you would like to allow your customers to contact you using one or both of the above means please select accordingly and provide your contact email address and phone number in the respective fields.
If you chose not to do so, the users will be able to contact various departments of your organisation using the ‘connect communication’ module via built in chat feature. The option for enabling chat with the departments was set up in the previous step
Please bear in mind these settings can always be changed though your app at a later stage.
Also if phone, email and chat all are deselected then the customers will not be able to contact you using their apps.

Pressing continue on this screen will take you to the final step of registering with Stripe.
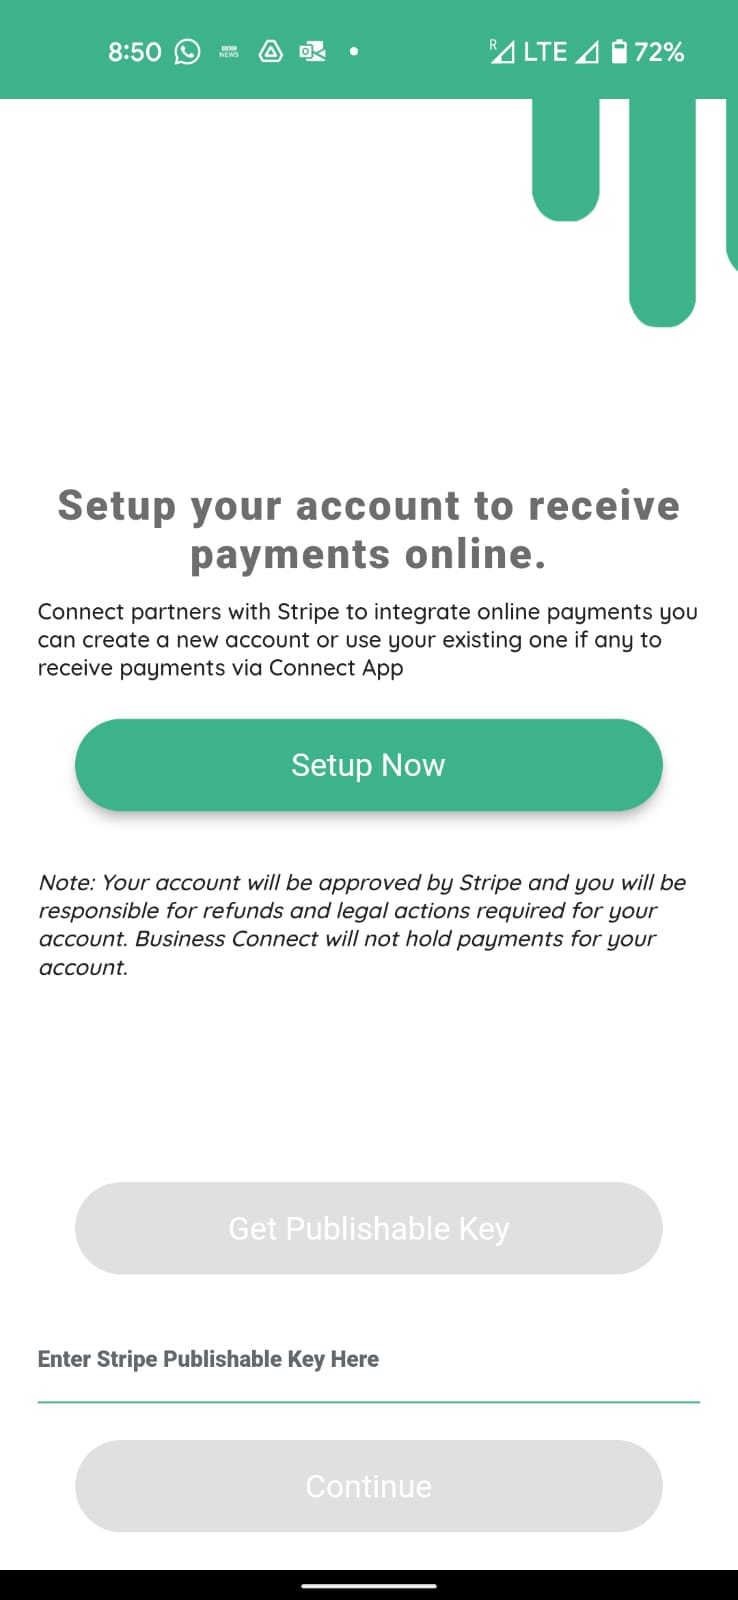
We use Stripe services for you to receive payments from your Customers. Even if you don’t intend to take payments from the customers using the connect app, this is a mandatory step to validate the authenticity of your business or organisation. Without completing this step you will not be able to use Connect app.
Press Setup now button here, It will take you to the stripe registration page

If you are already registered with Stripe please use your login credentials.
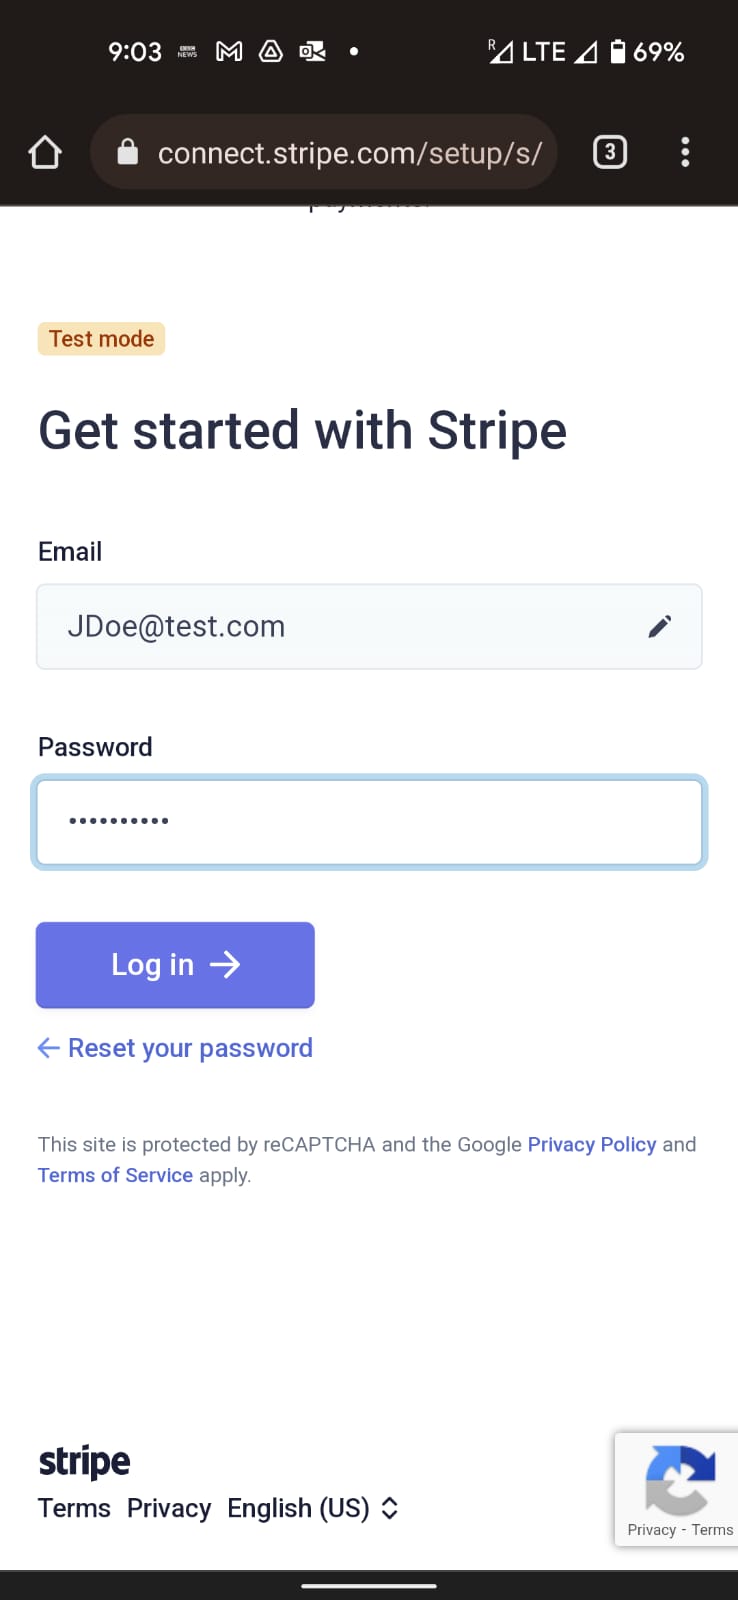
After logging in you will be able to get a publishable key to use in the connect app.
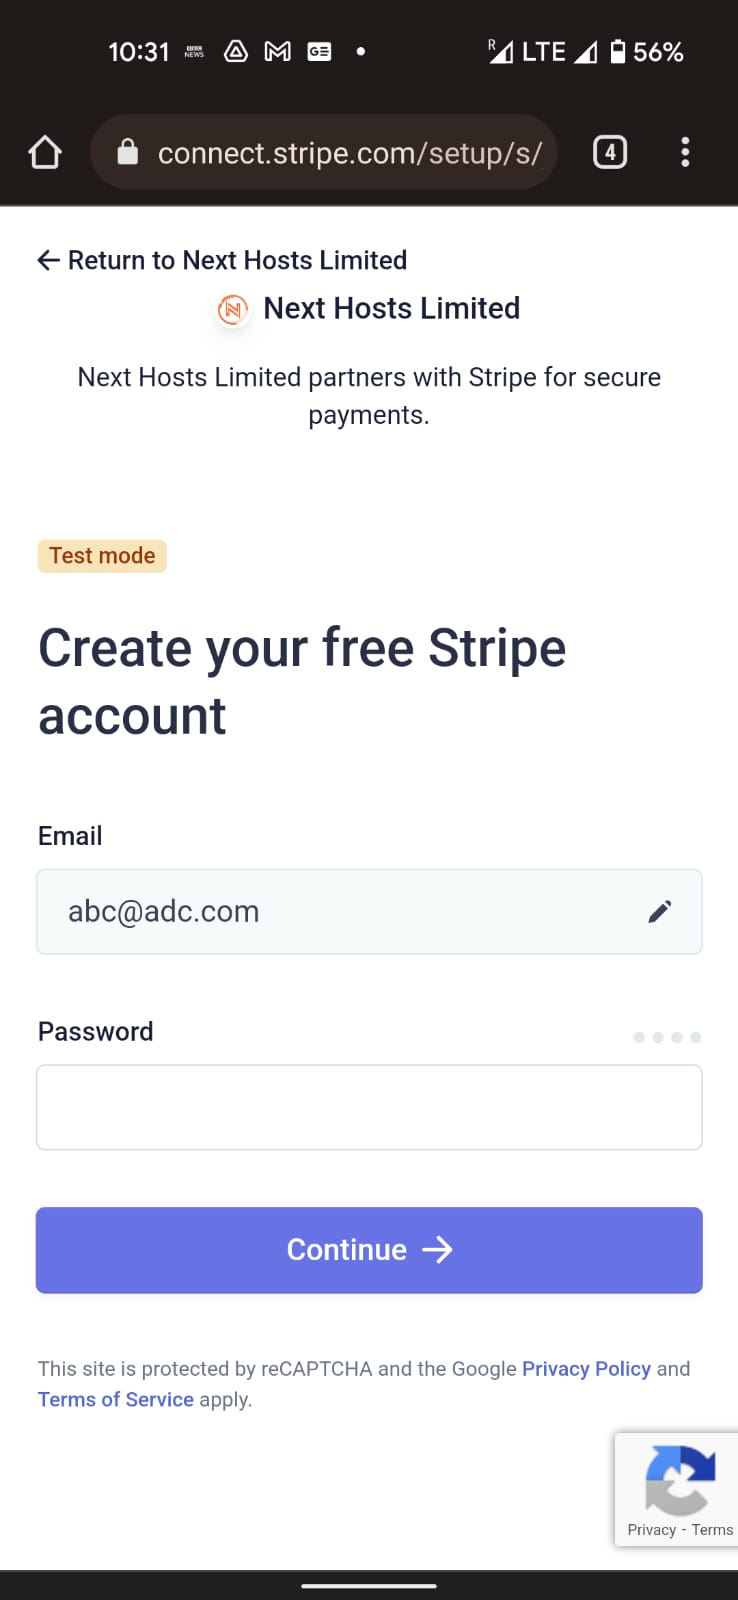
If you are registering for the first time it will let you create an account
Please fill in the required fields with your official email and set a password, then press continue
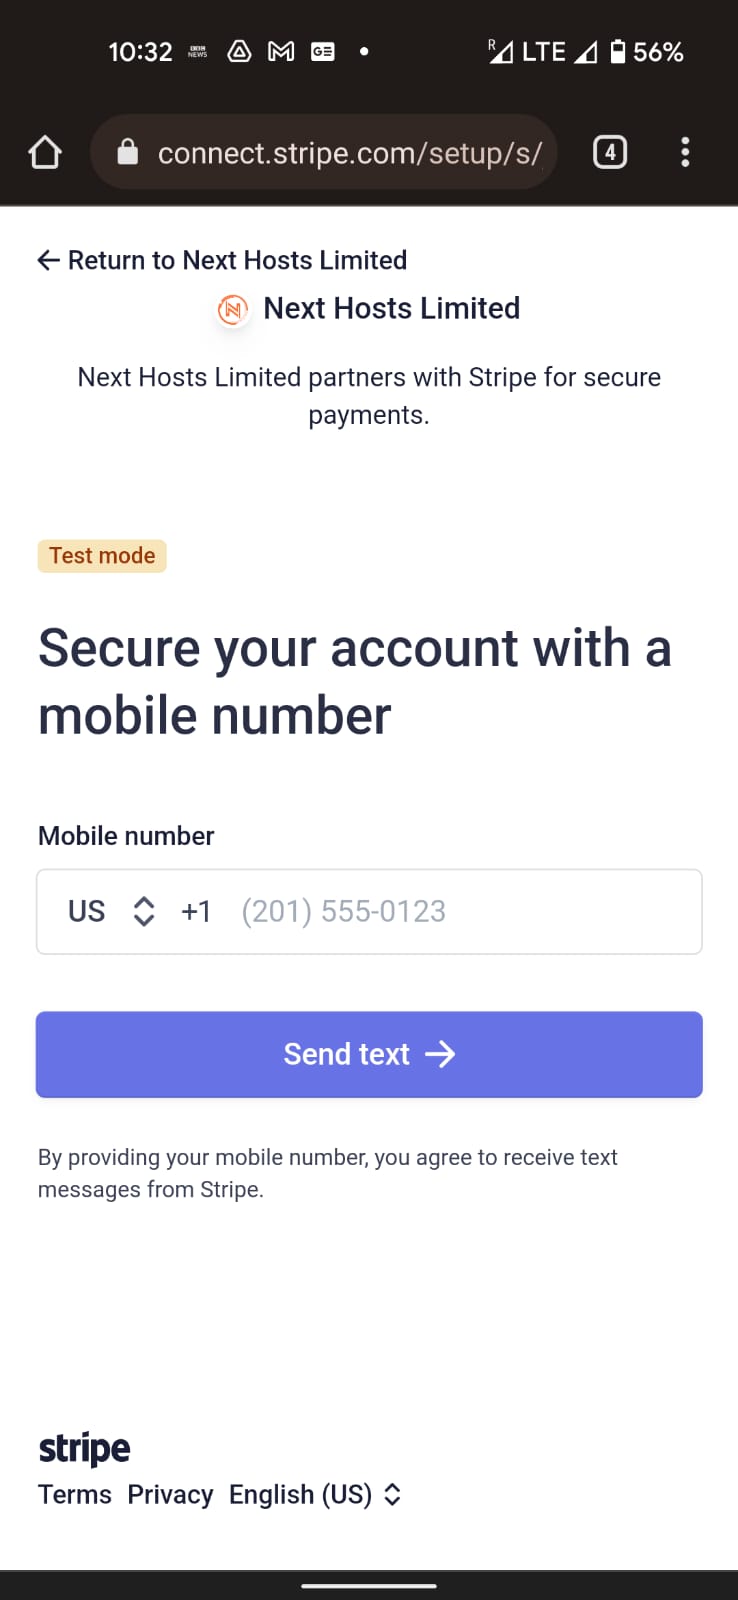
Link your mobile to stripe for two factor authentication, by putting in your mobile number and pressing send text, you will receive a text with a code
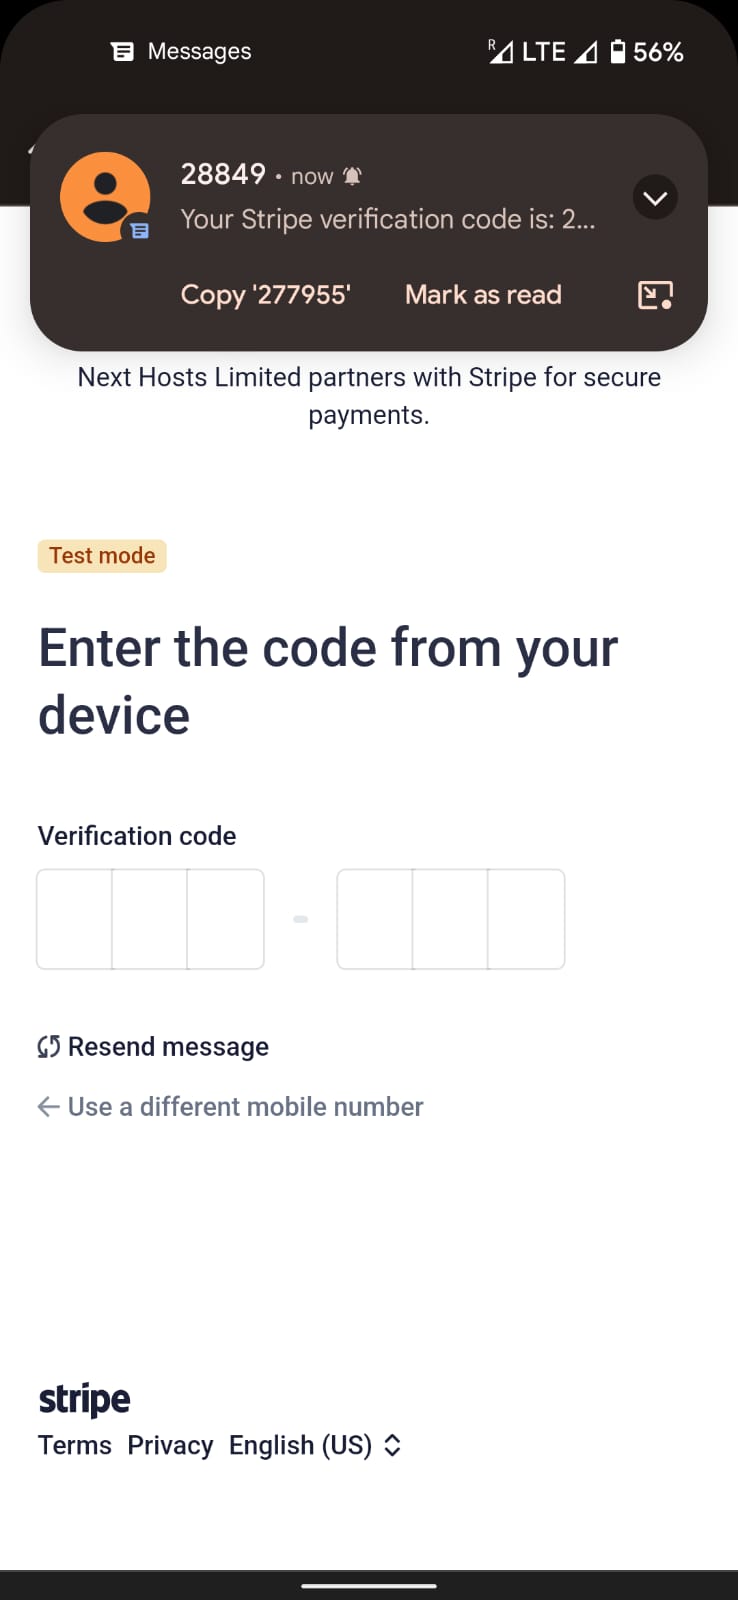
Most devices will automatically input the code after receiving the text, and move on to the next step.
Otherwise please manually put in the six digit code. Next screen confirms that your account has been secured by Stripe.

At this step Stripe generates a code for you. If you wish you can copy or download the code at this step, in case you need it later. But the automated process of registration with your connect app will not require you to put this code in manually.
Then press next
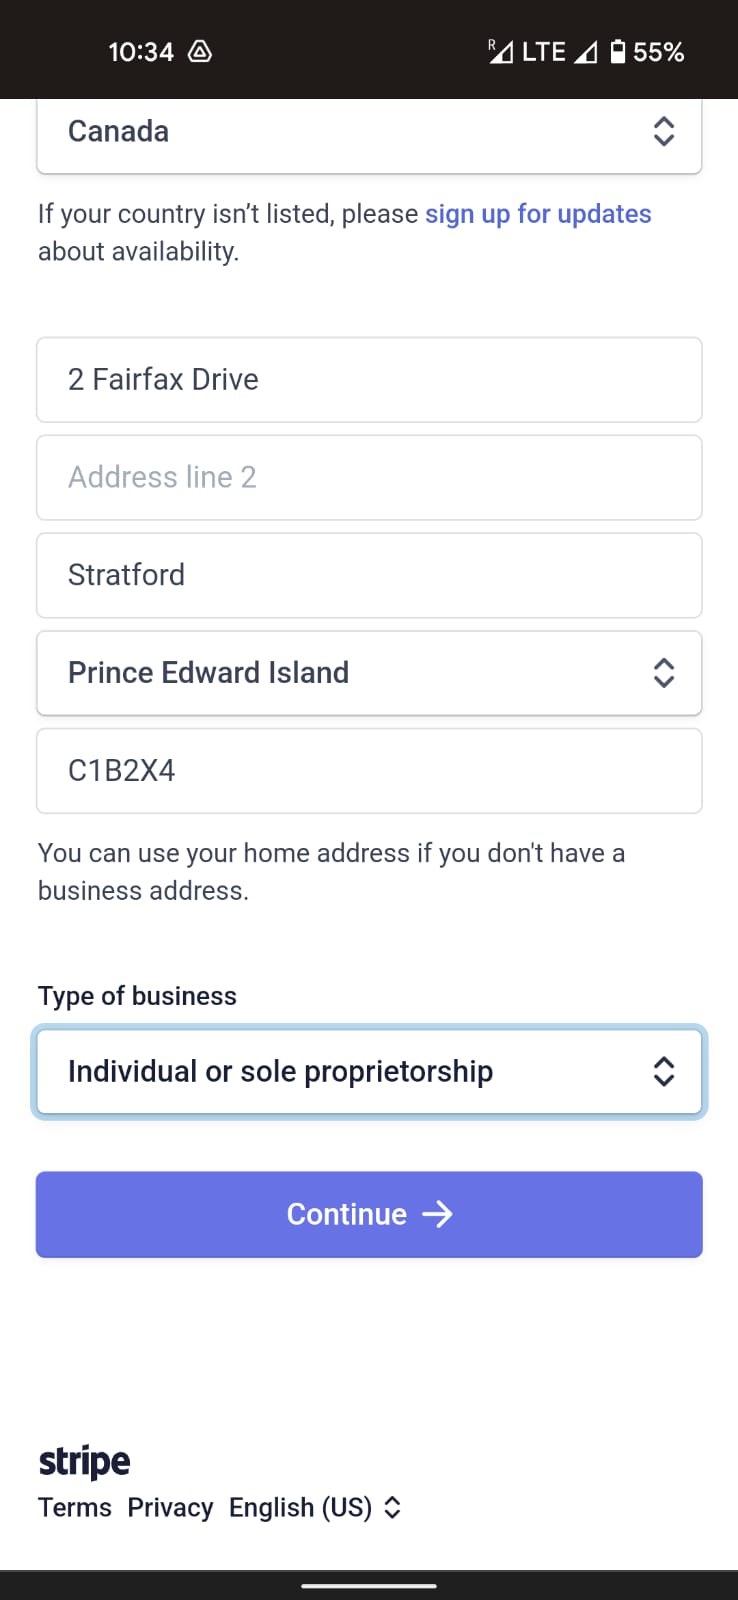
At this step put in your business address and type, and press continue.
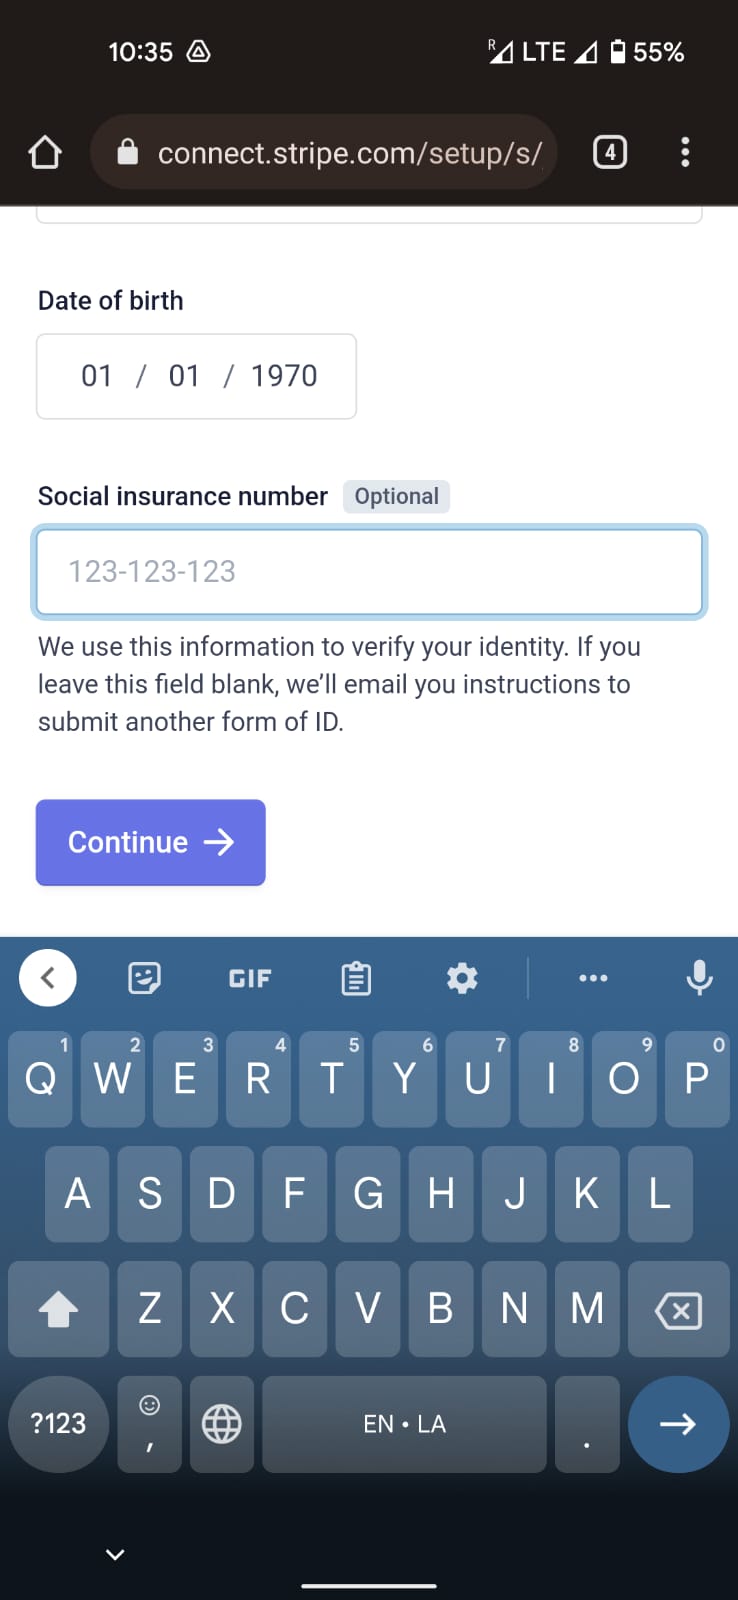
Please put in your personal details at this step and press continue
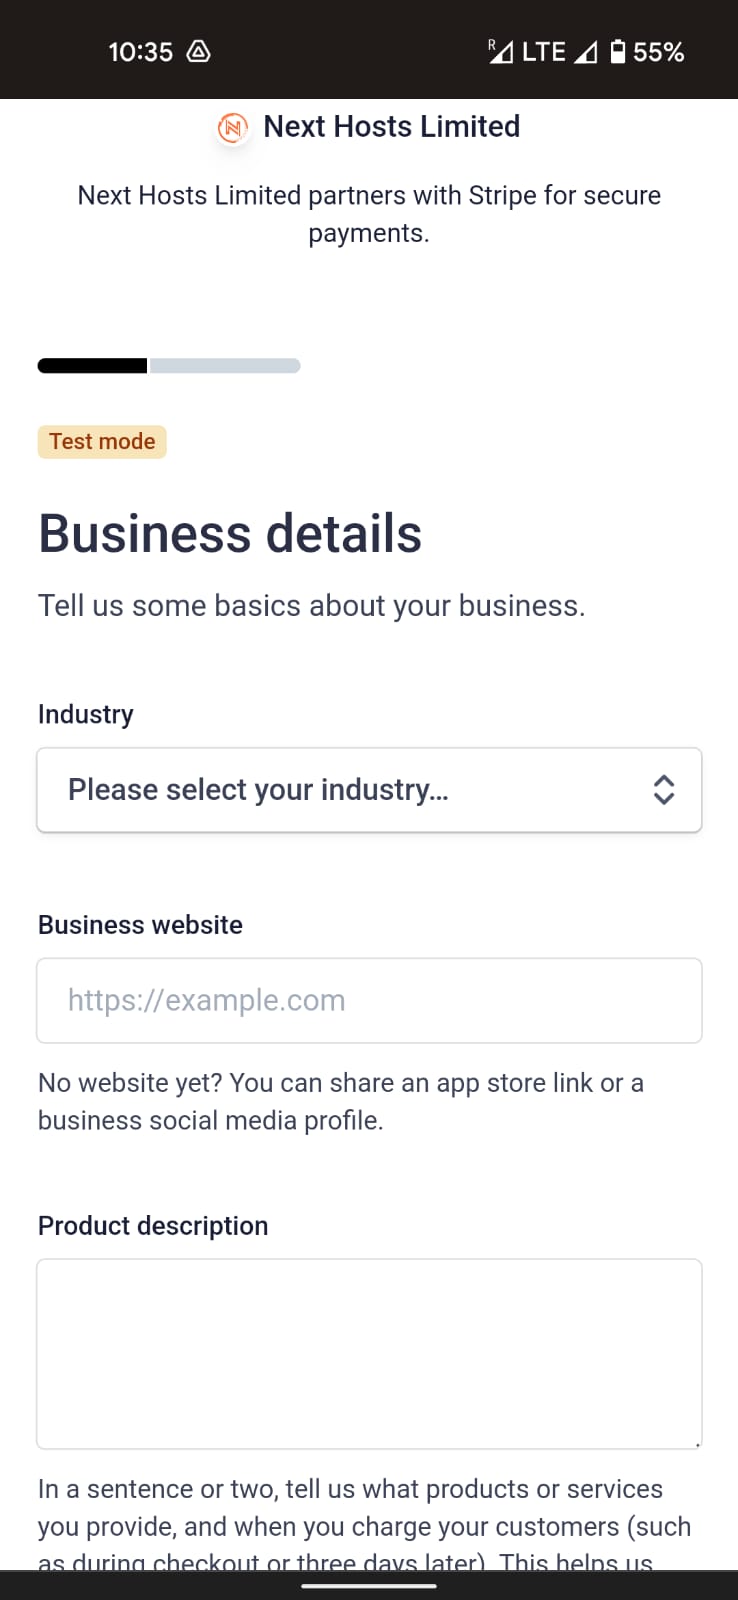
Please fill in your business details and press continue

Even if you do not intend to use the connect app for receiving payments, this is an essential step to validate your business. You will not be able to proceed without completing this step.
The Connect app will not hold or use your account details and will never charge your account. The data you put in here will be held by Stripe, which is a well renowned and secure global payment handling solution.
Please press continue after putting in your account details.
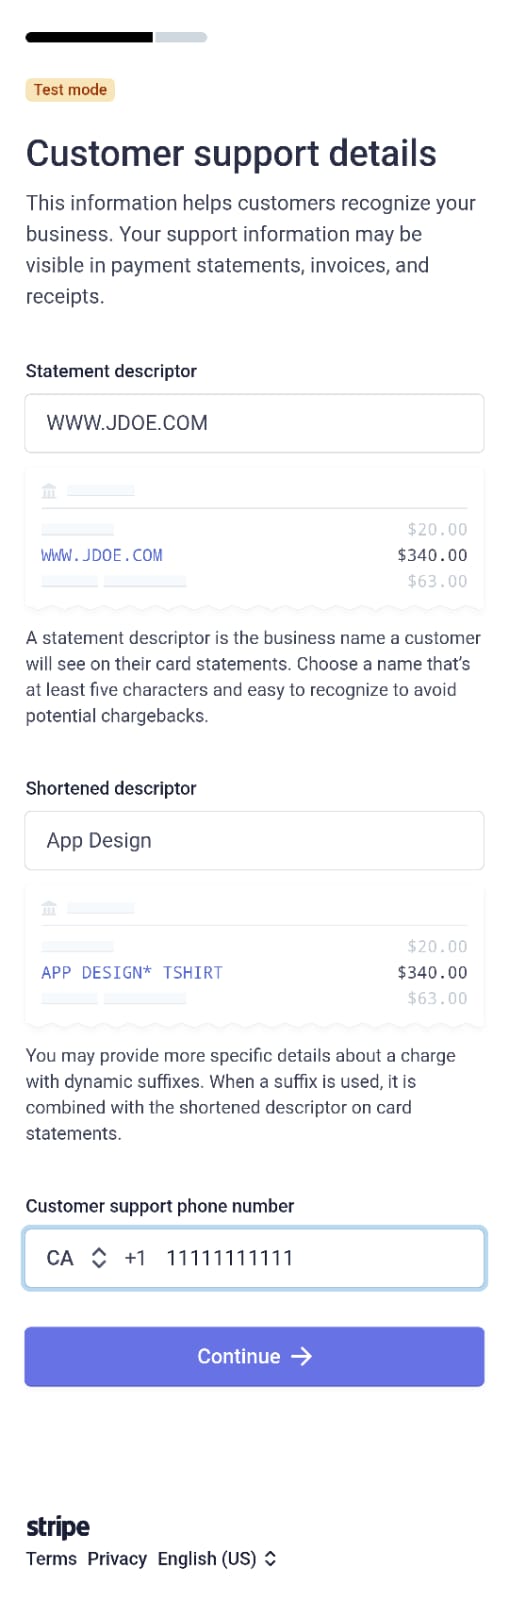
At this step put in your customer support details. These will be visible to your customers on their card statements when your business will charge them using the connect app
Please put in your support phone number as well and press continue

At this final step please review your business details etc before pressing submit

Congratulations you have successfully registered with connect app and Stripe payment solution used by your app to handle payments.
You will be taken back to your connect app now, if this does not directly take you to the app, please close this window and click on the connect app.
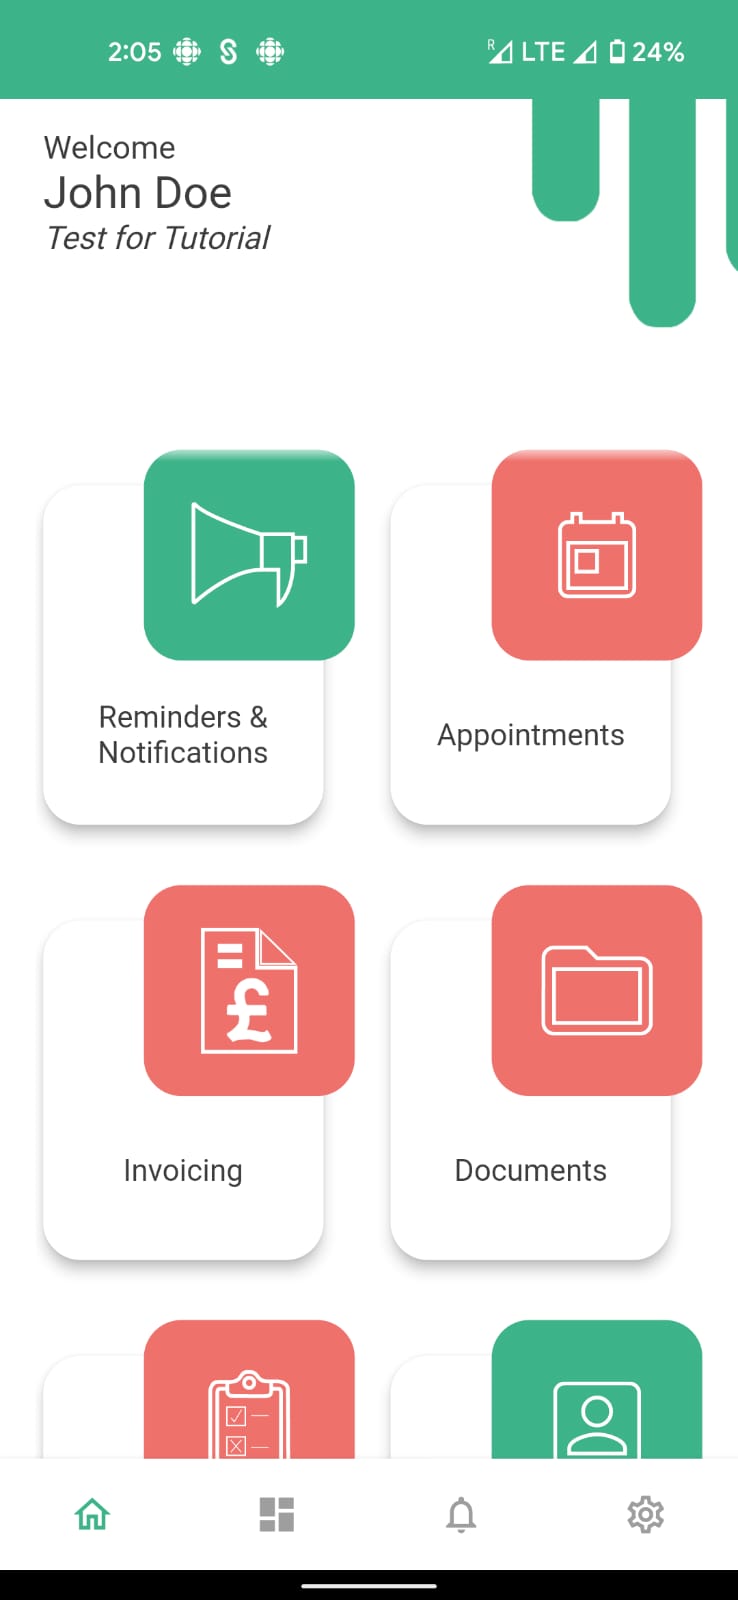
Welcome to your connect app home page.
Your one stop shop, ‘out of box’ solution for managing appointments, invoicing customers, receiving payments and documents, to sending out promotions, polls and surveys.
We hope you enjoy your complimentary modules in green.
Please feel free to subscribe to the modules in red when you require to use those services.
Separate tutorials will be available through your app for most modules and functions.
Thanks once again for choosing connect and we hope this increases the productivity of your business and your customer satisfaction.